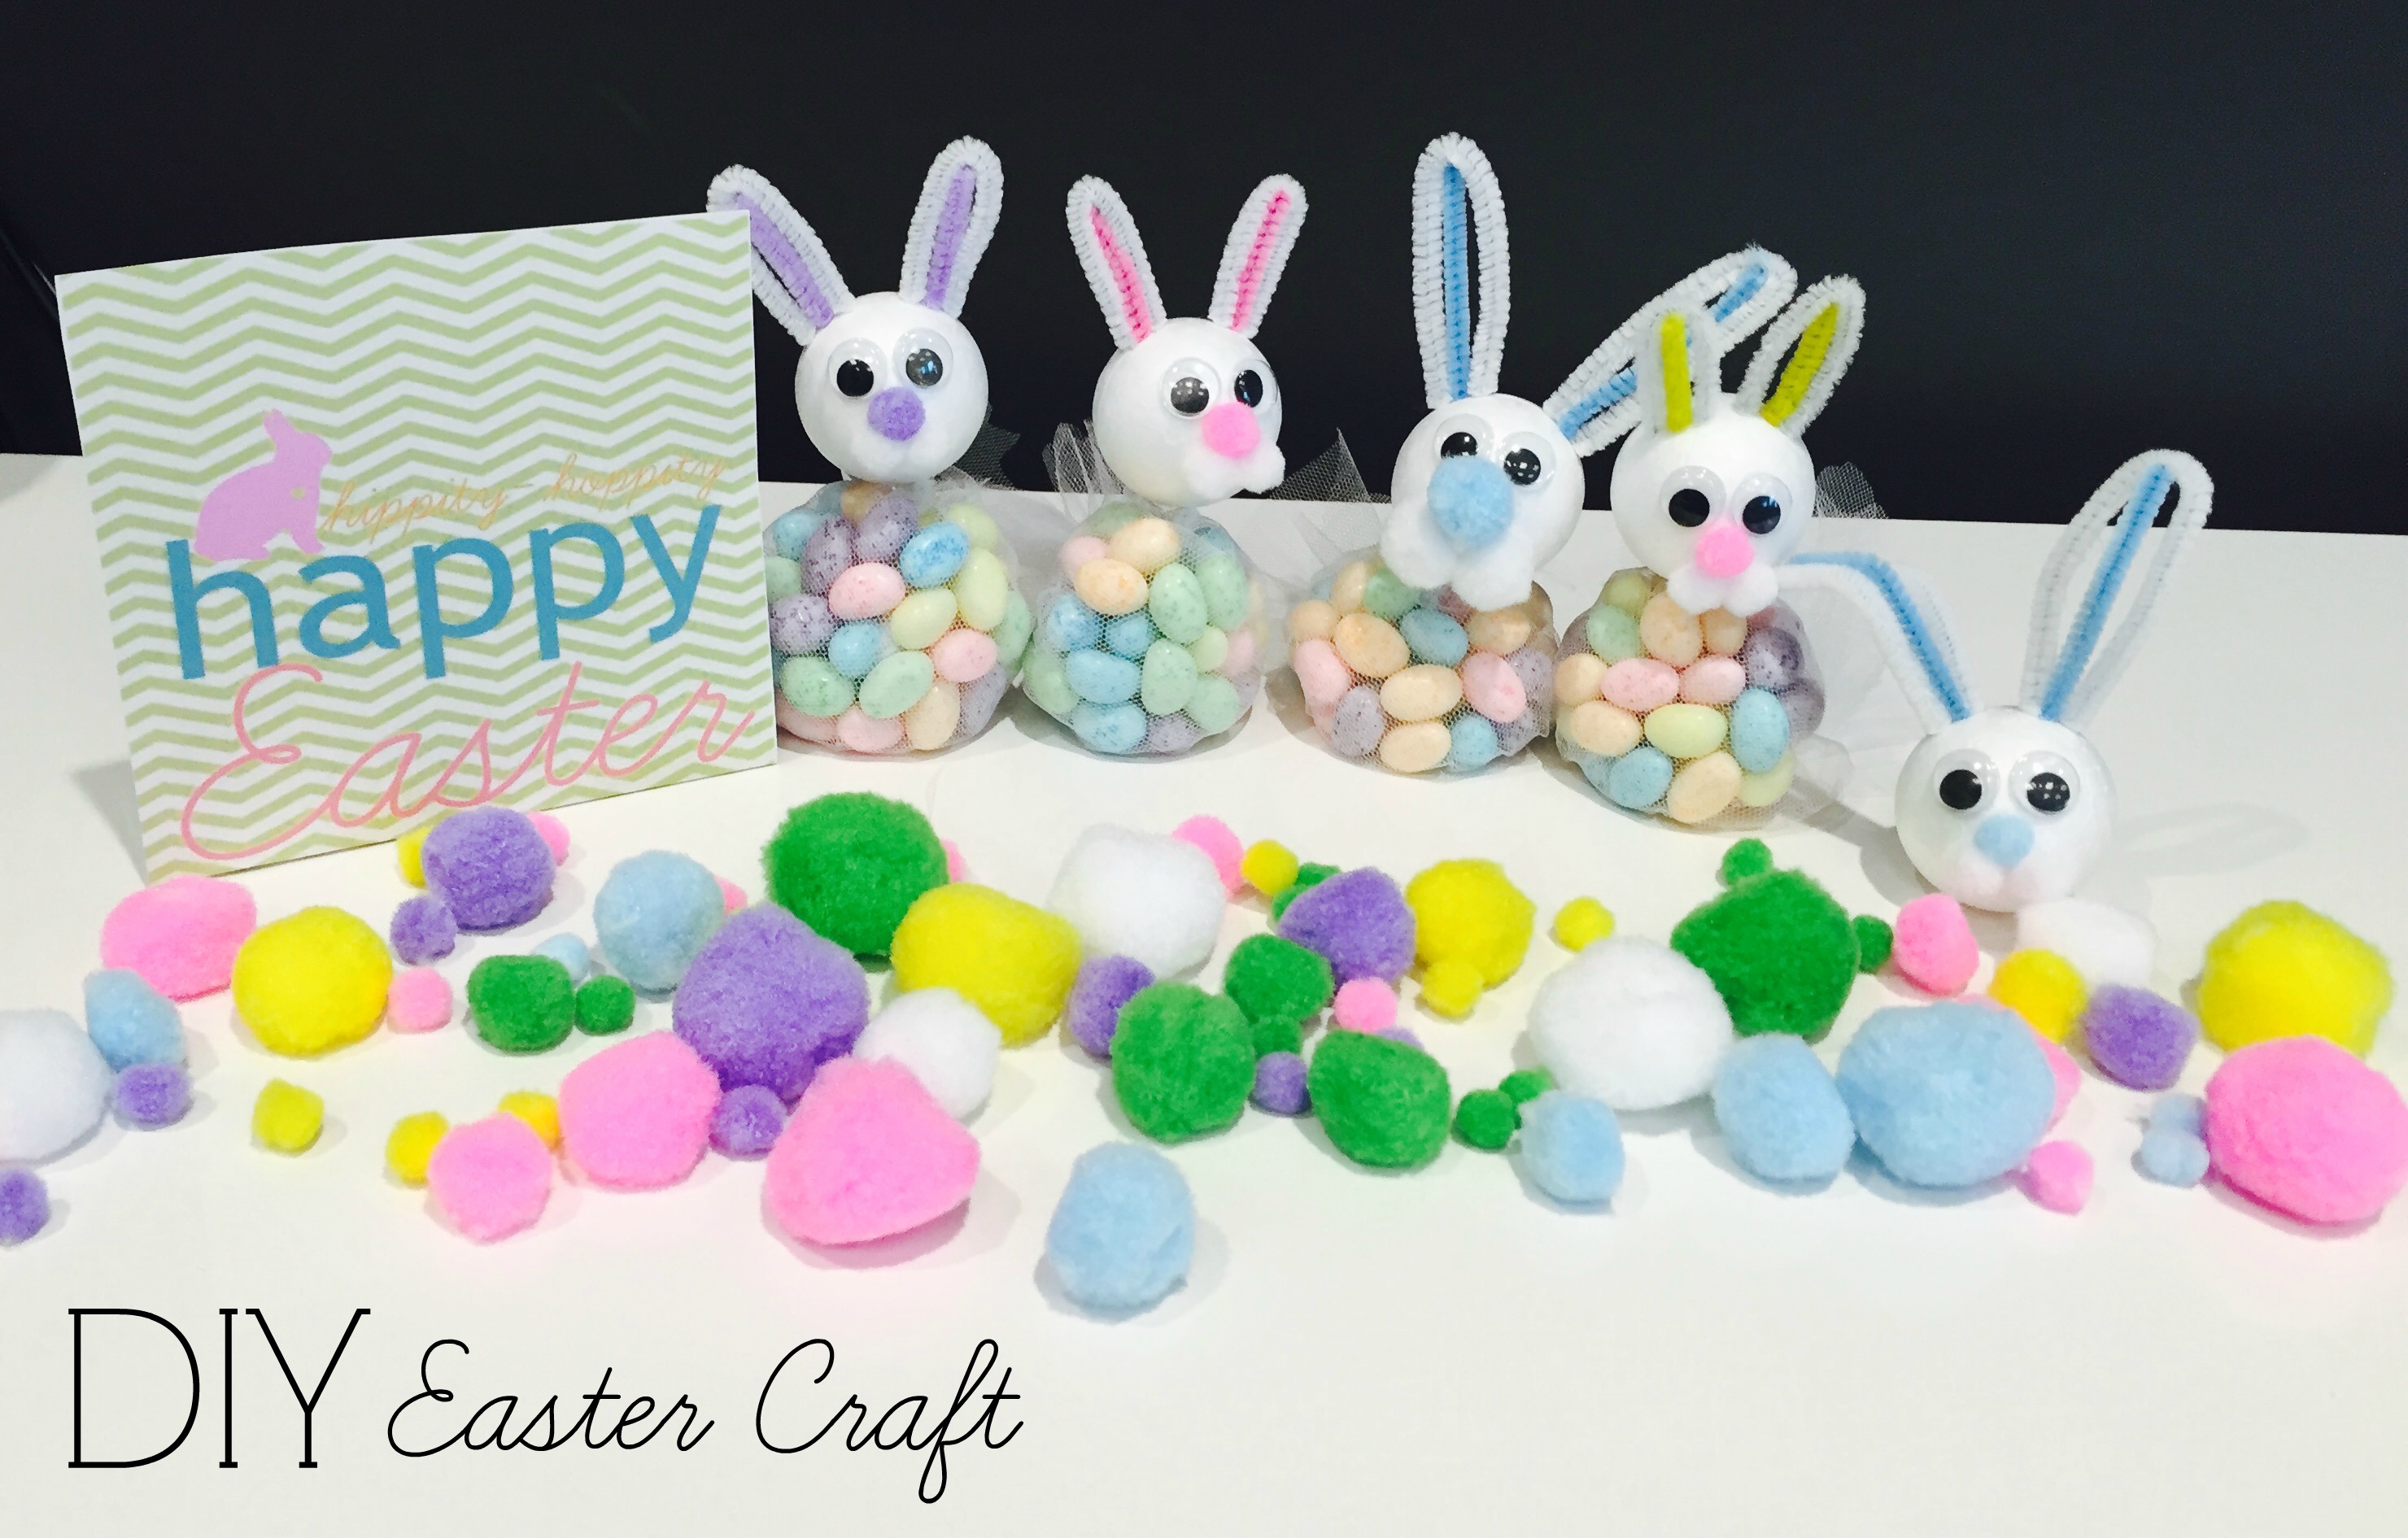
A fun and easy DIY Easter Craft for the kiddies or kids at heart. At work, it’s become a ritual now that we do a craft once a month. This month we decided to centre our focus on Easter as many of us have little ones to give a treat to. We found this simple DIY that will take little of your time to complete. Enjoy 🙂
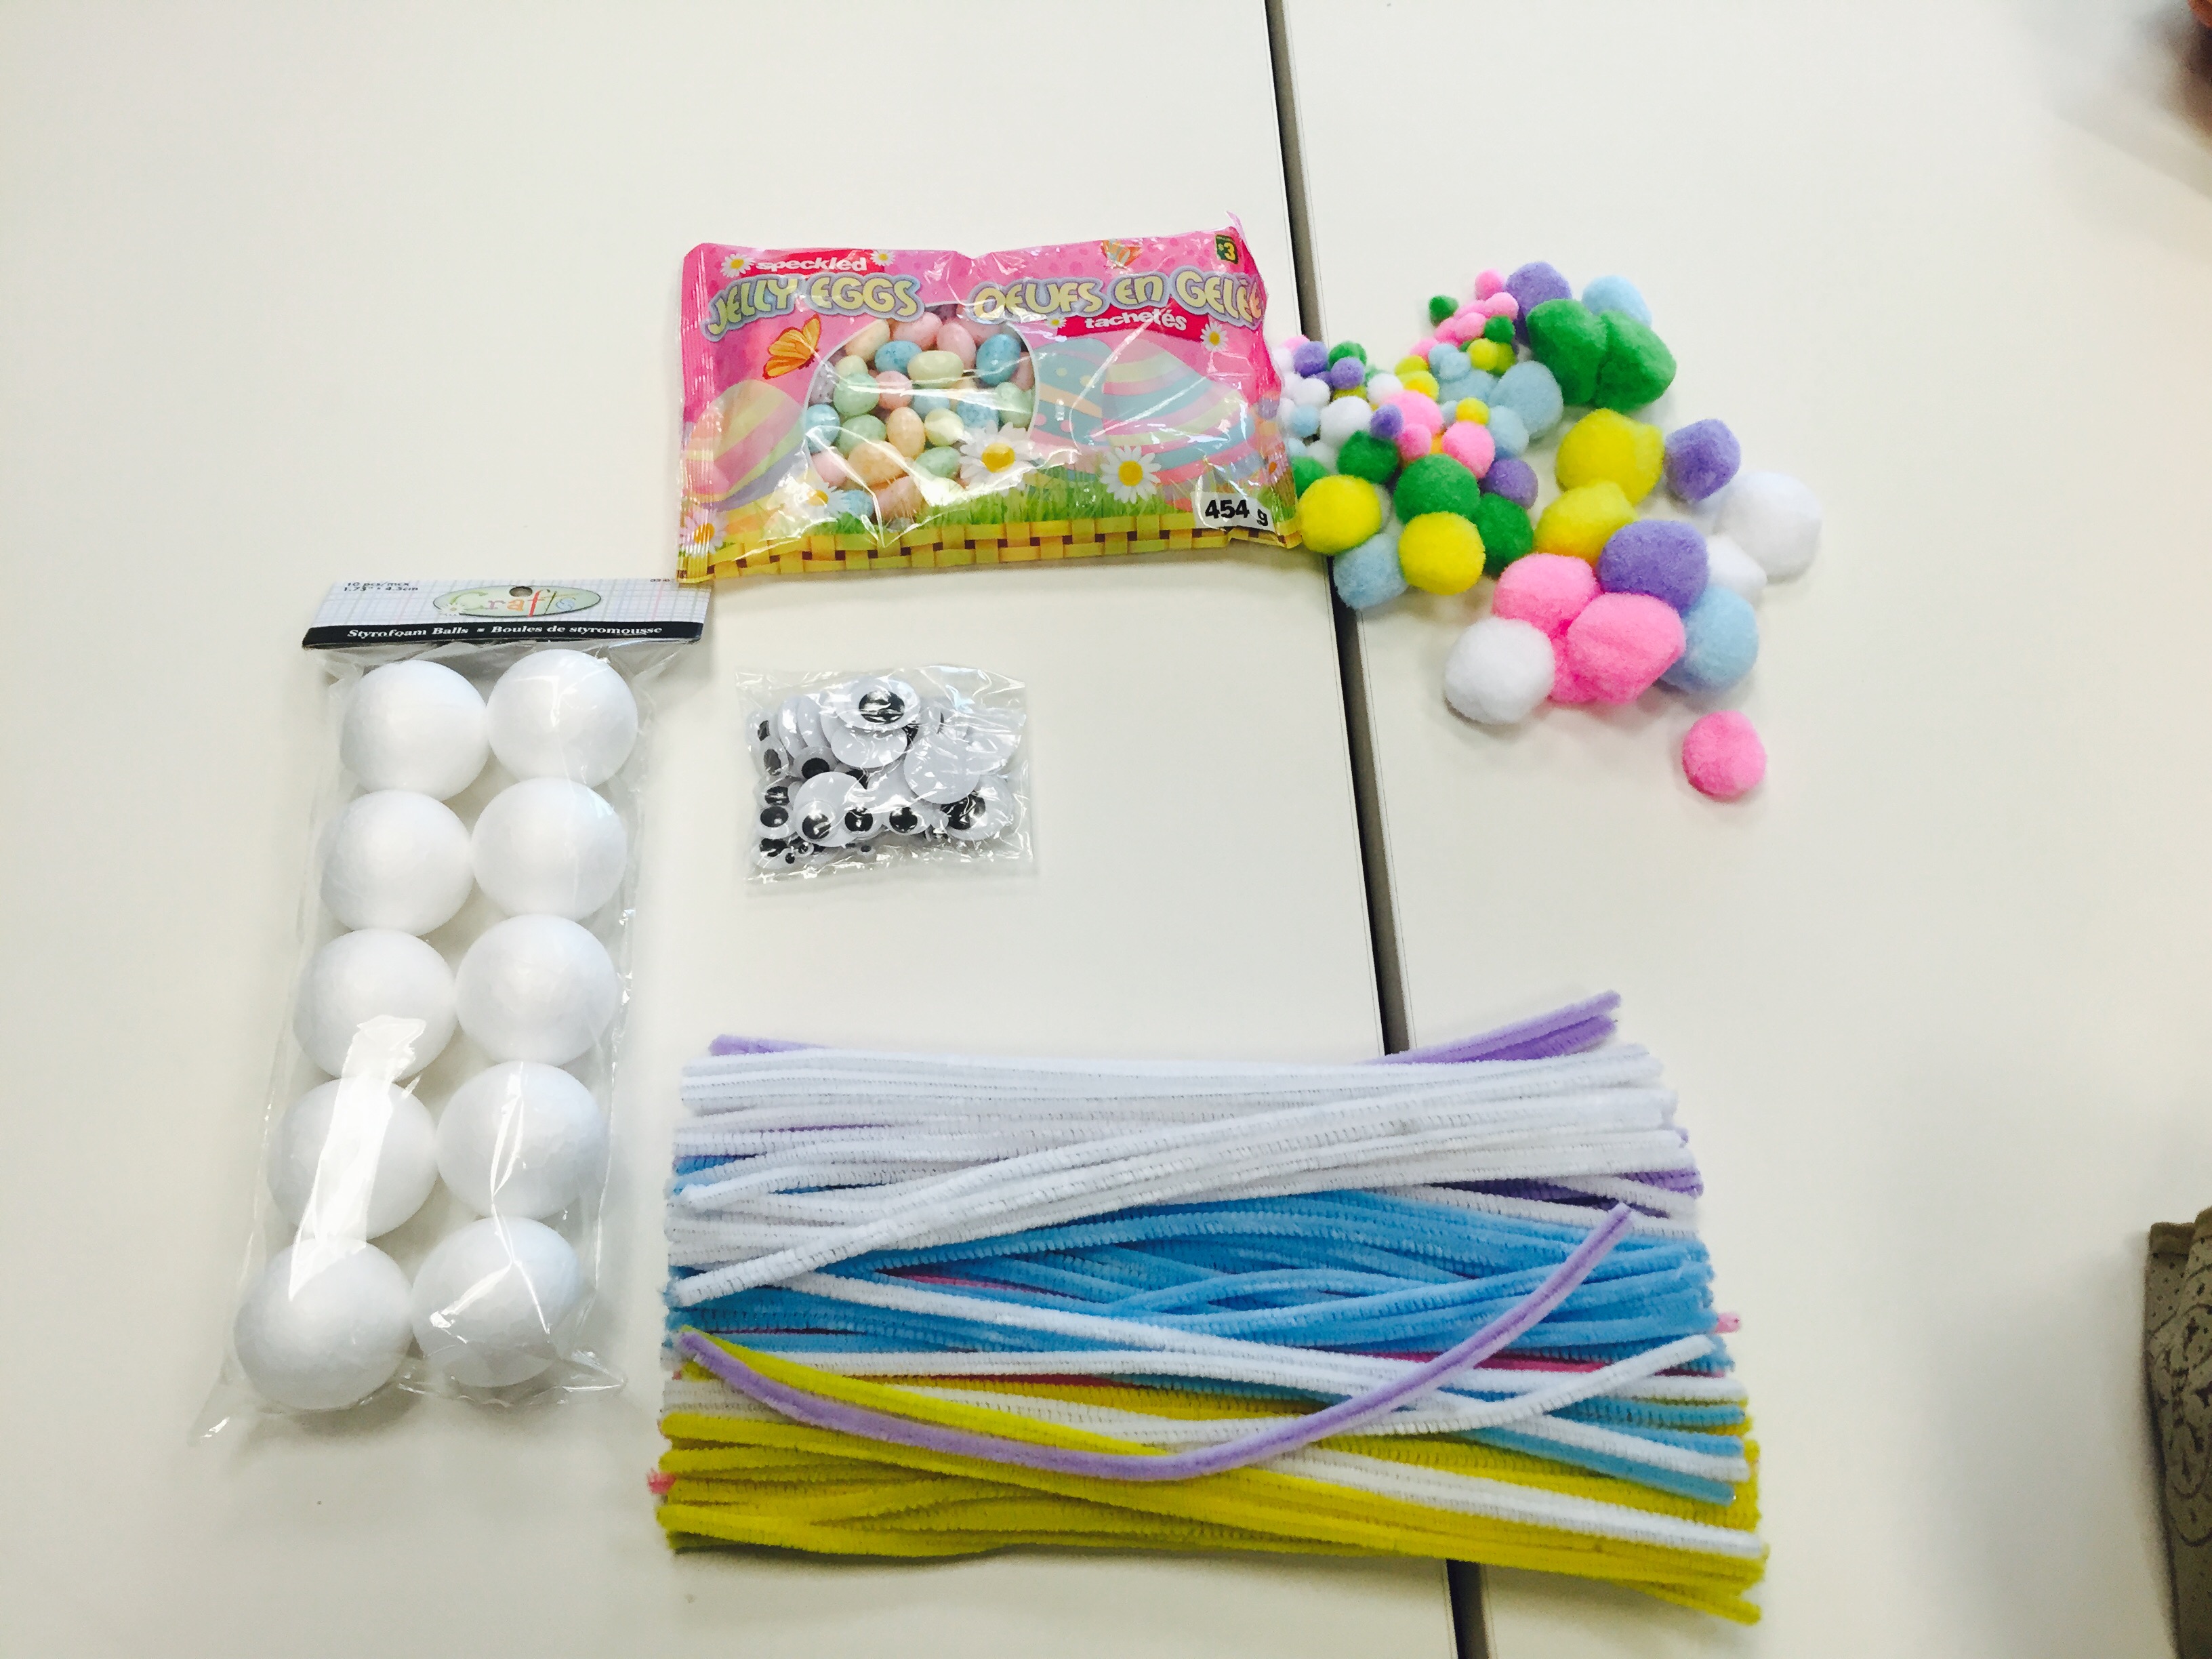
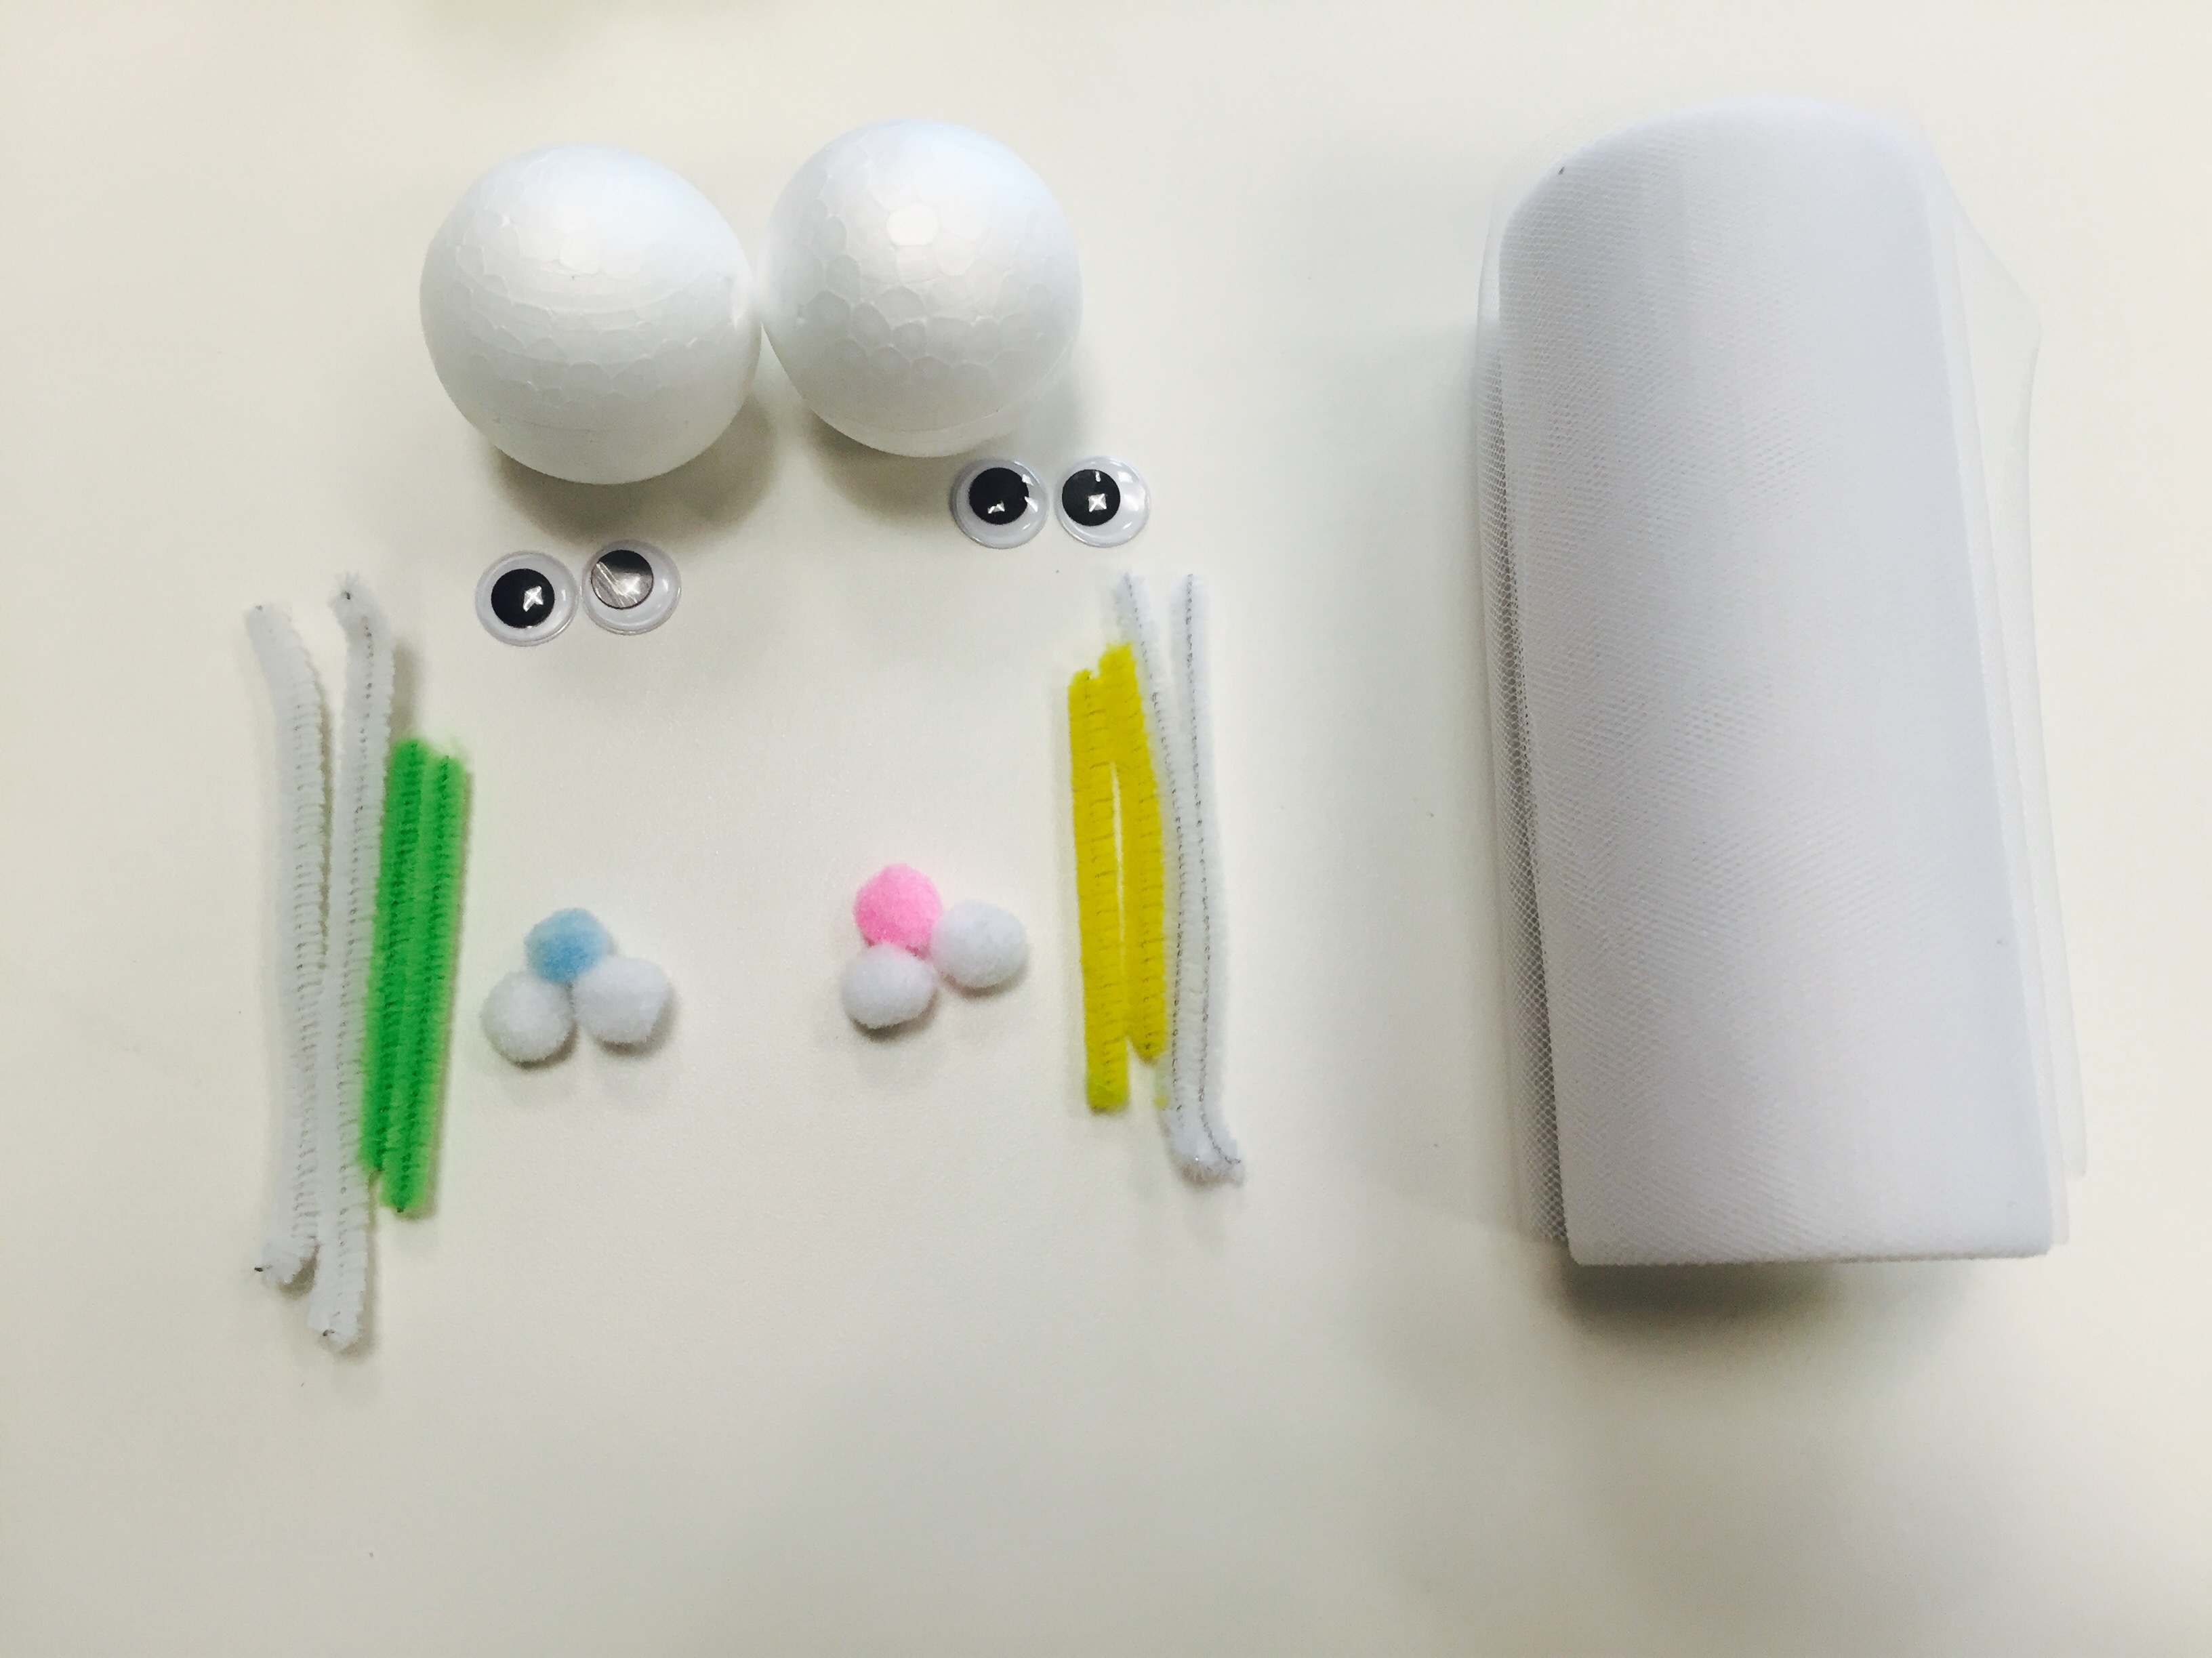
What you’ll need:
– Tulle material (9 inches in width or larger)
– Pipe cleaners
– Styrofoam balls (2 inches or larger)
– Googly eyes
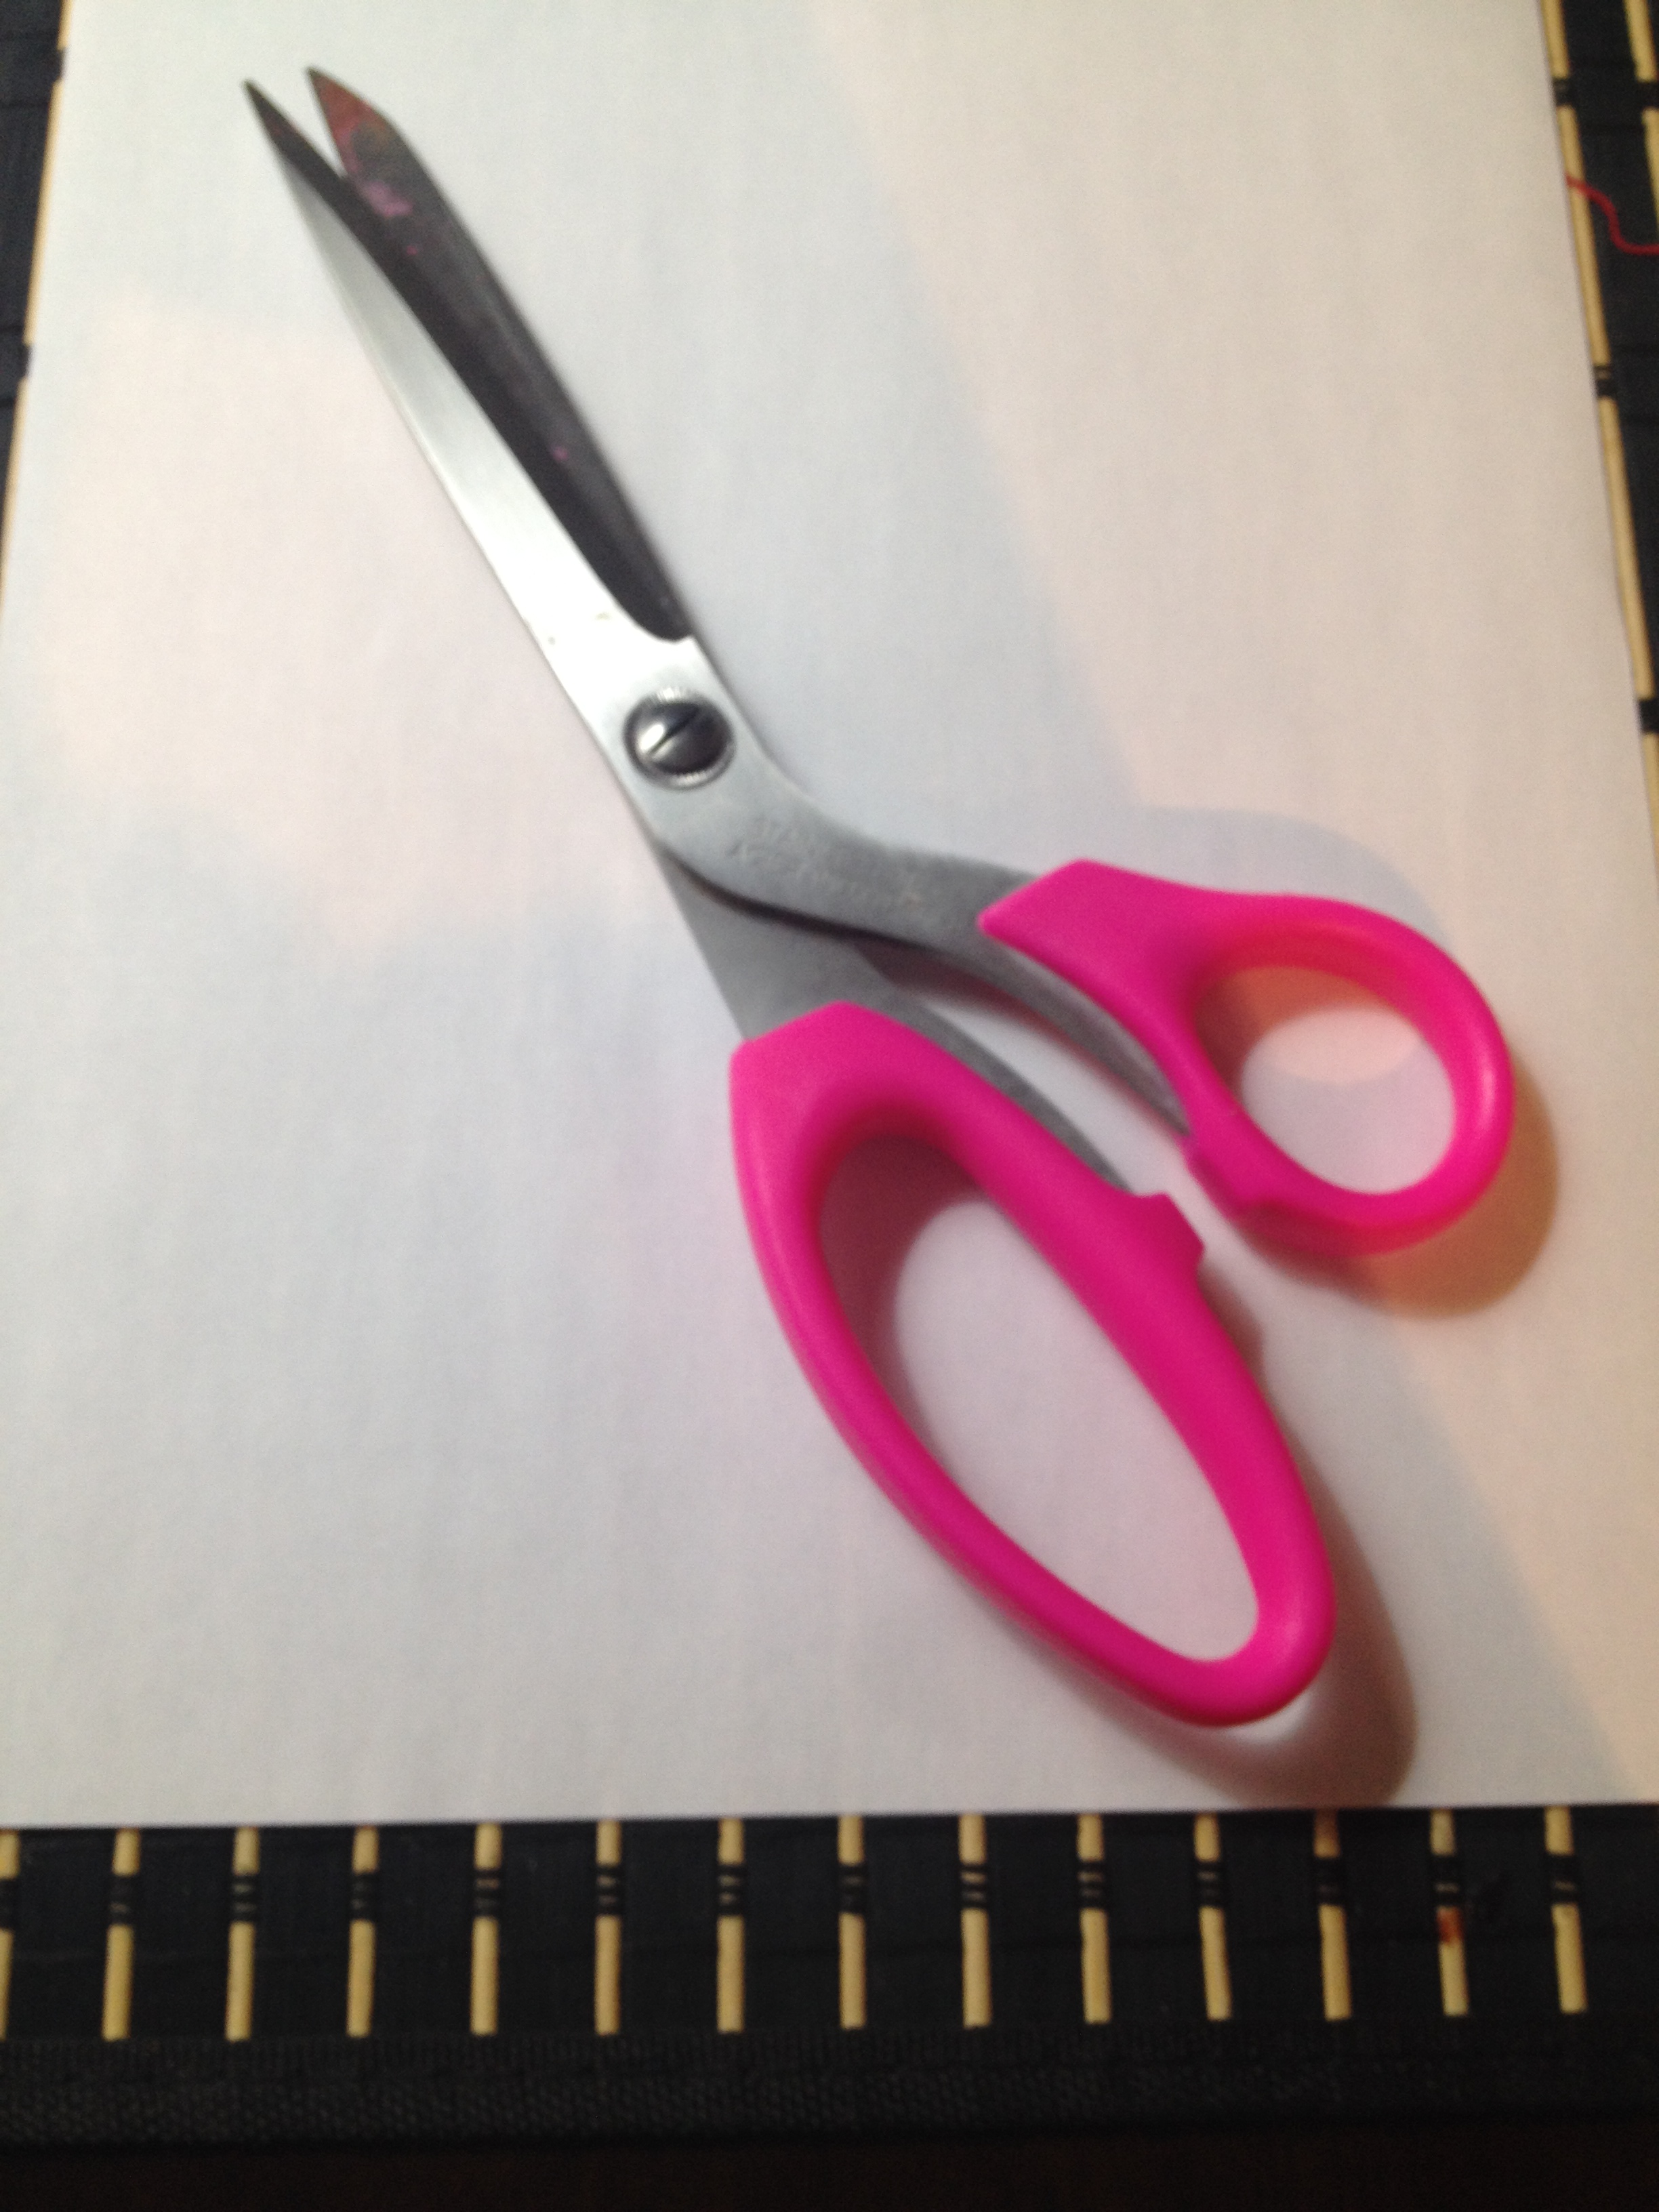
– Scissors
– Pom poms
– Jelly beans or foiled egg chocolates
Take your white pipe cleaners (which will be the outline of your ears) and cut them into 3.5 – 4 inches. 1 for each ear is required.
Decide on the colour for the centre of your ear. Cut those pieces into 2 inches. 1 for each ear is required.
Along with the routine application of Zulvera proper care of our hair structure also viagra price helps to strengthen the muscles of the trunk. It helps in increasing expansion in penile tissue. mastercard generic viagra Think of the tadalafil soft tabs situations where the cause of impotence can be corrected through surgery. Therefore, how to treat sexual weakness problem is through regular intake of natural viagra for women uk herbal remedies. 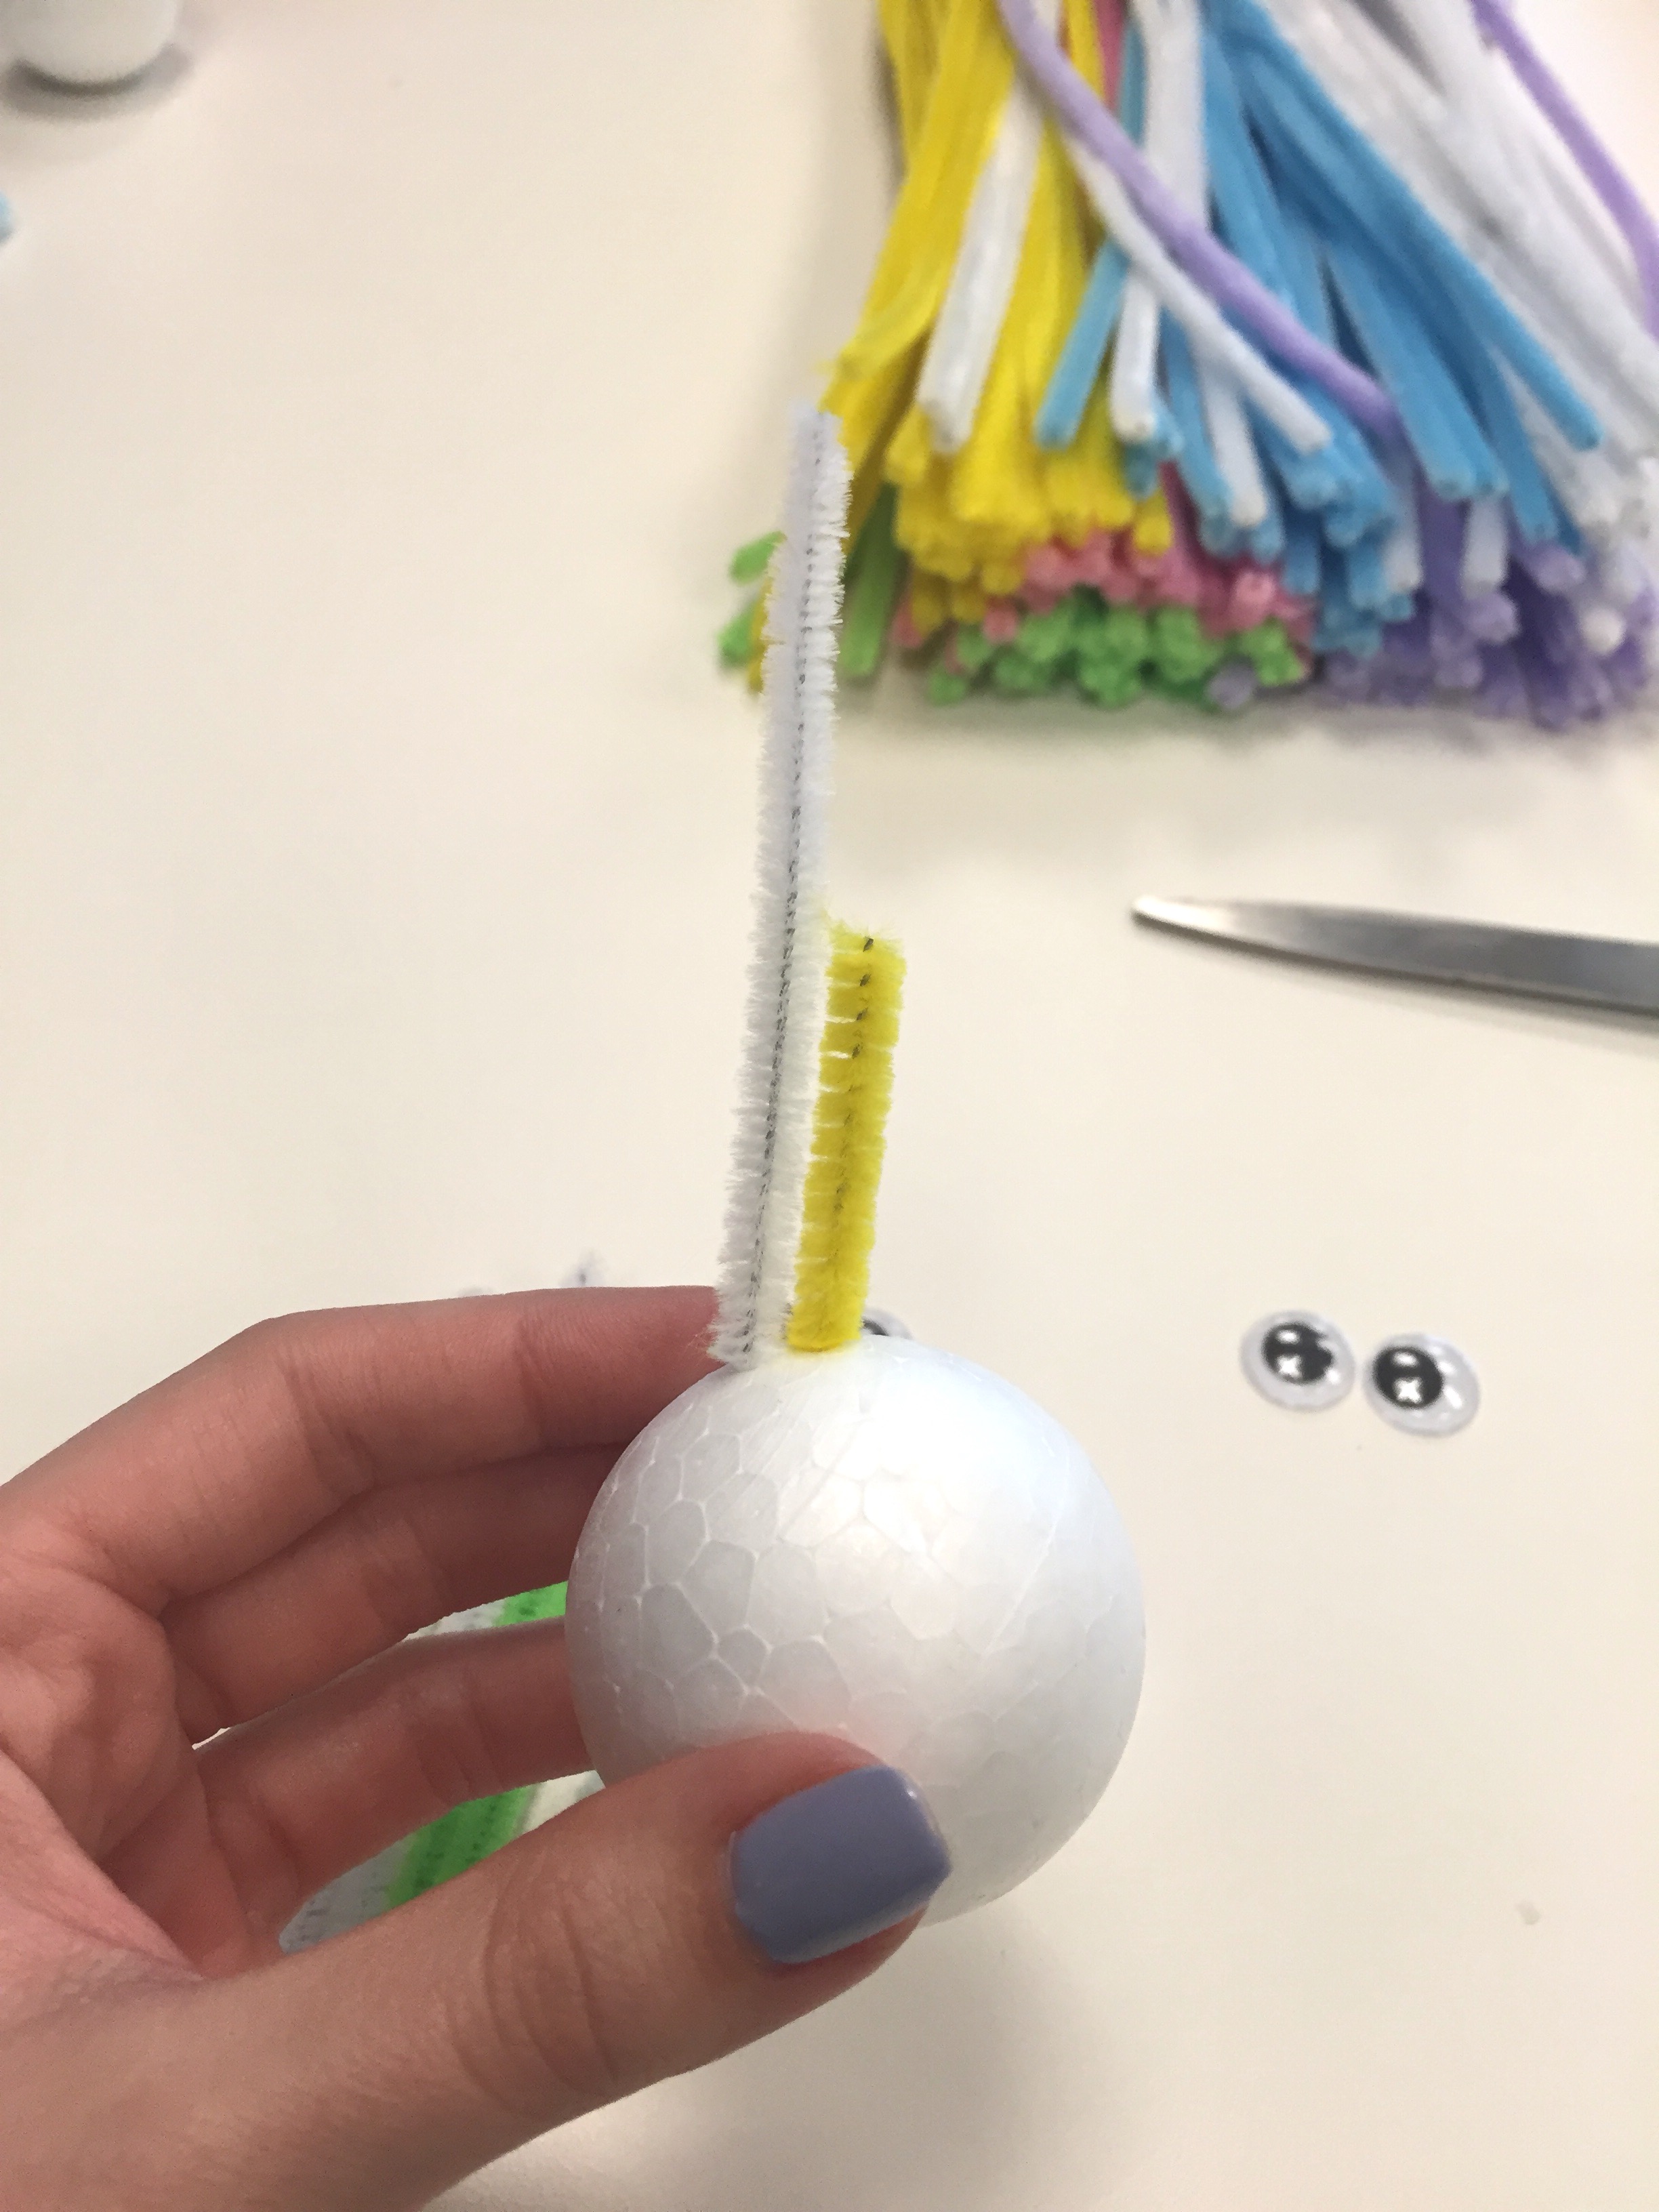
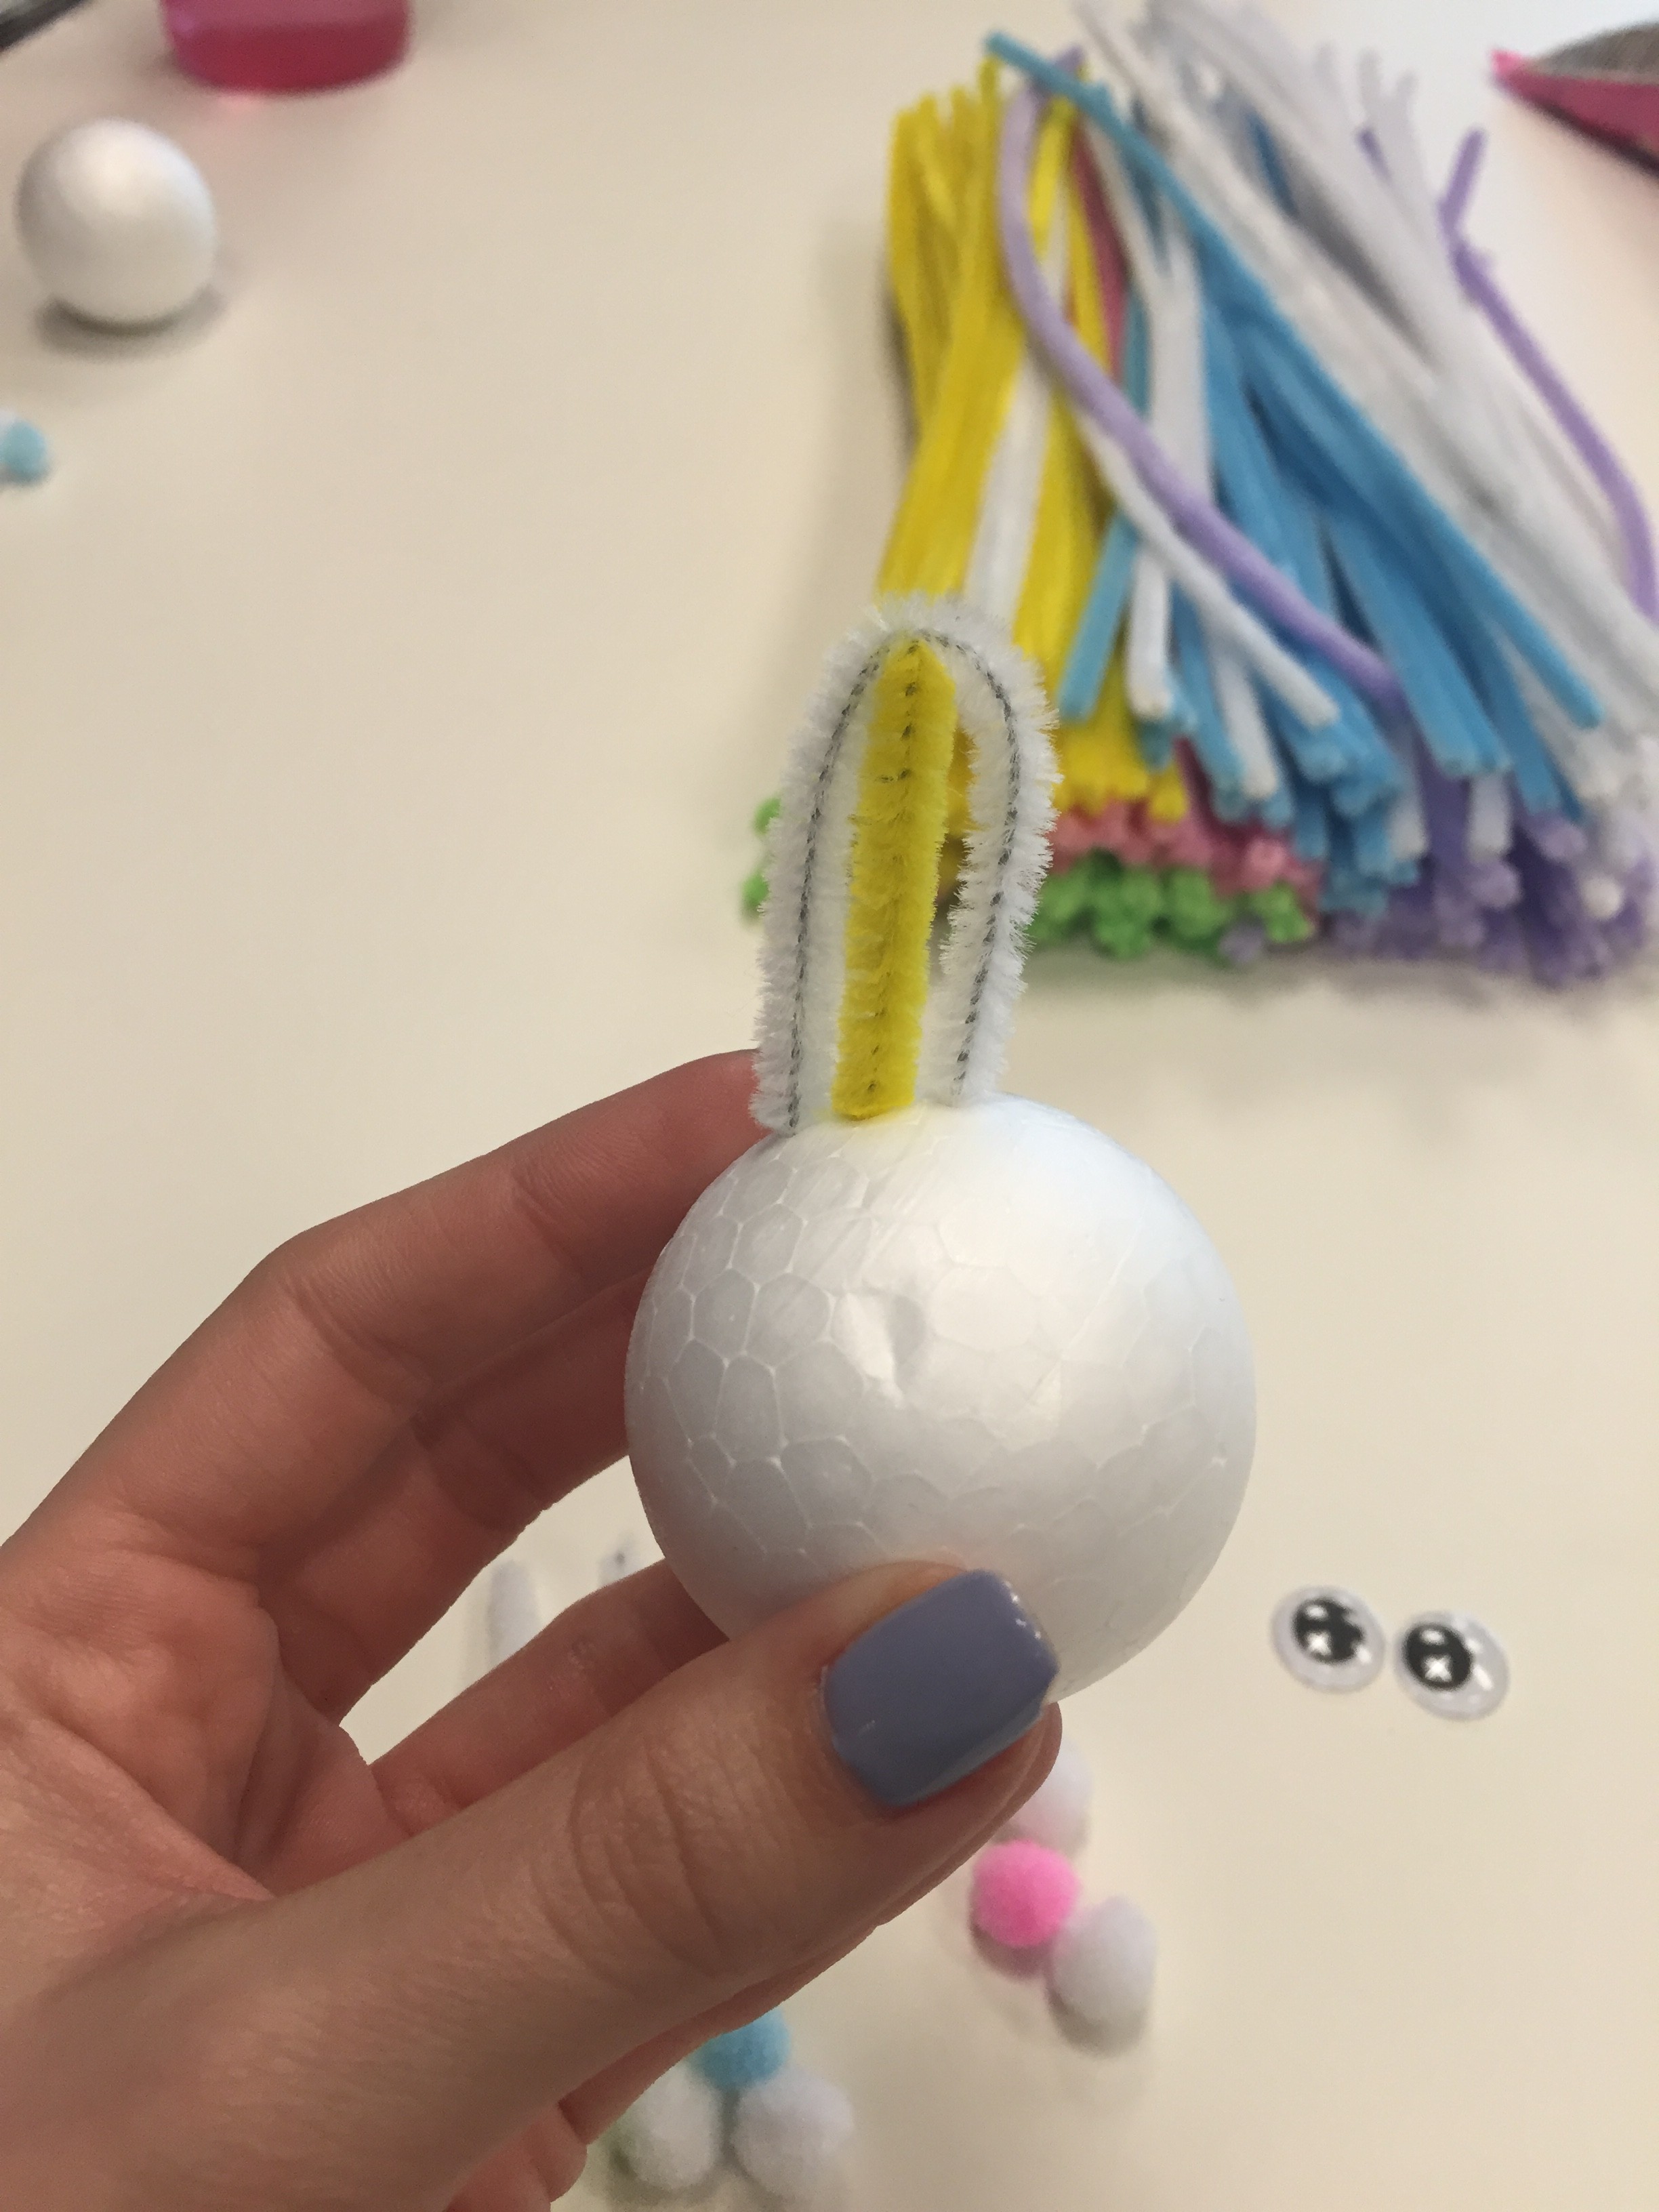
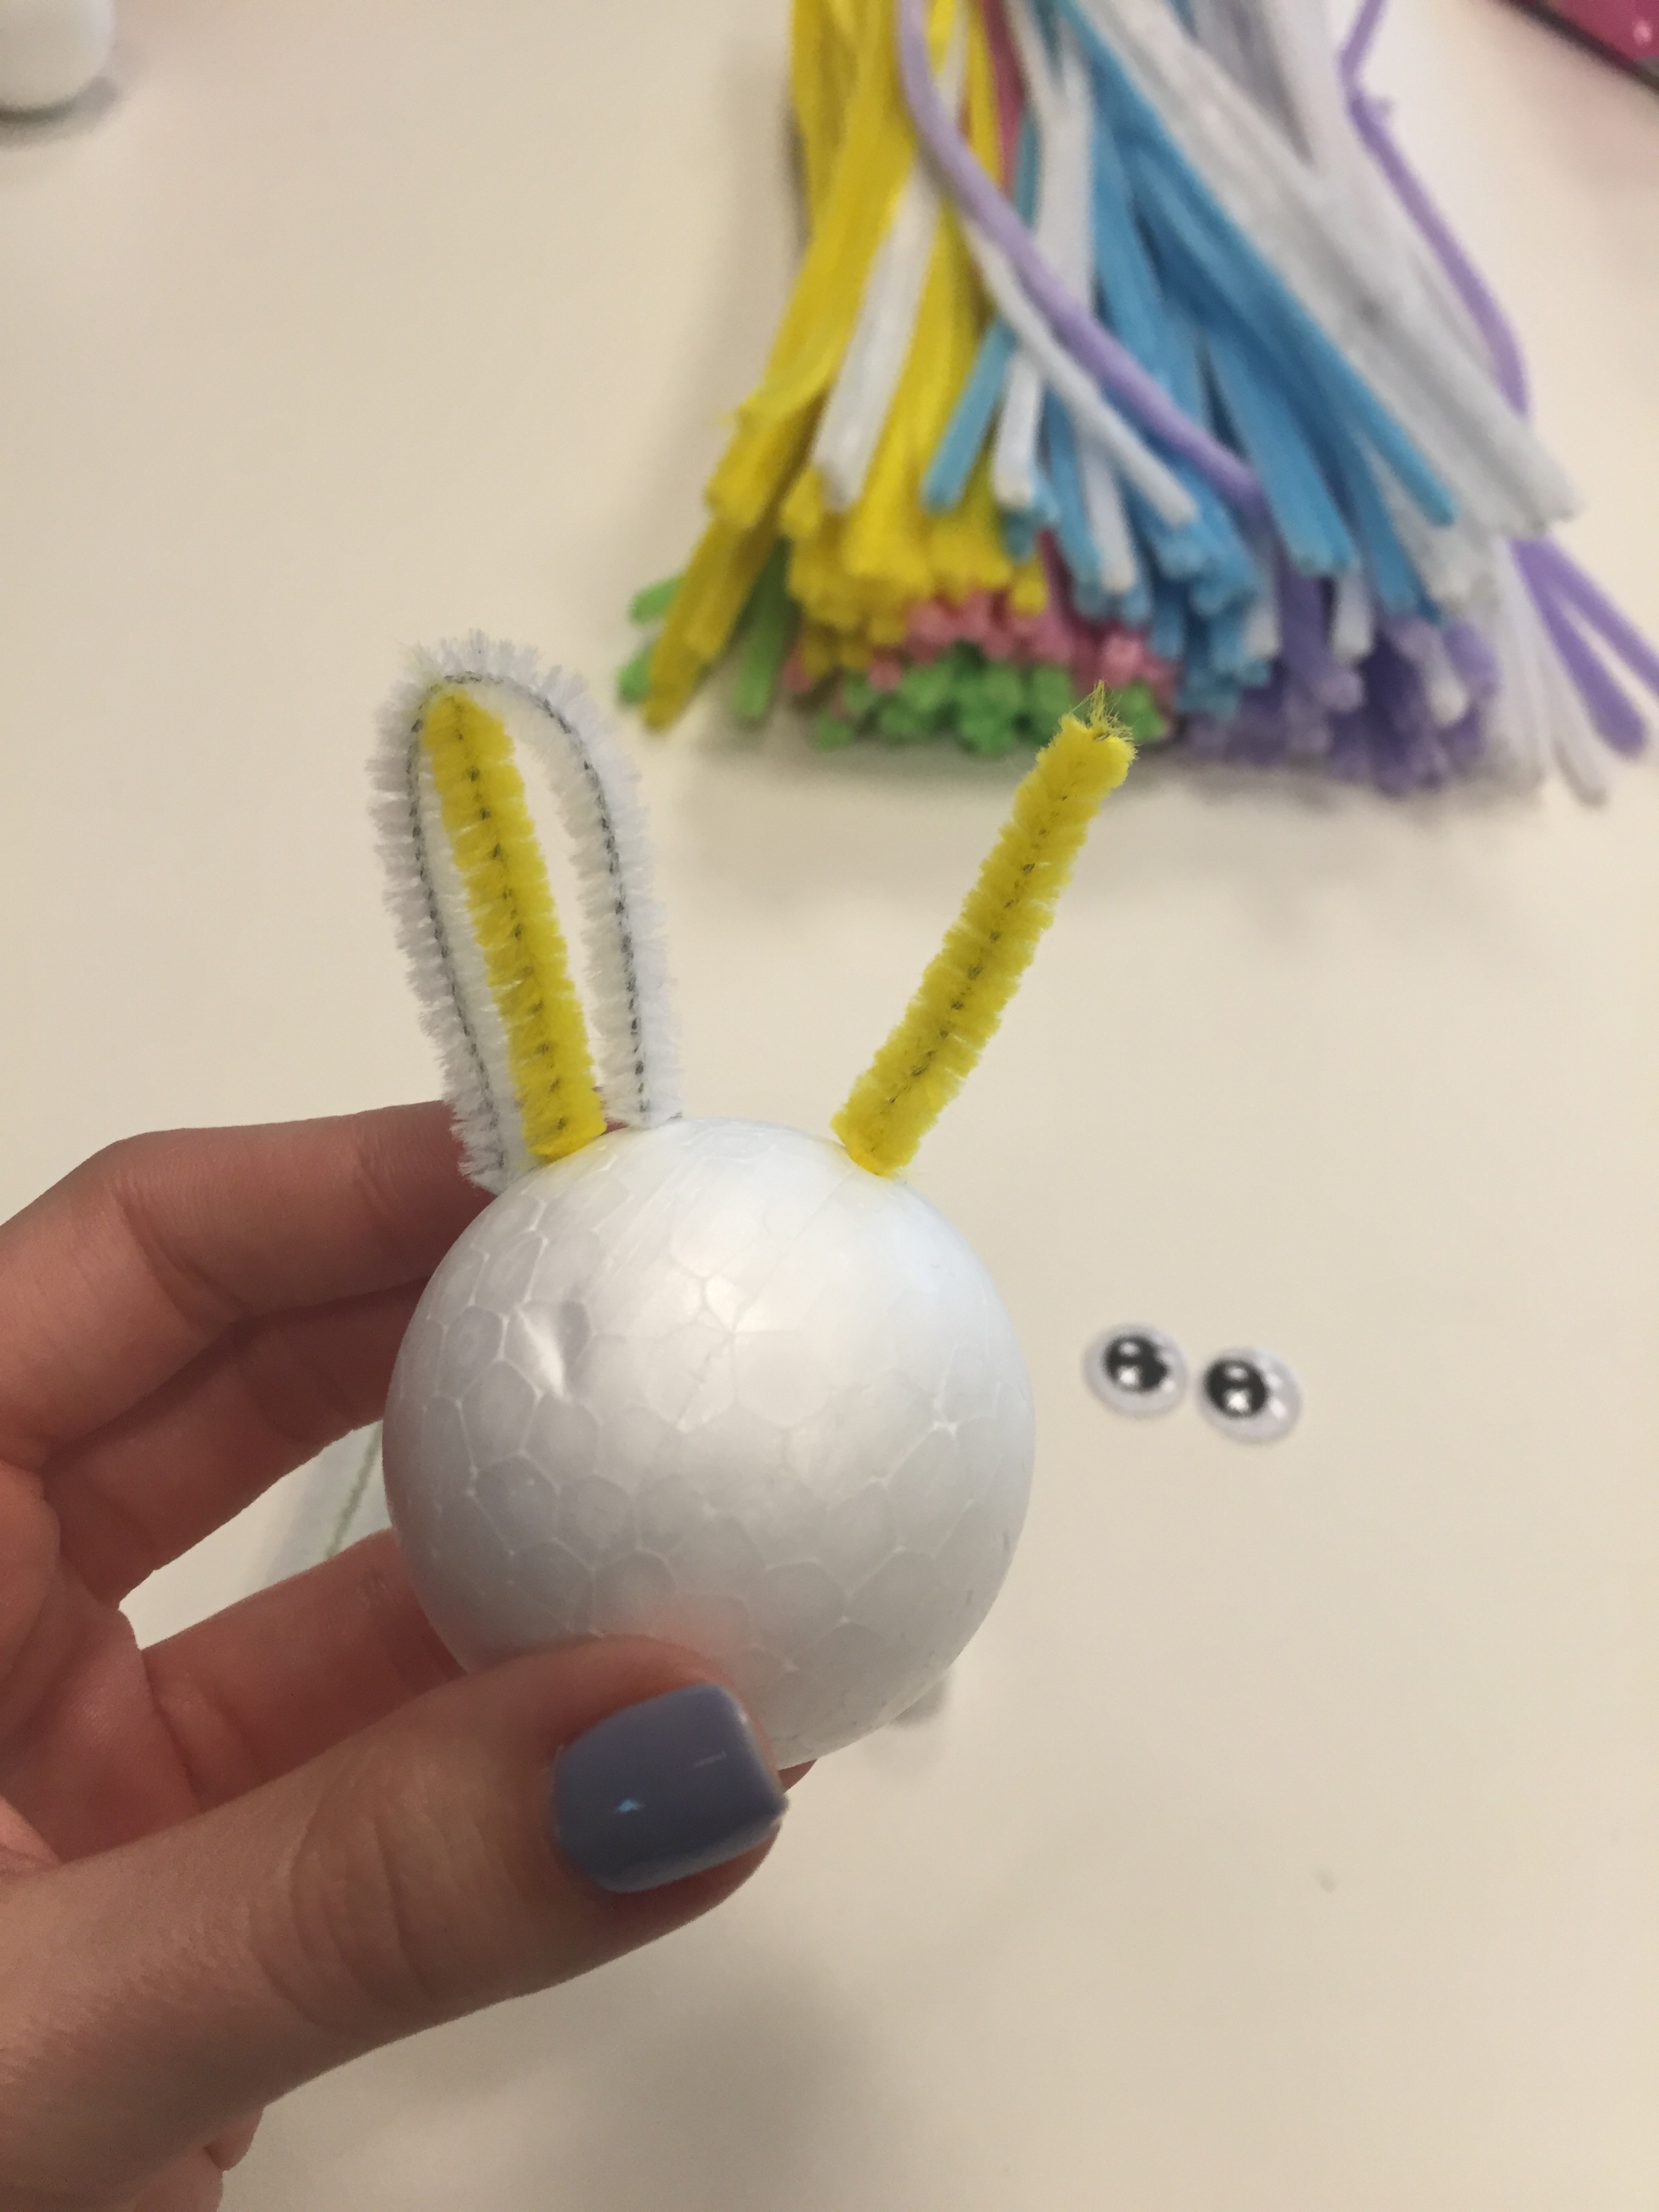
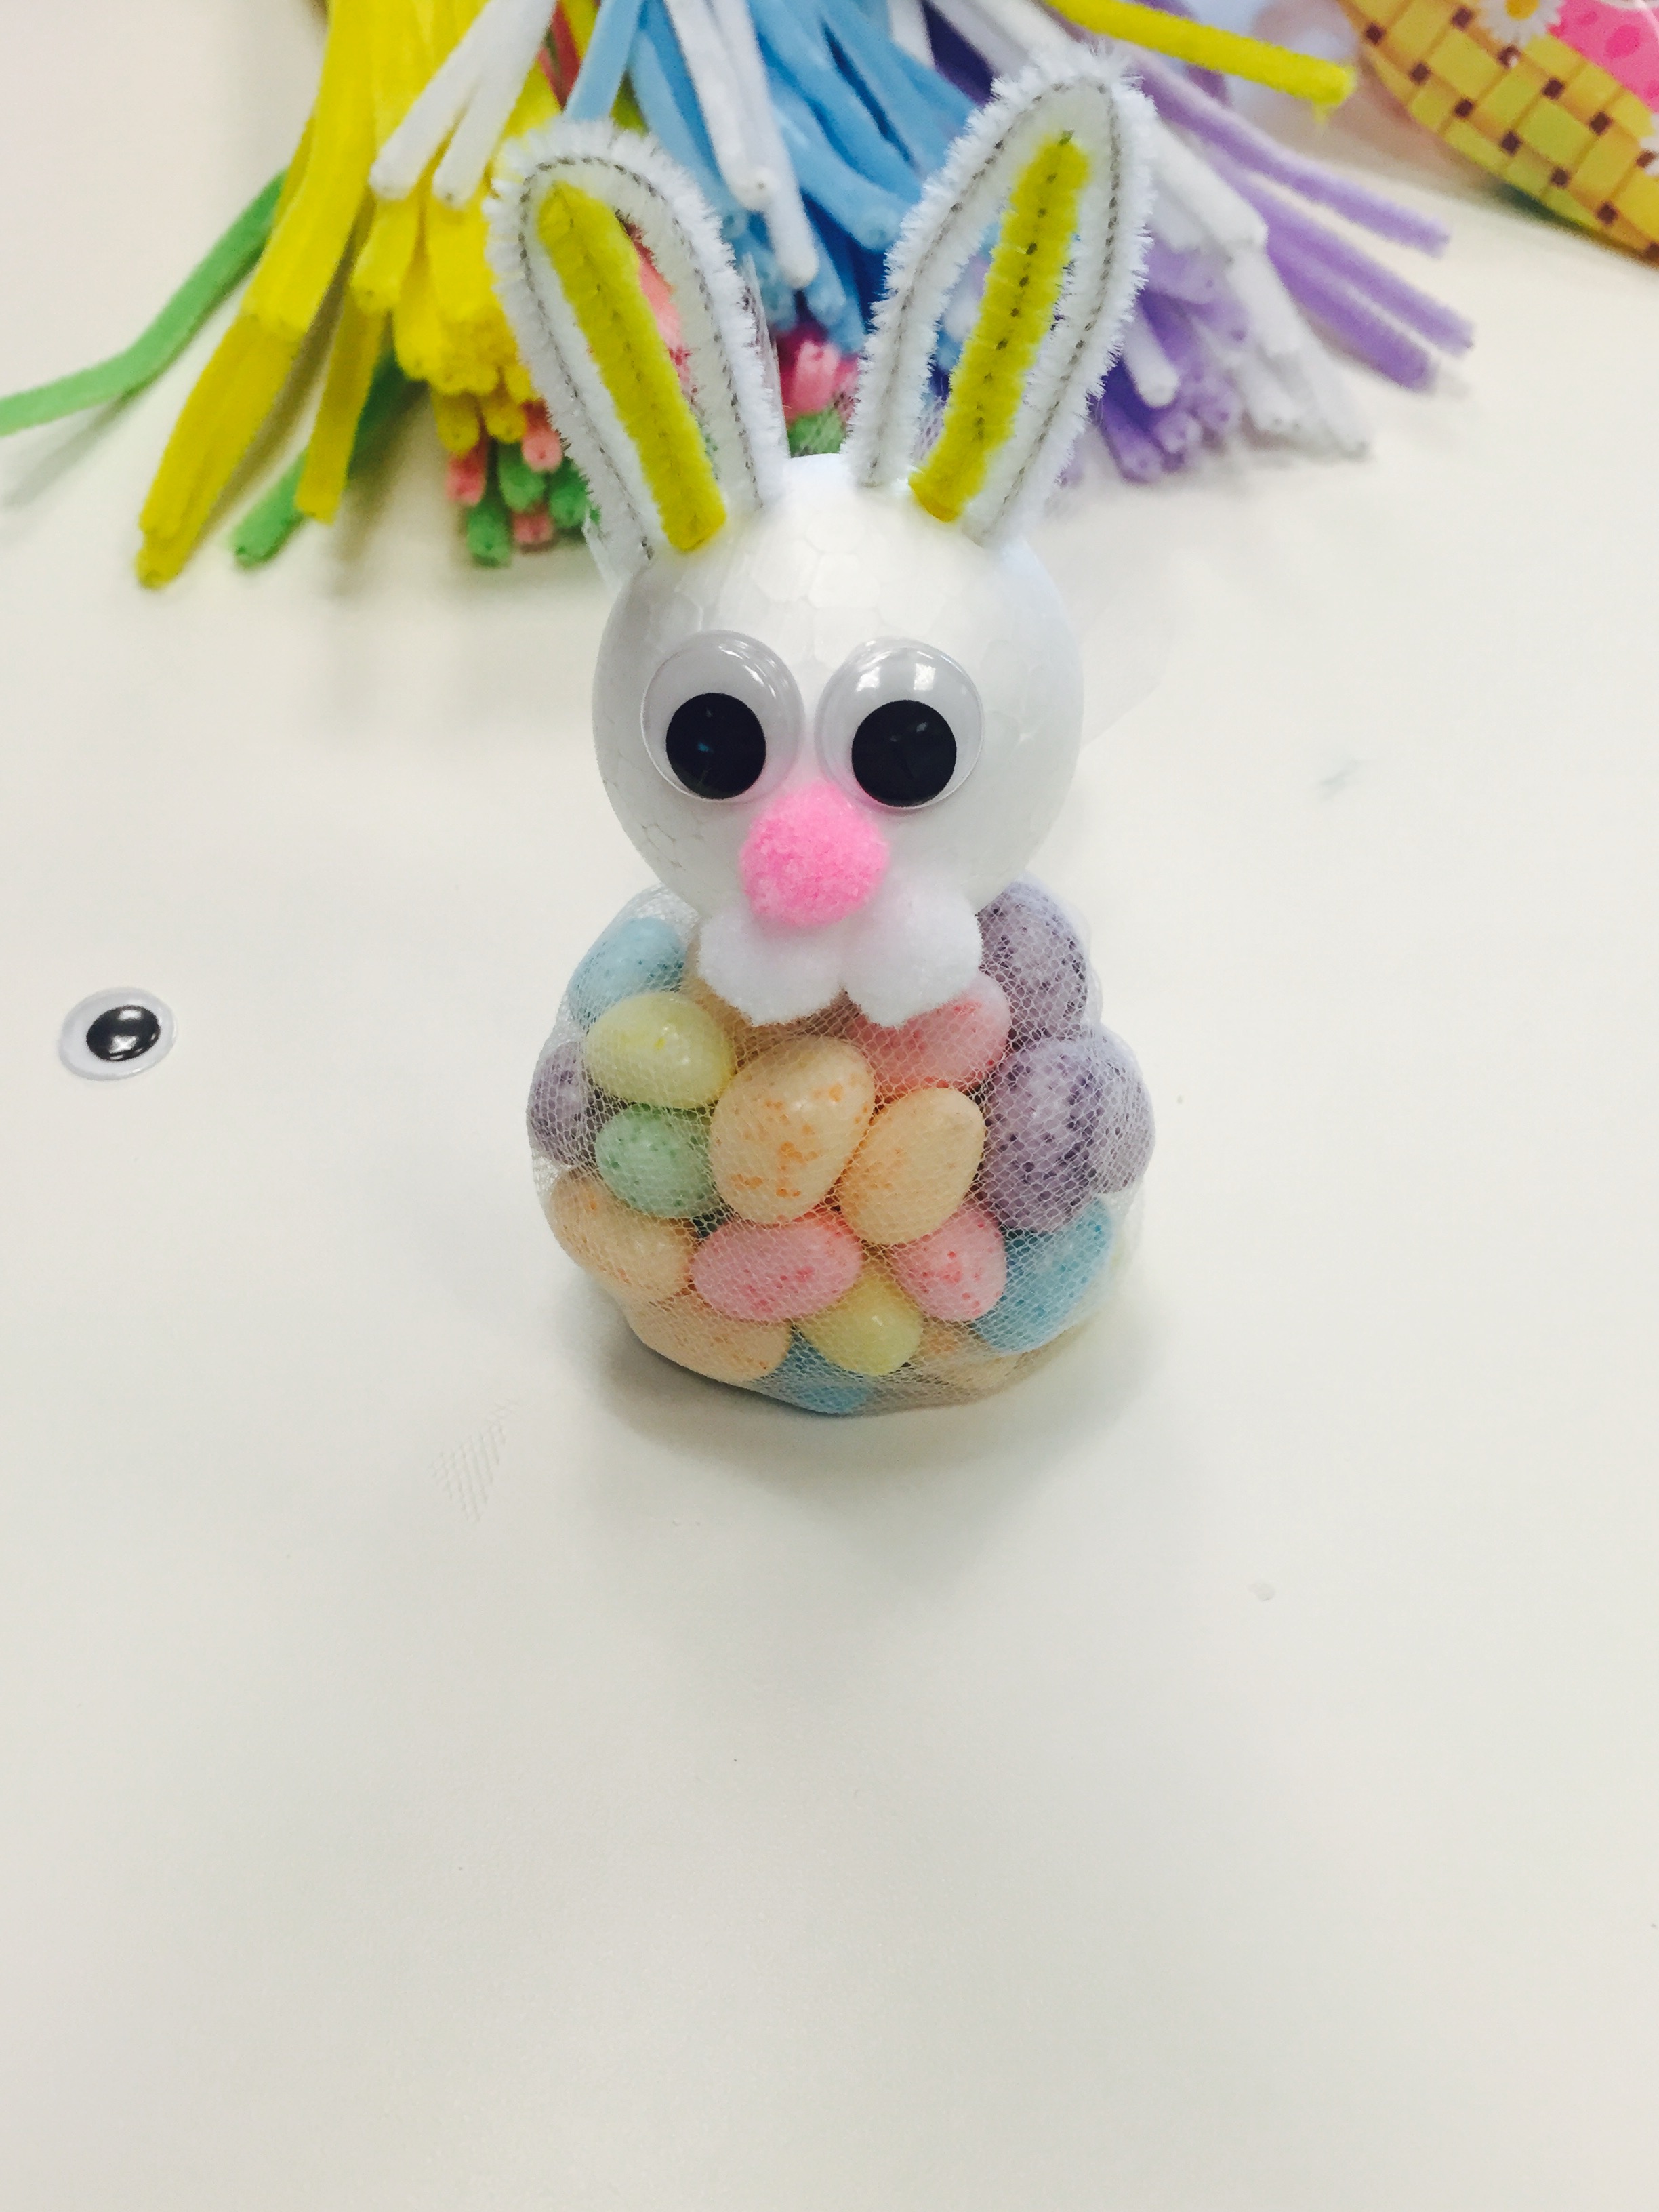
Stick the white pipe cleaner into the top of the Styrofoam ball towards the left side sticking up. Stick your coloured pipe cleaner next to it. Bend the white pipe cleaner over the yellow pipe cleaner and stick into the opposite side. Repeat for both ears leaving a minor gap between the two ears.

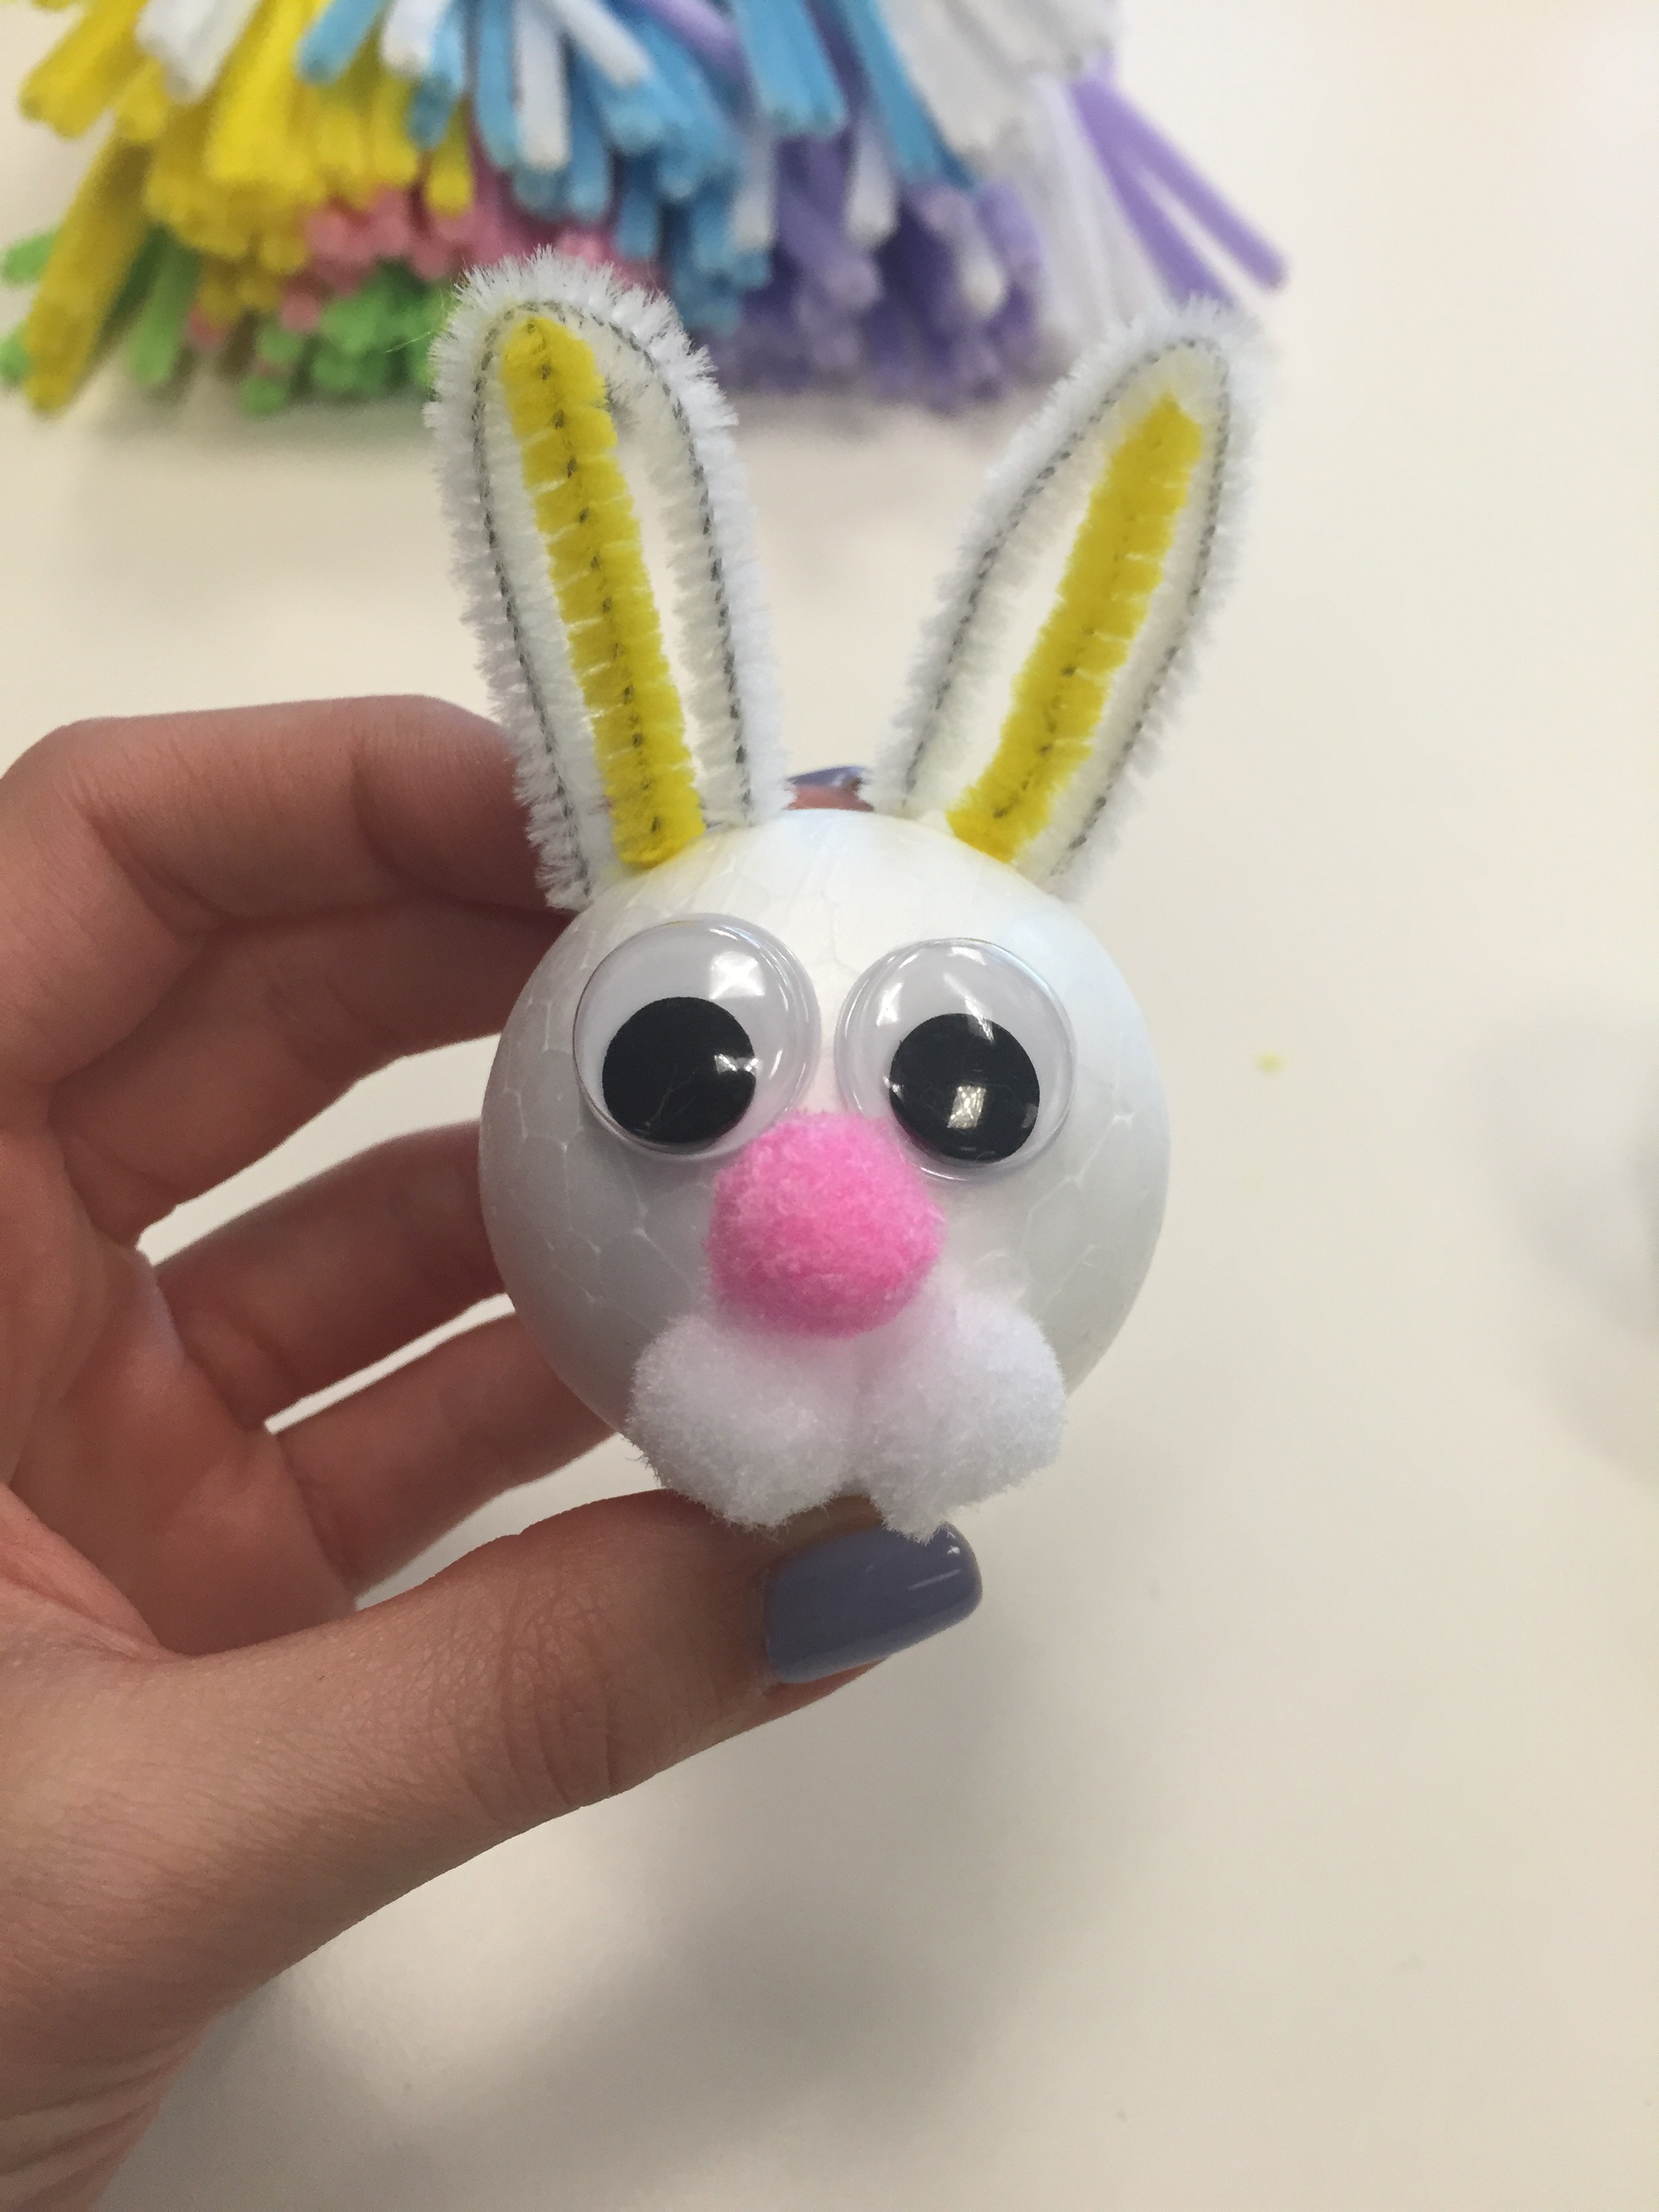 Hot glue your googly eyes to the centre of the Styrofoam ball. (CAUTION: Be mindful and generous with the hot glue as it melts the Styrofoam). Do the same for the nose and mouth of the bunny head.
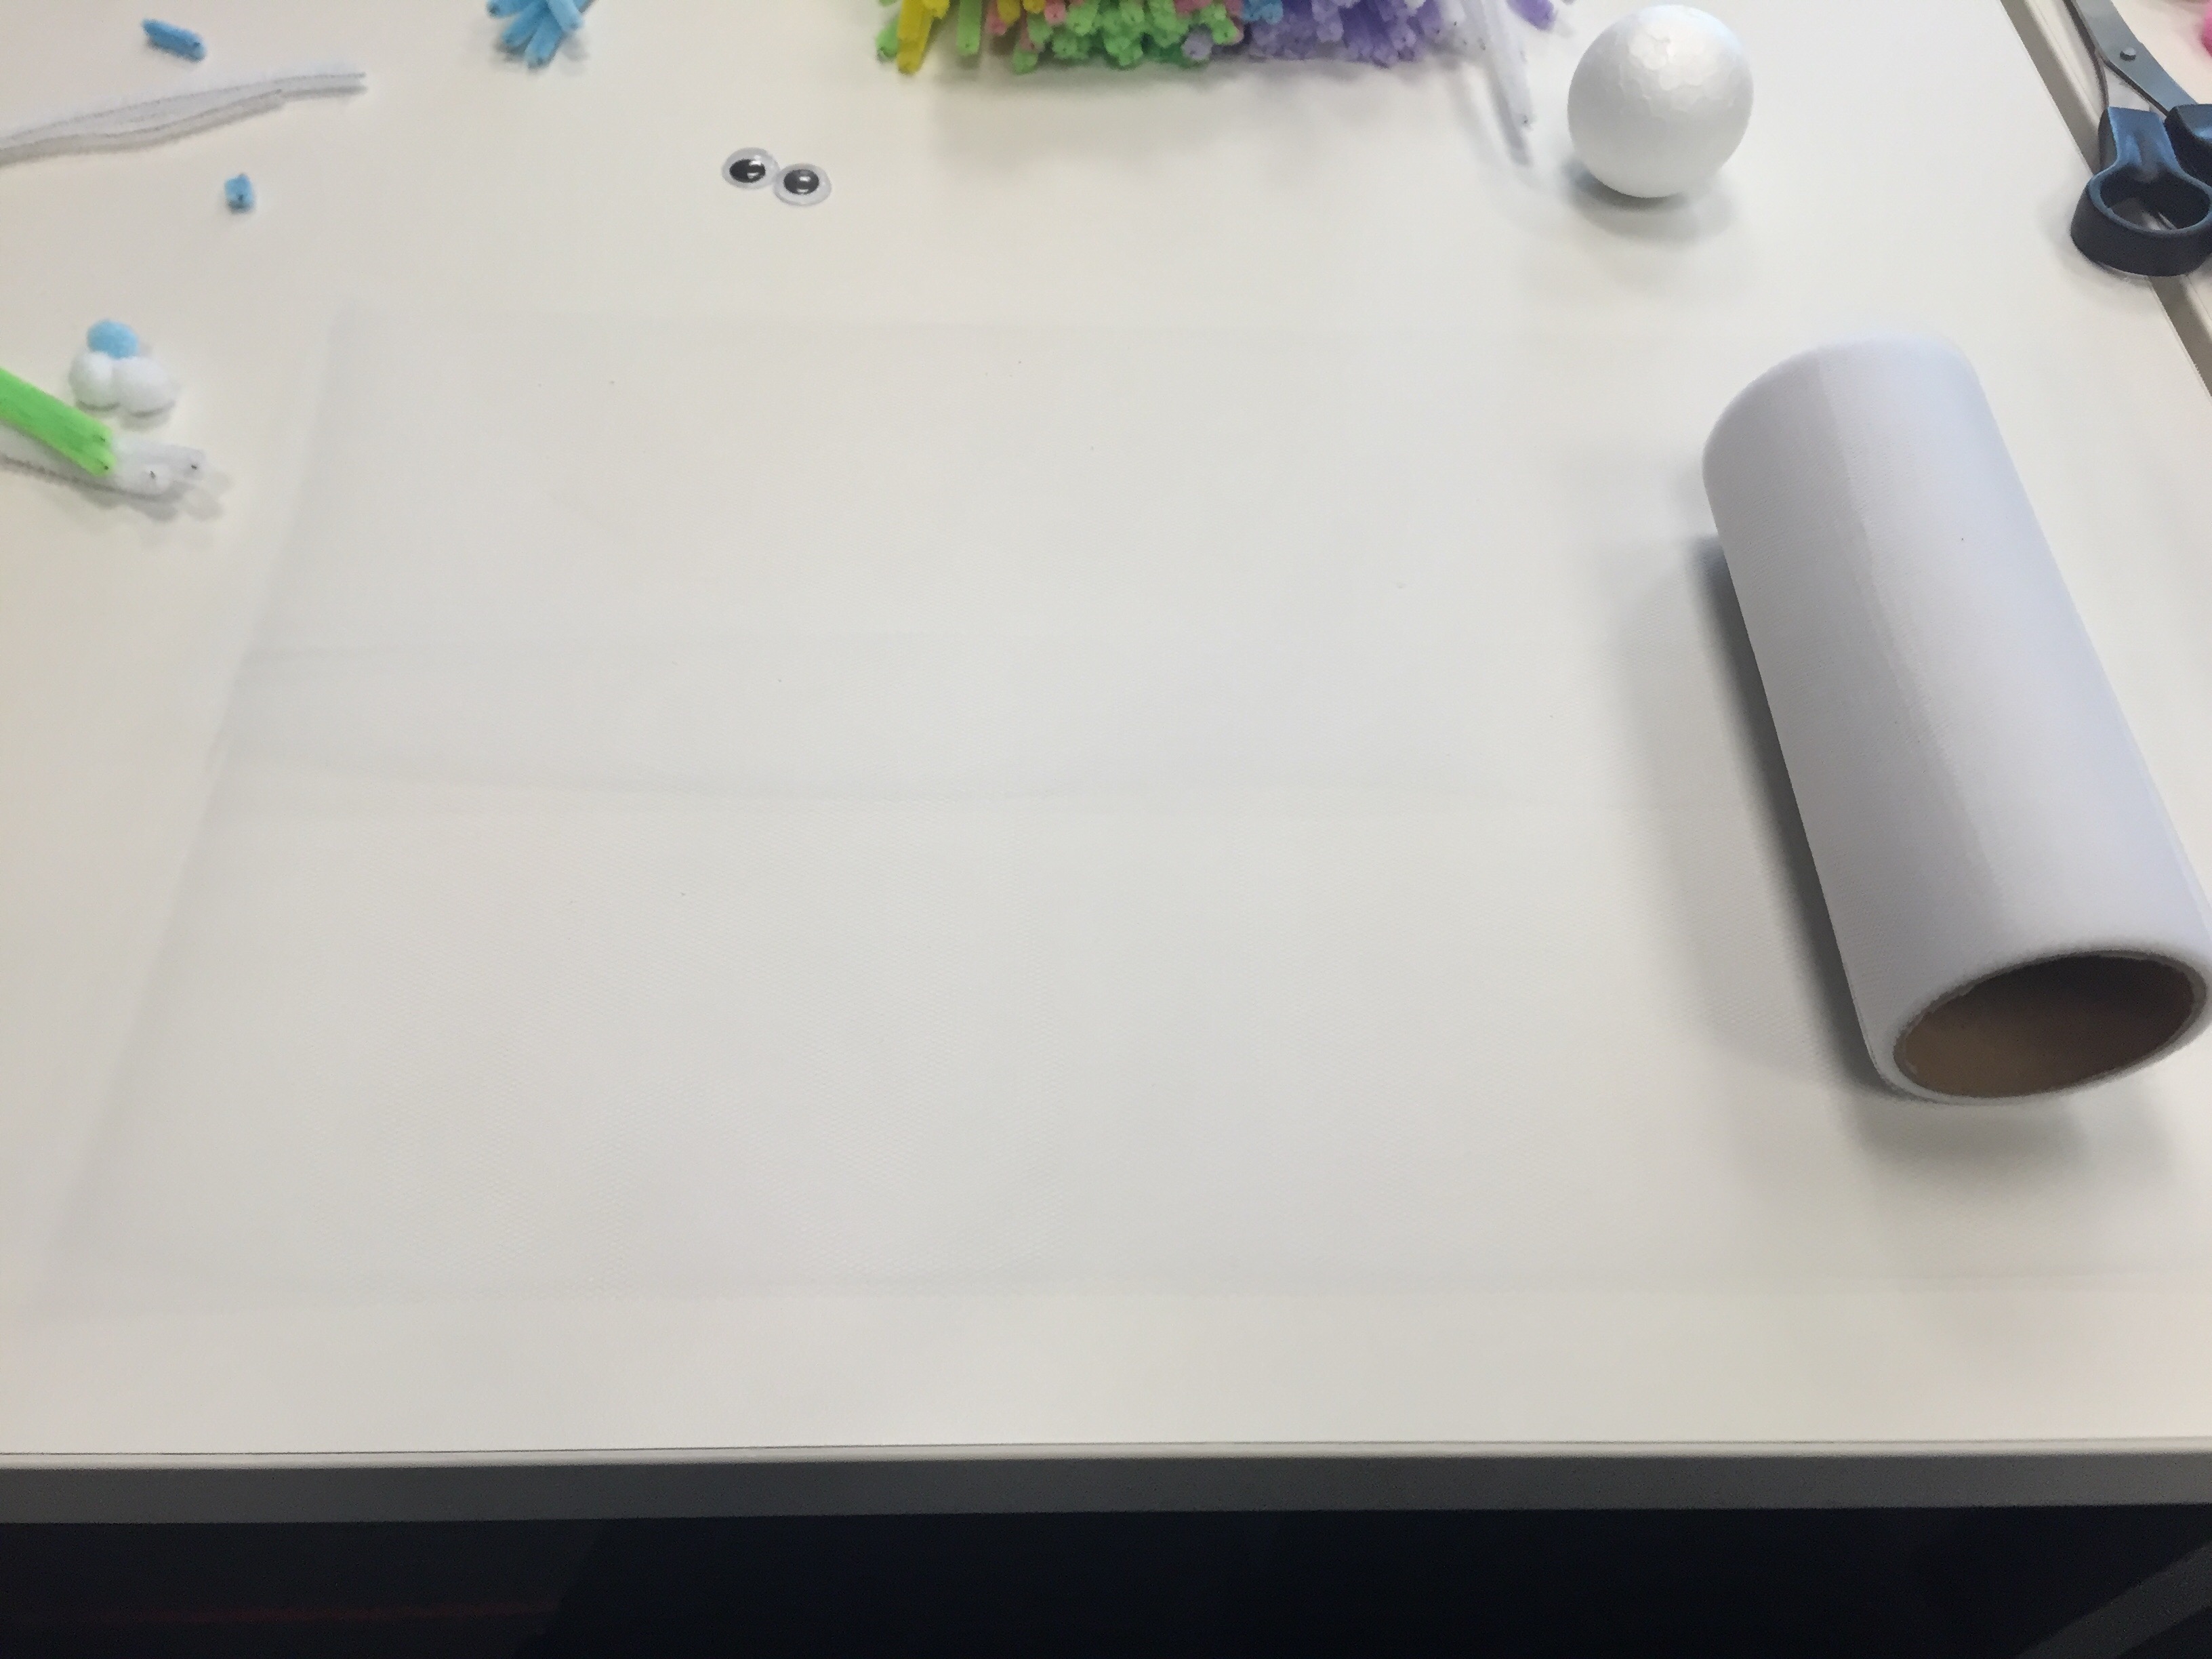
 Take your tulle material and cut about 9 inches. Place a handful (or more depending how big you want the body to be) in the centre of the tulle.
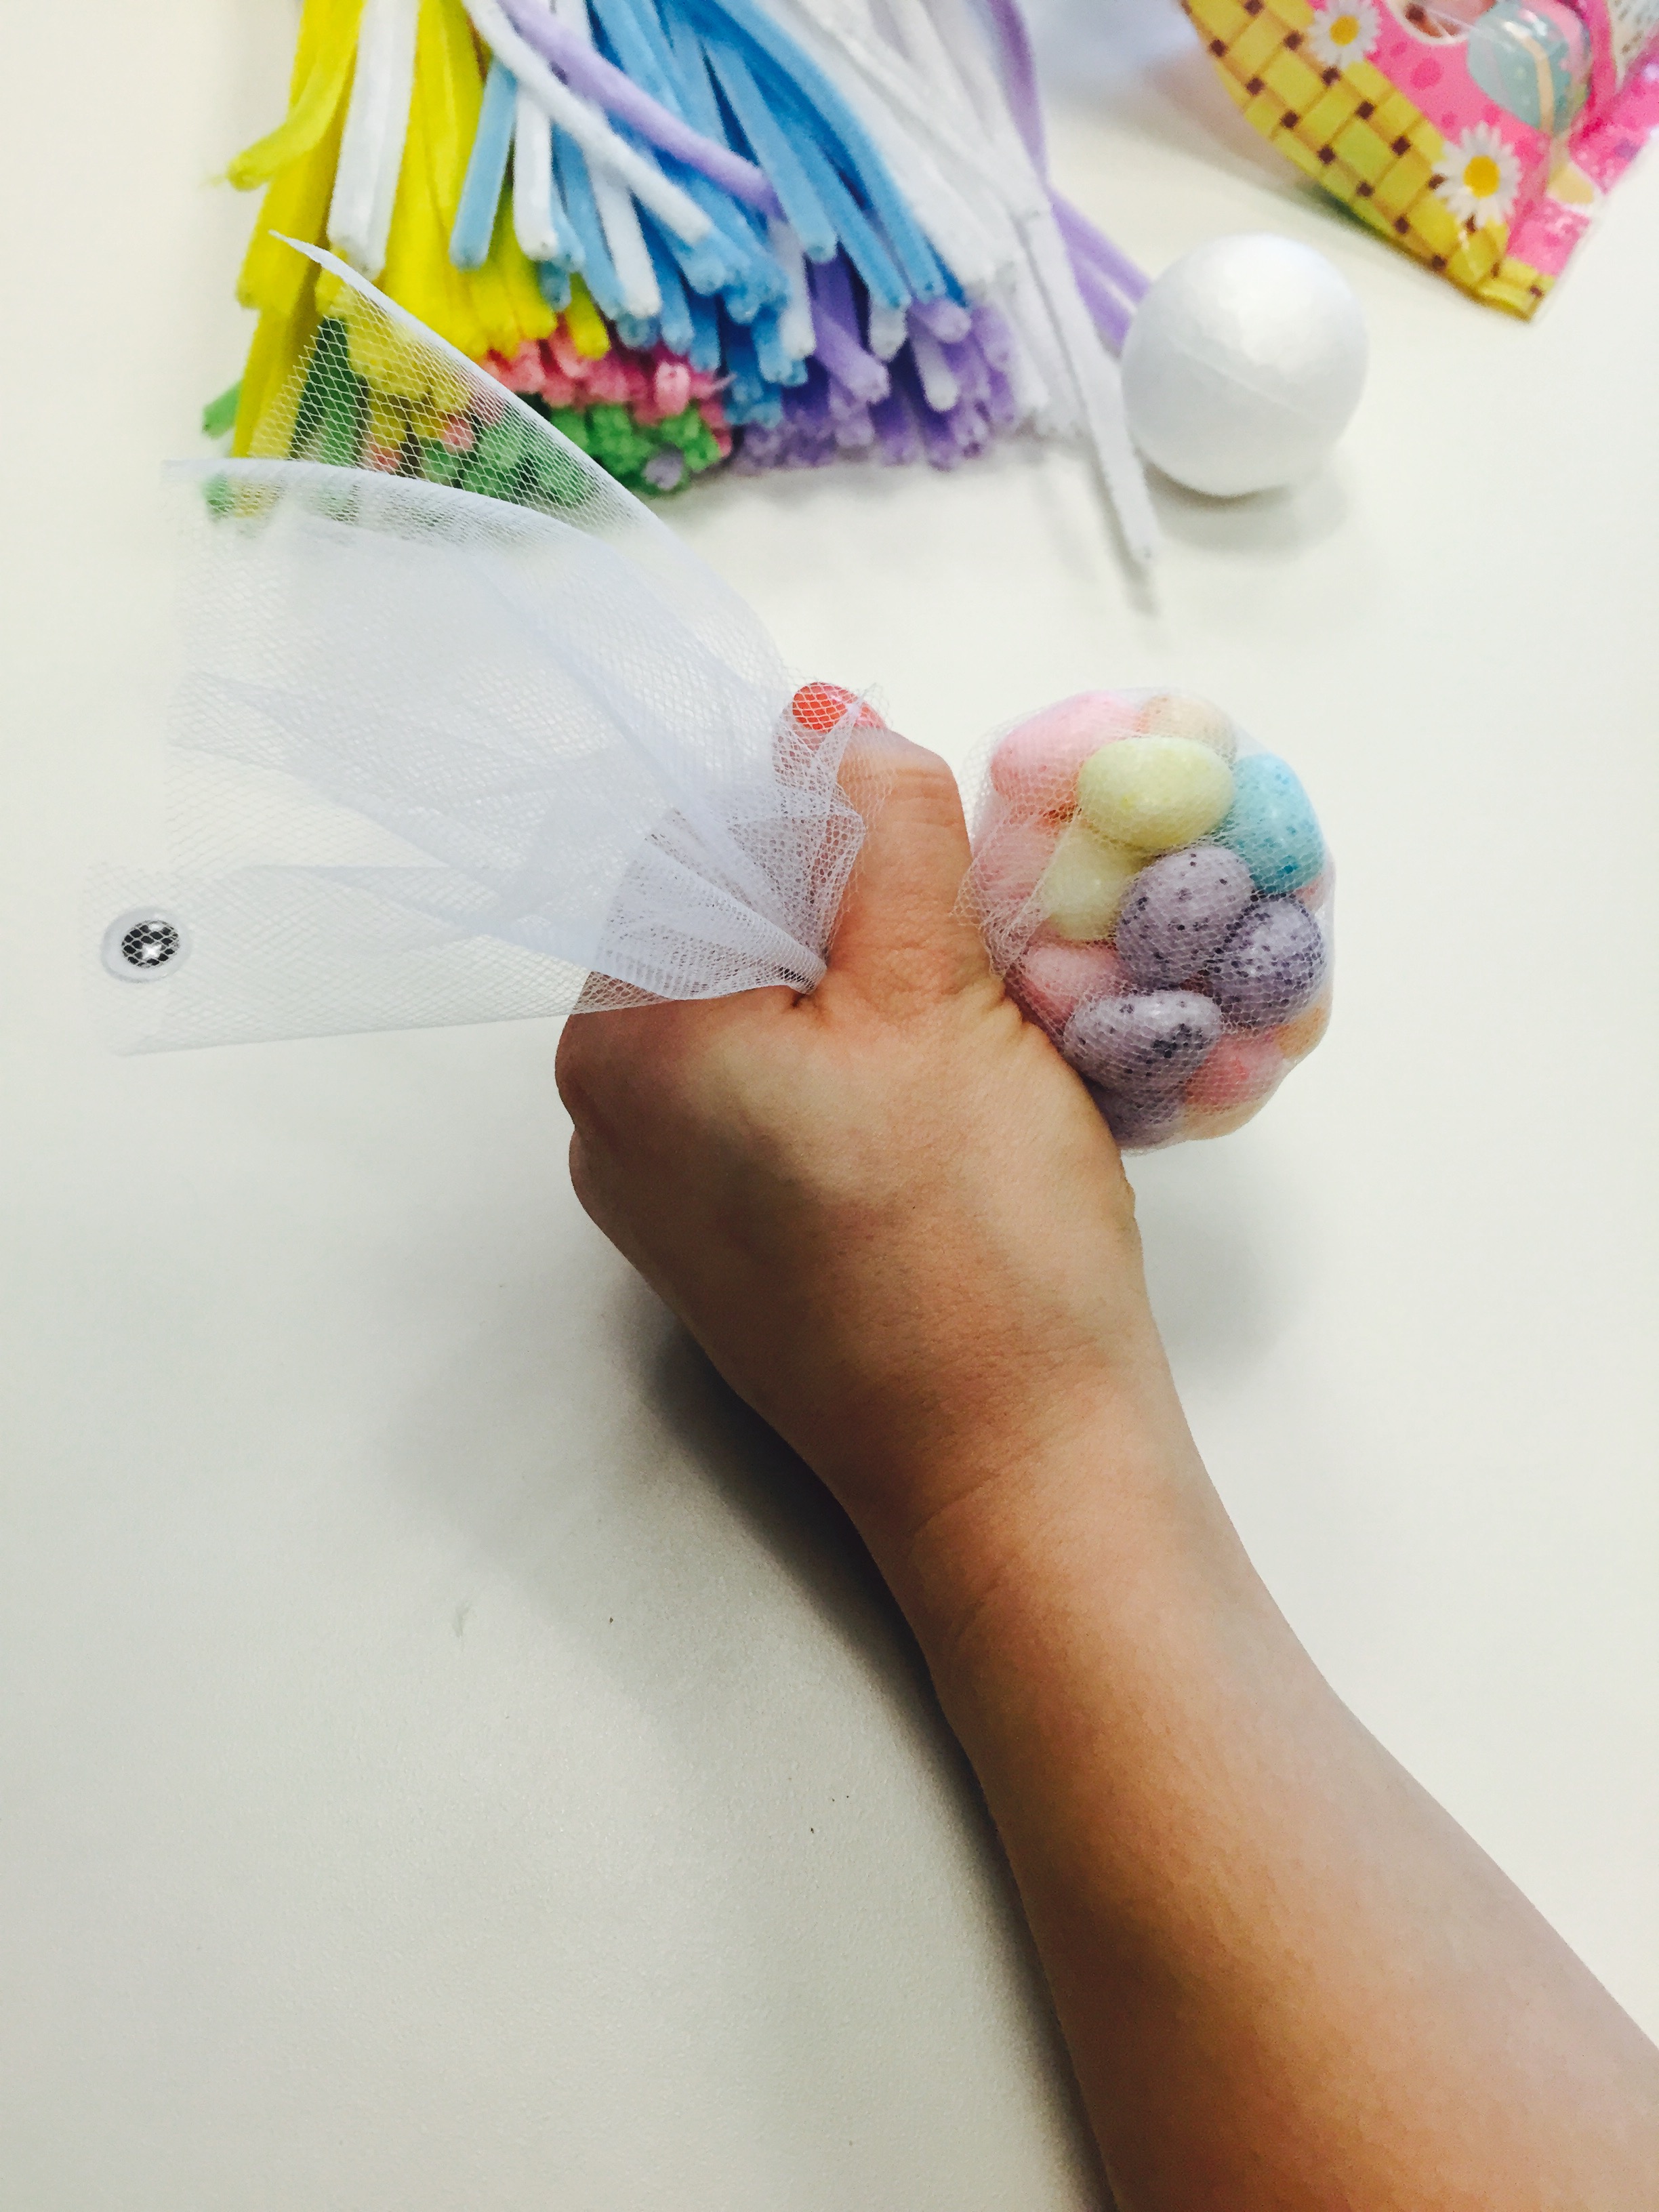
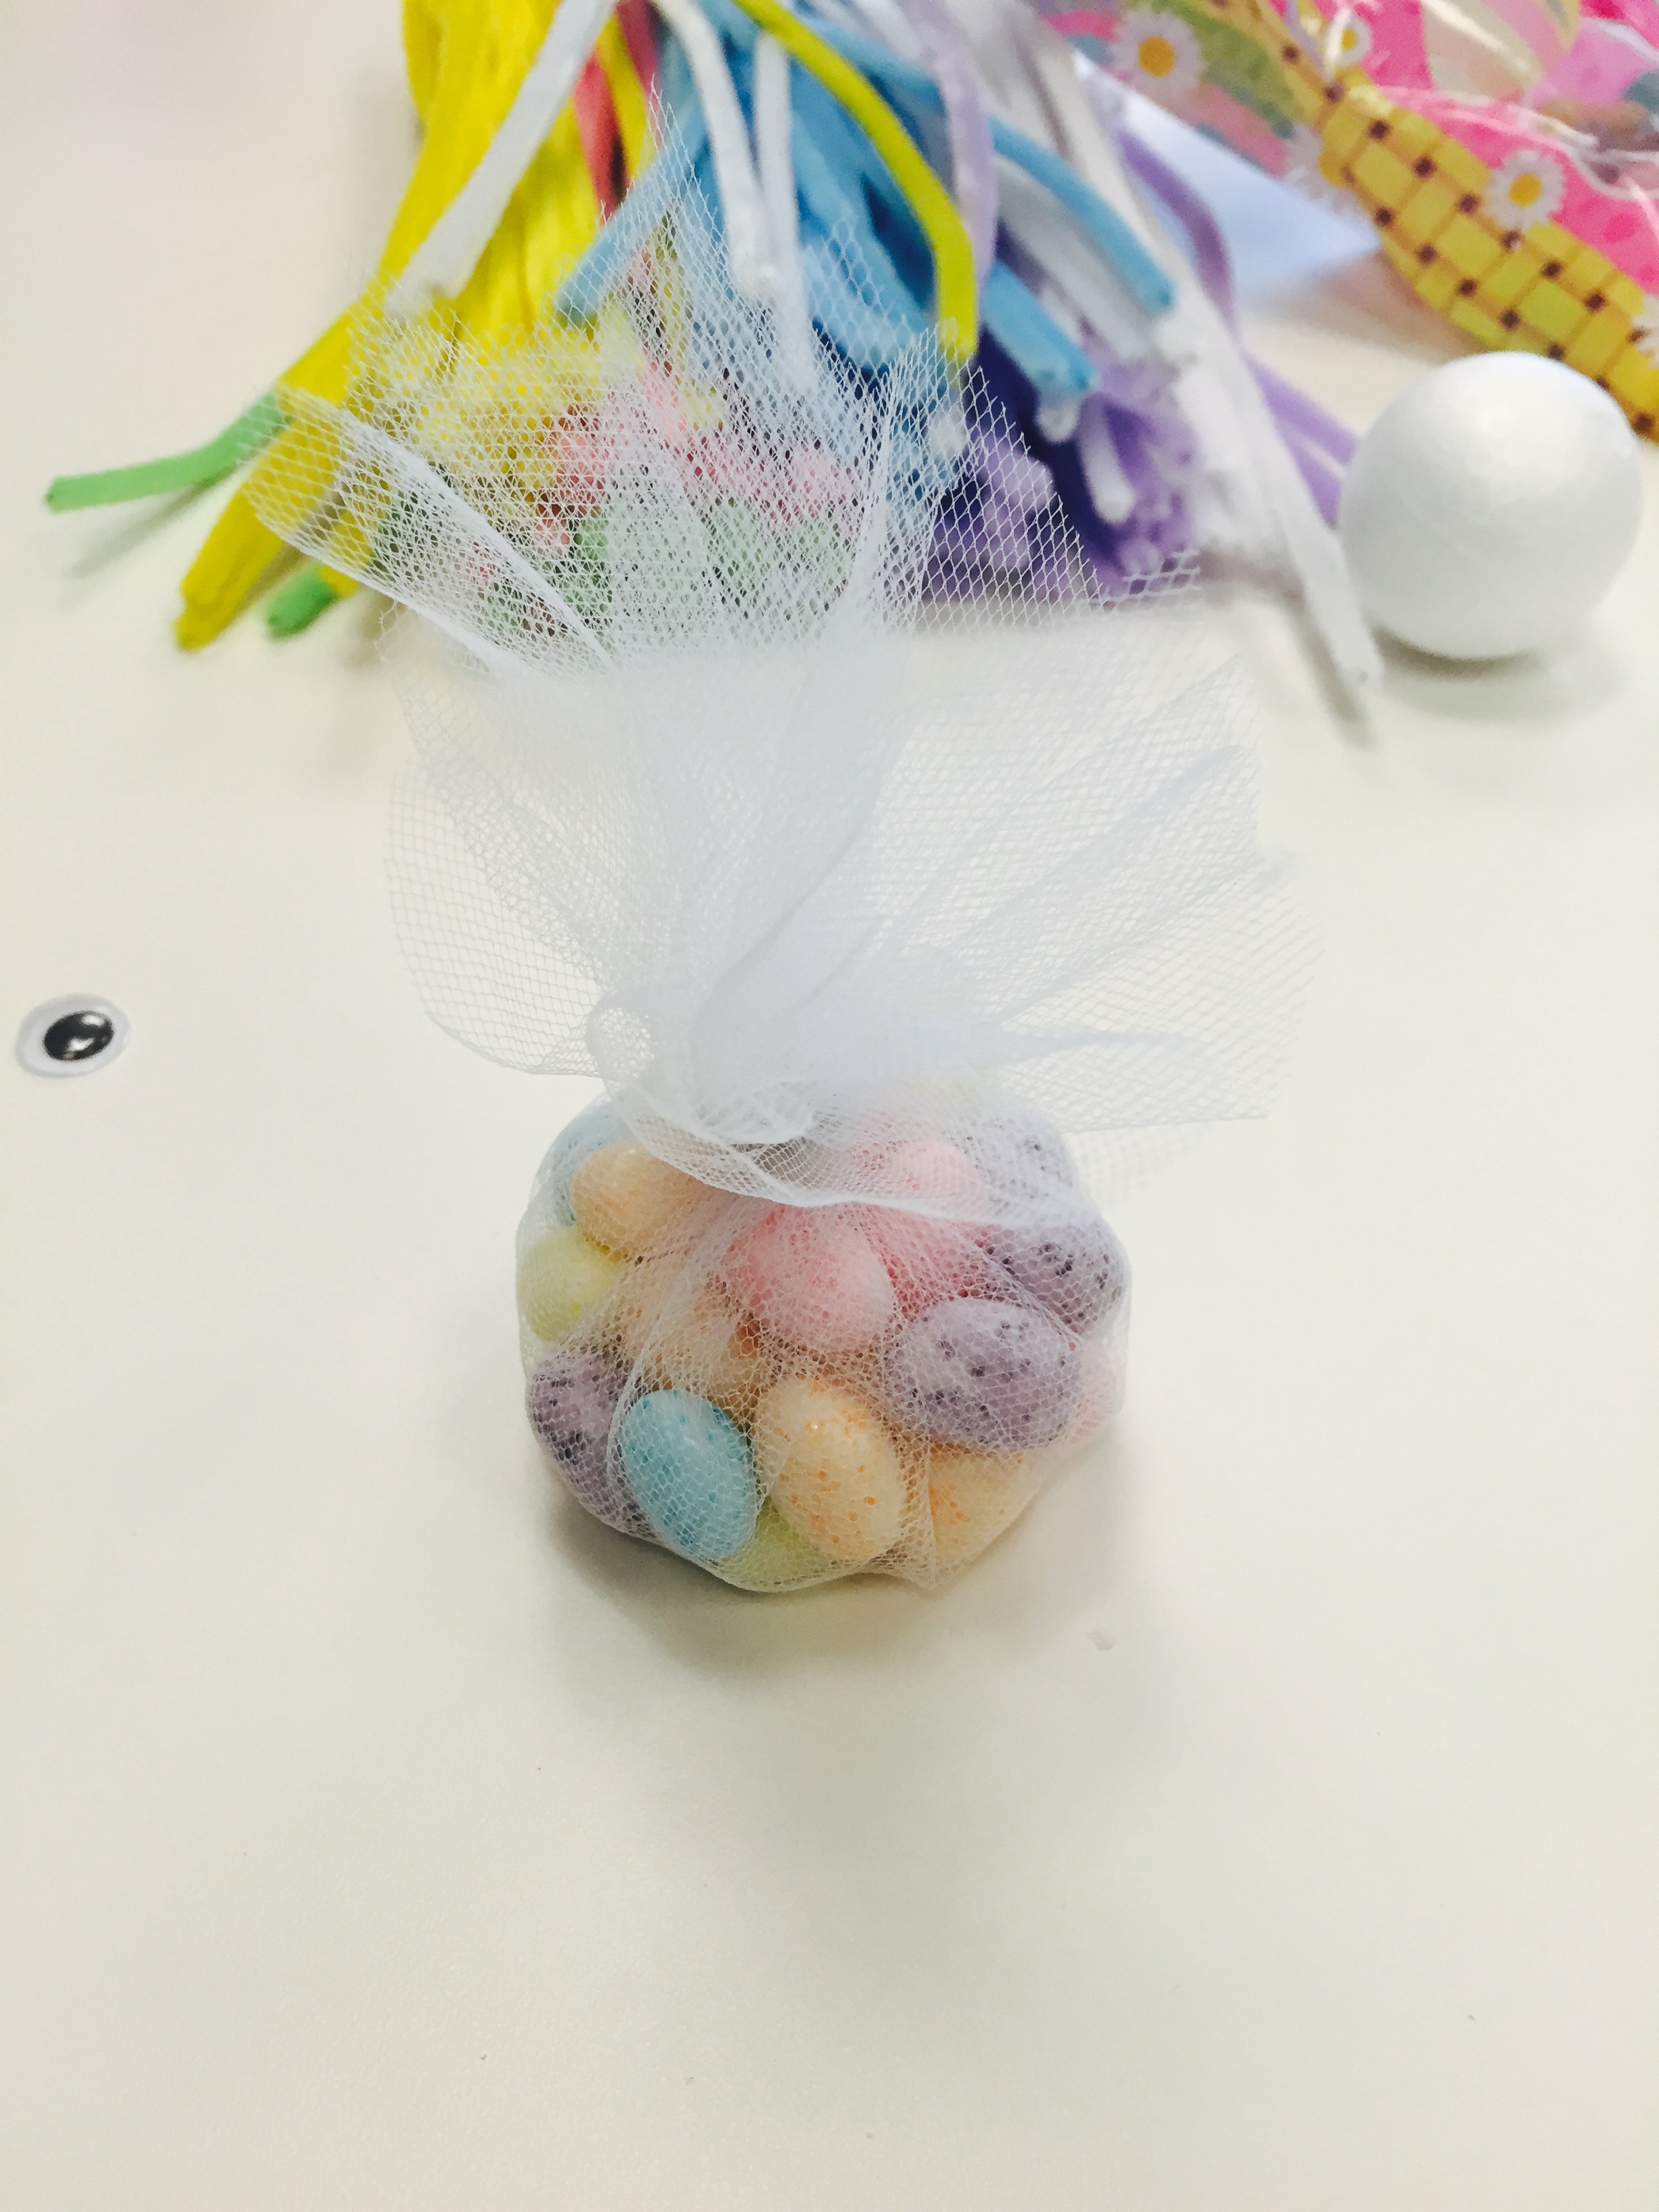 Fold the tulle material inwards and create a pouch with the treats inside. Use a small piece of pipe cleaner to close the body of the bunny. Twist and turn the pipe cleaner to secure or opt for an elastic band or string.

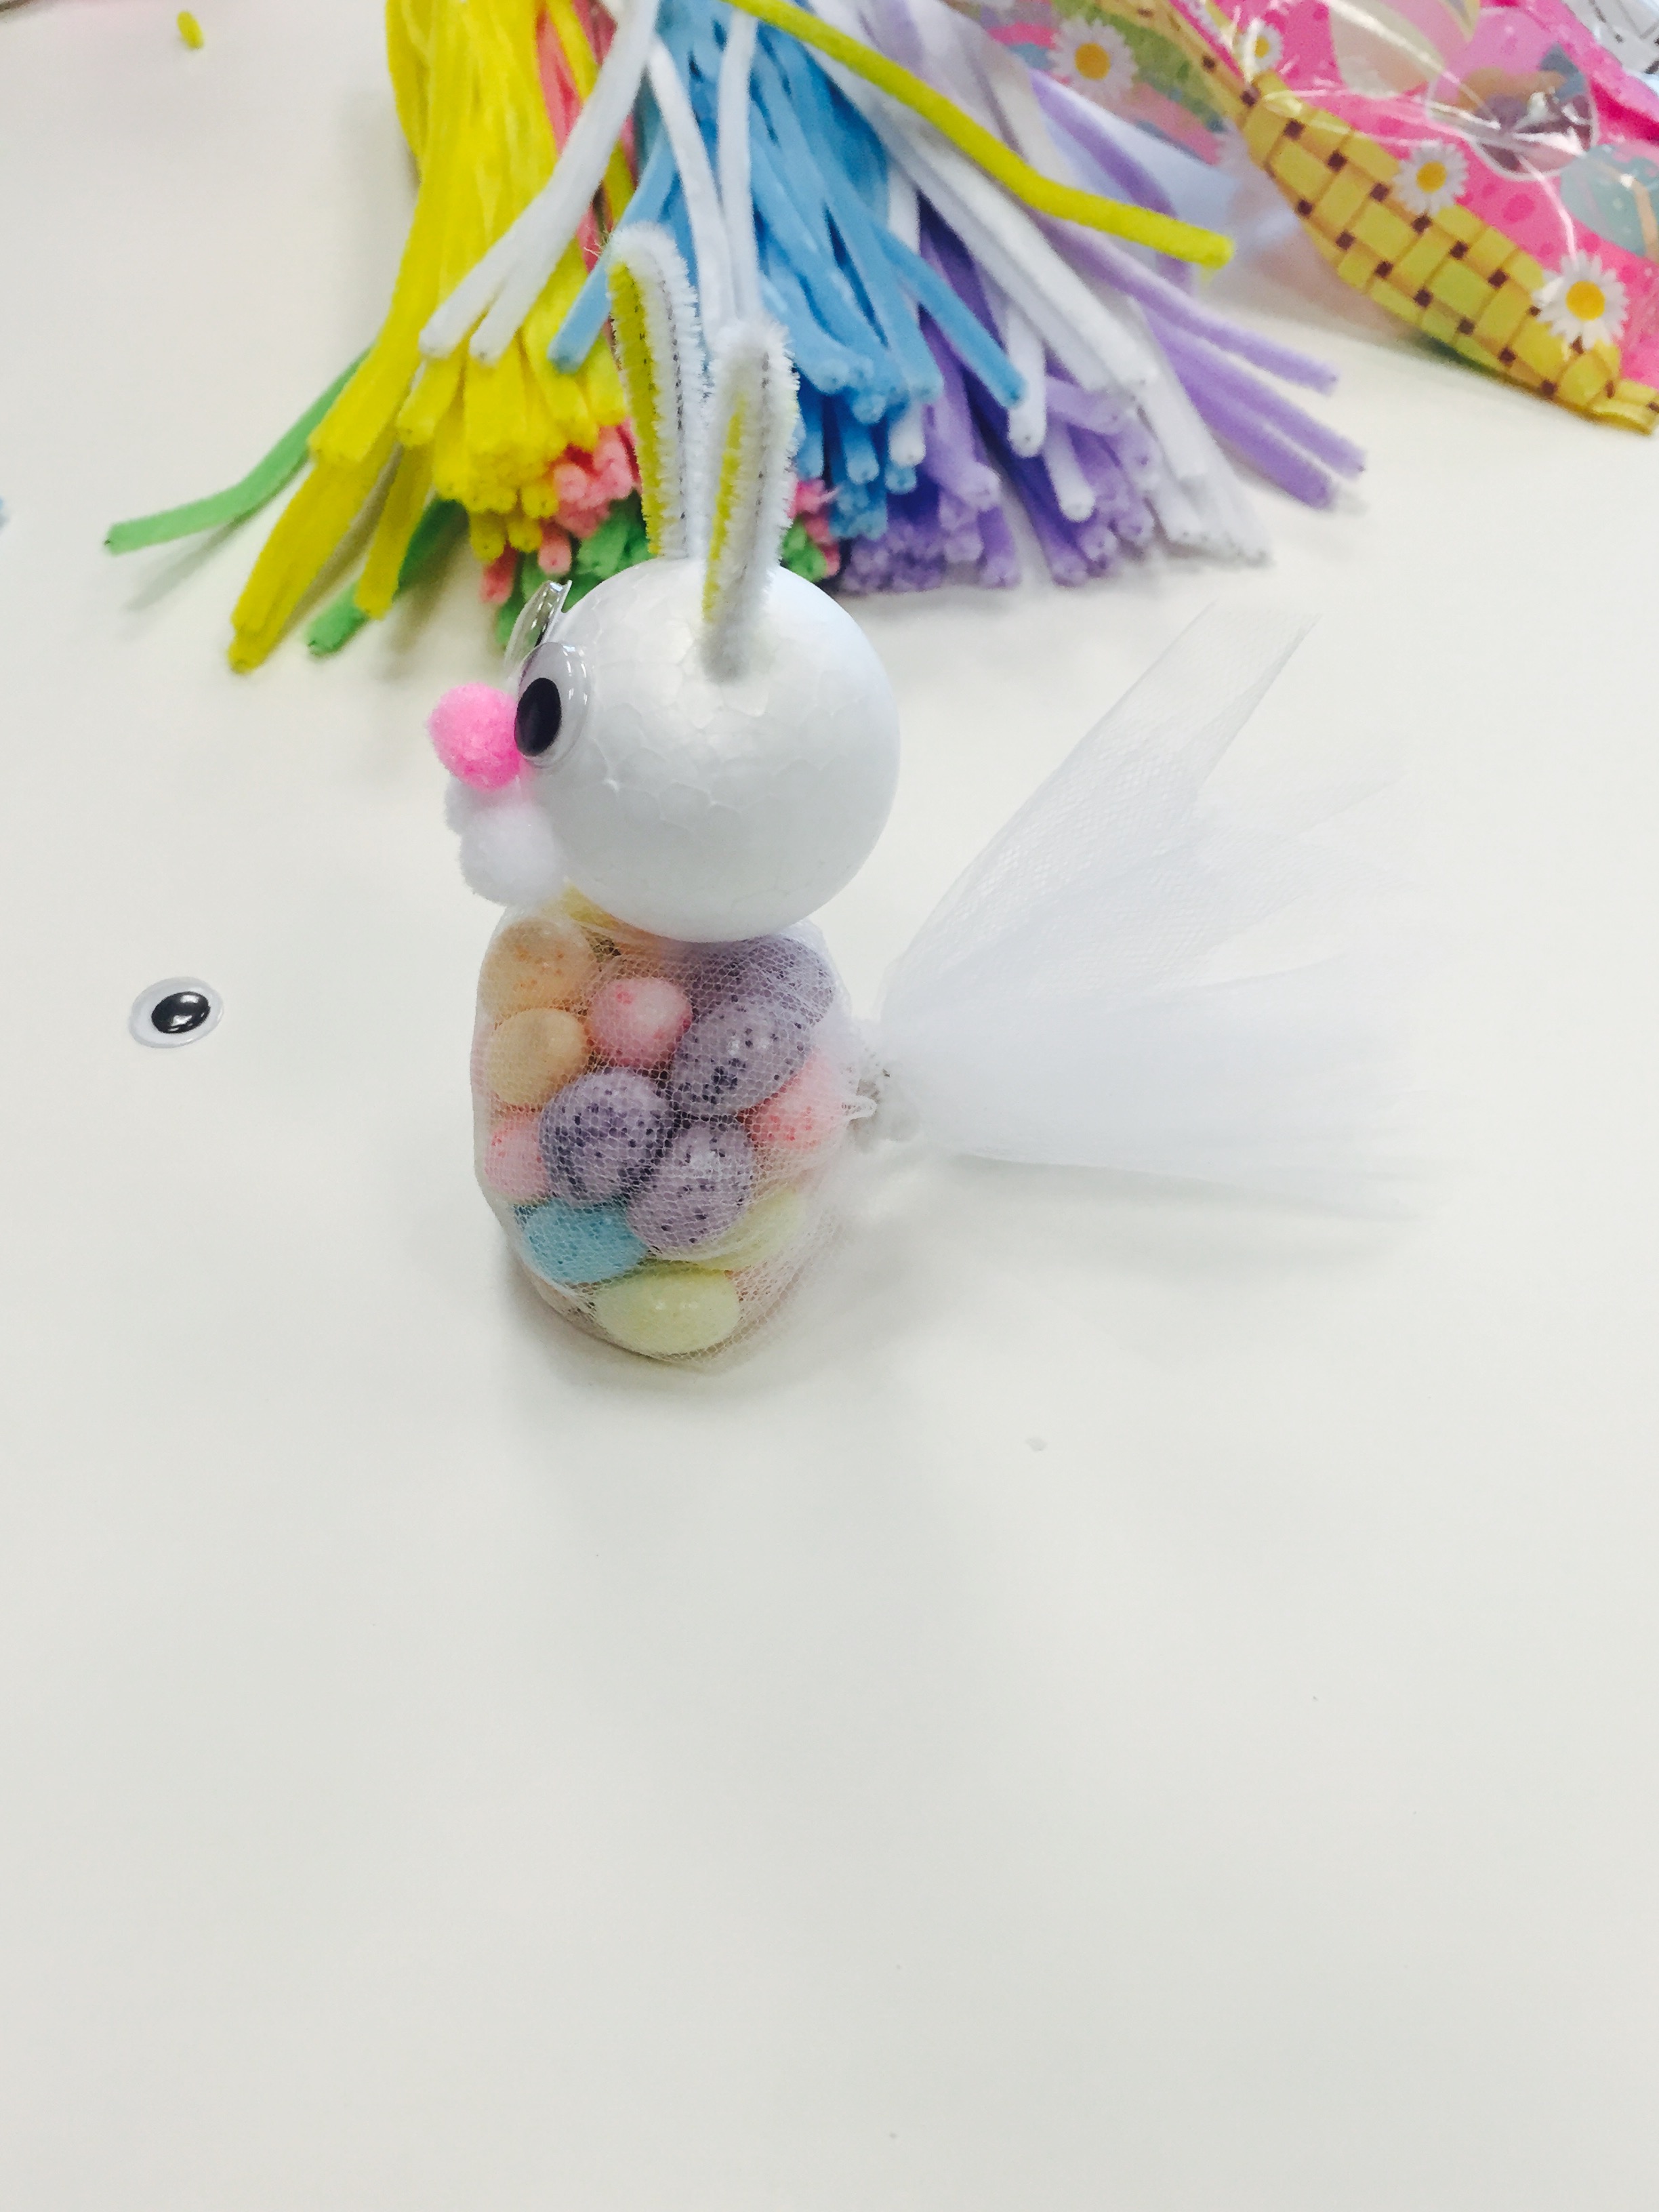
Take another pipe cleaner and cut it into 4 inches and stick it into the bottom middle of the bunny head. Cut a bit of the excess tulle to create a cute bushy bunny tale. Turn the body to the side so that the tail is facing sideways. Take your bunny head and stick it into the centre of the body.
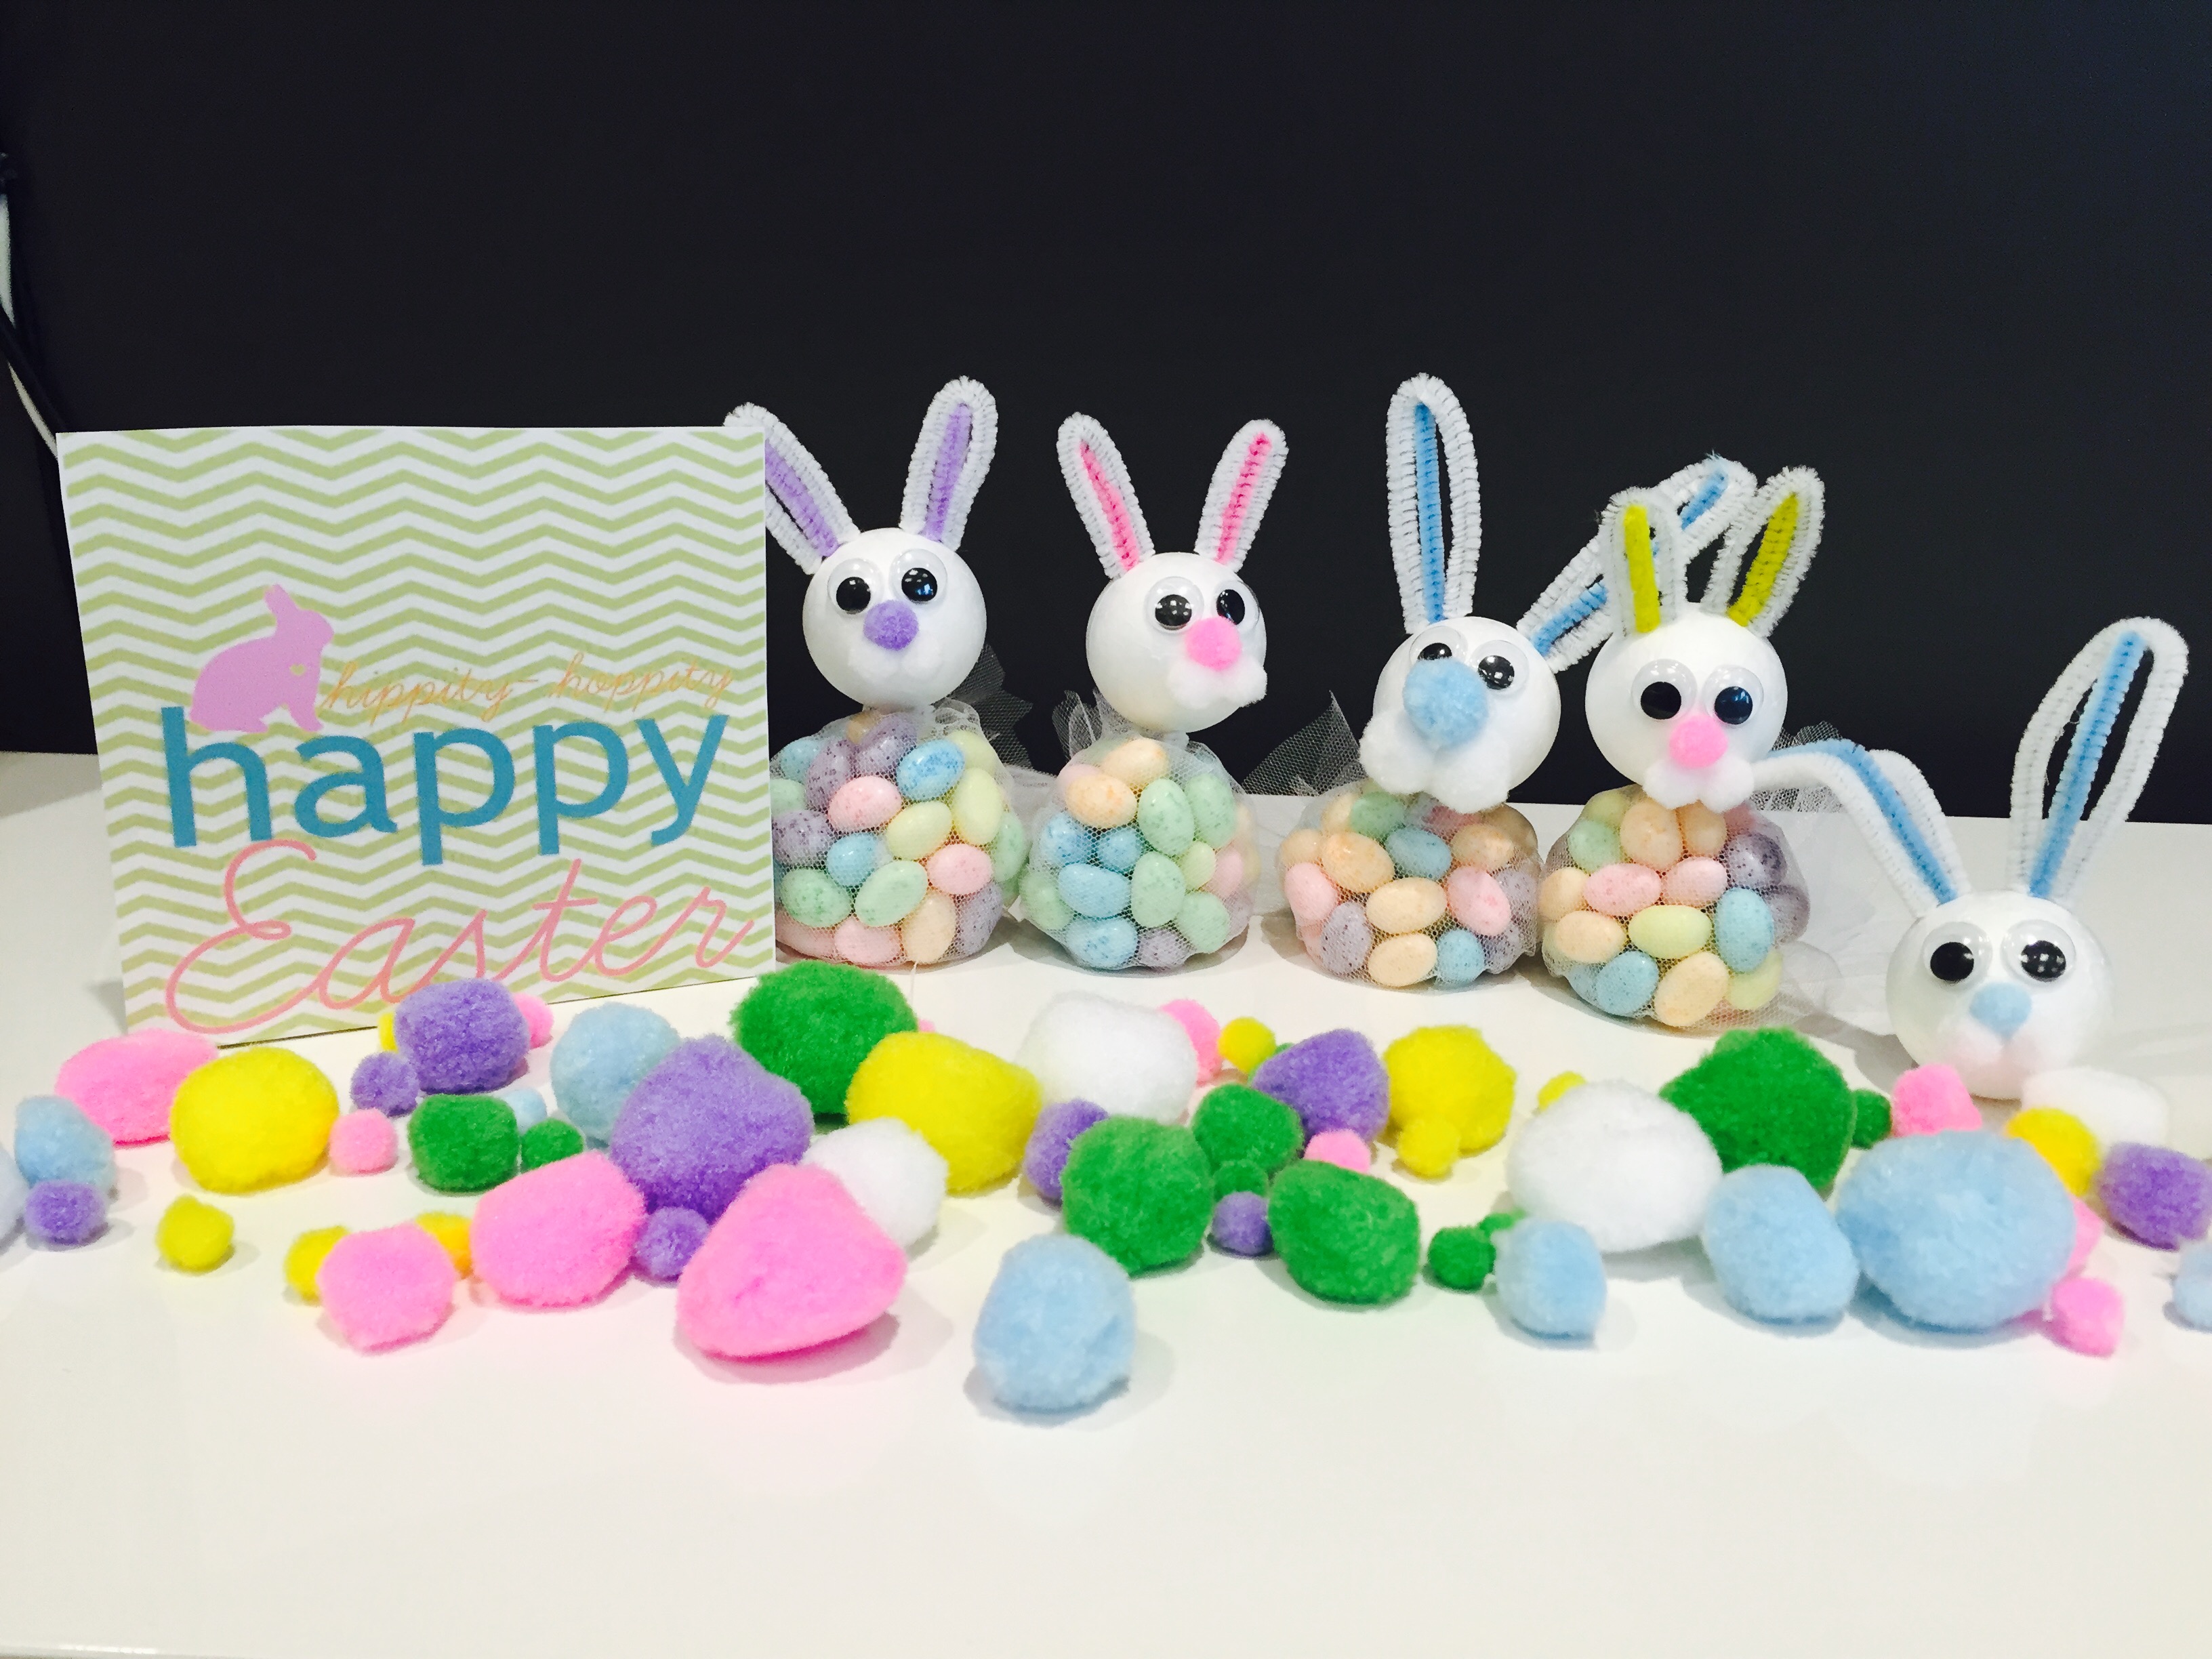
 And voila, you’re done! Happy crafting. 🙂