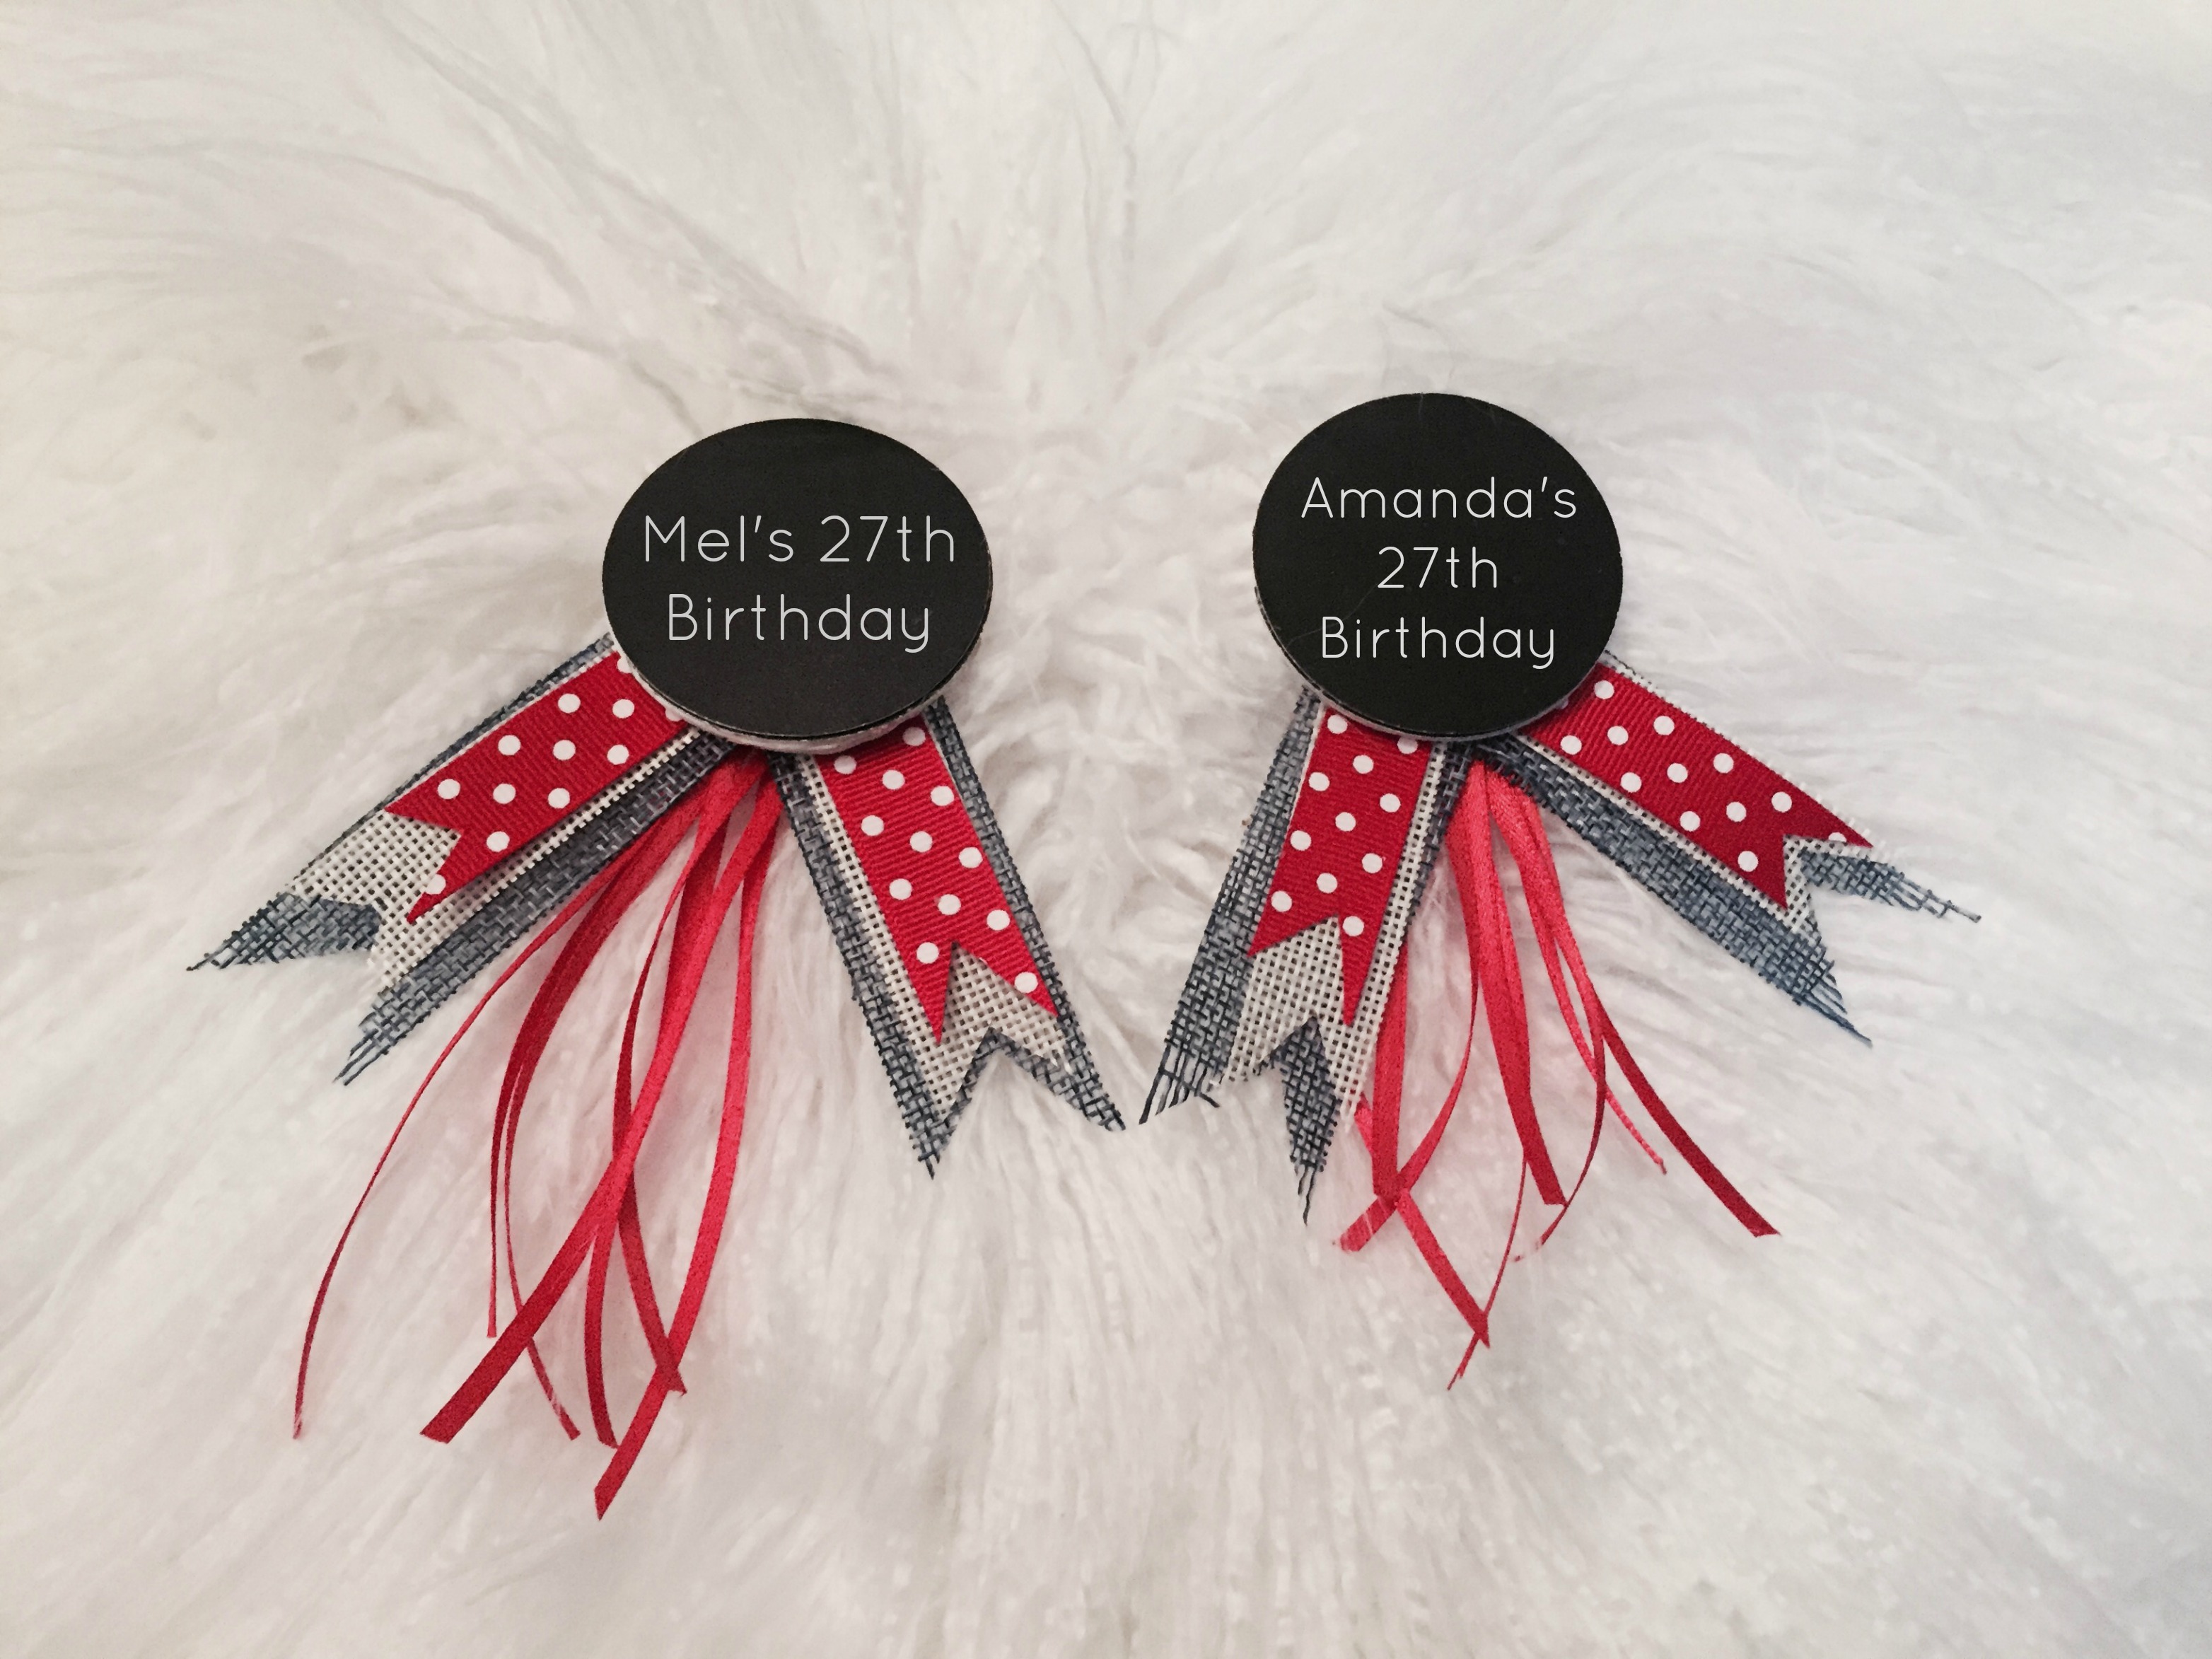
Howdy chic meninas! It’s been a while since we had a DIY project. Well, it’s actually just been a while in general but we’re back, in good working order. I finally got a new laptop (yay! we’ll chat more about that on my Facebook). I decided to tag ya’ll along as I make these chic birthday badges for my sissy Mel and I.
I love birthdays, themes, events, you name it. I go all out and stick to the core of the theme because seeing it all come to life and the planning process actually excites me. This year, Melaney and I decided to do a “Western theme” birthday. I’ll have all the details in a later post on how our city backyard got a western makeover. For now I decided to share with you this cute little DIY project that works for any occasion and for any age. Enjoy ya’ll.
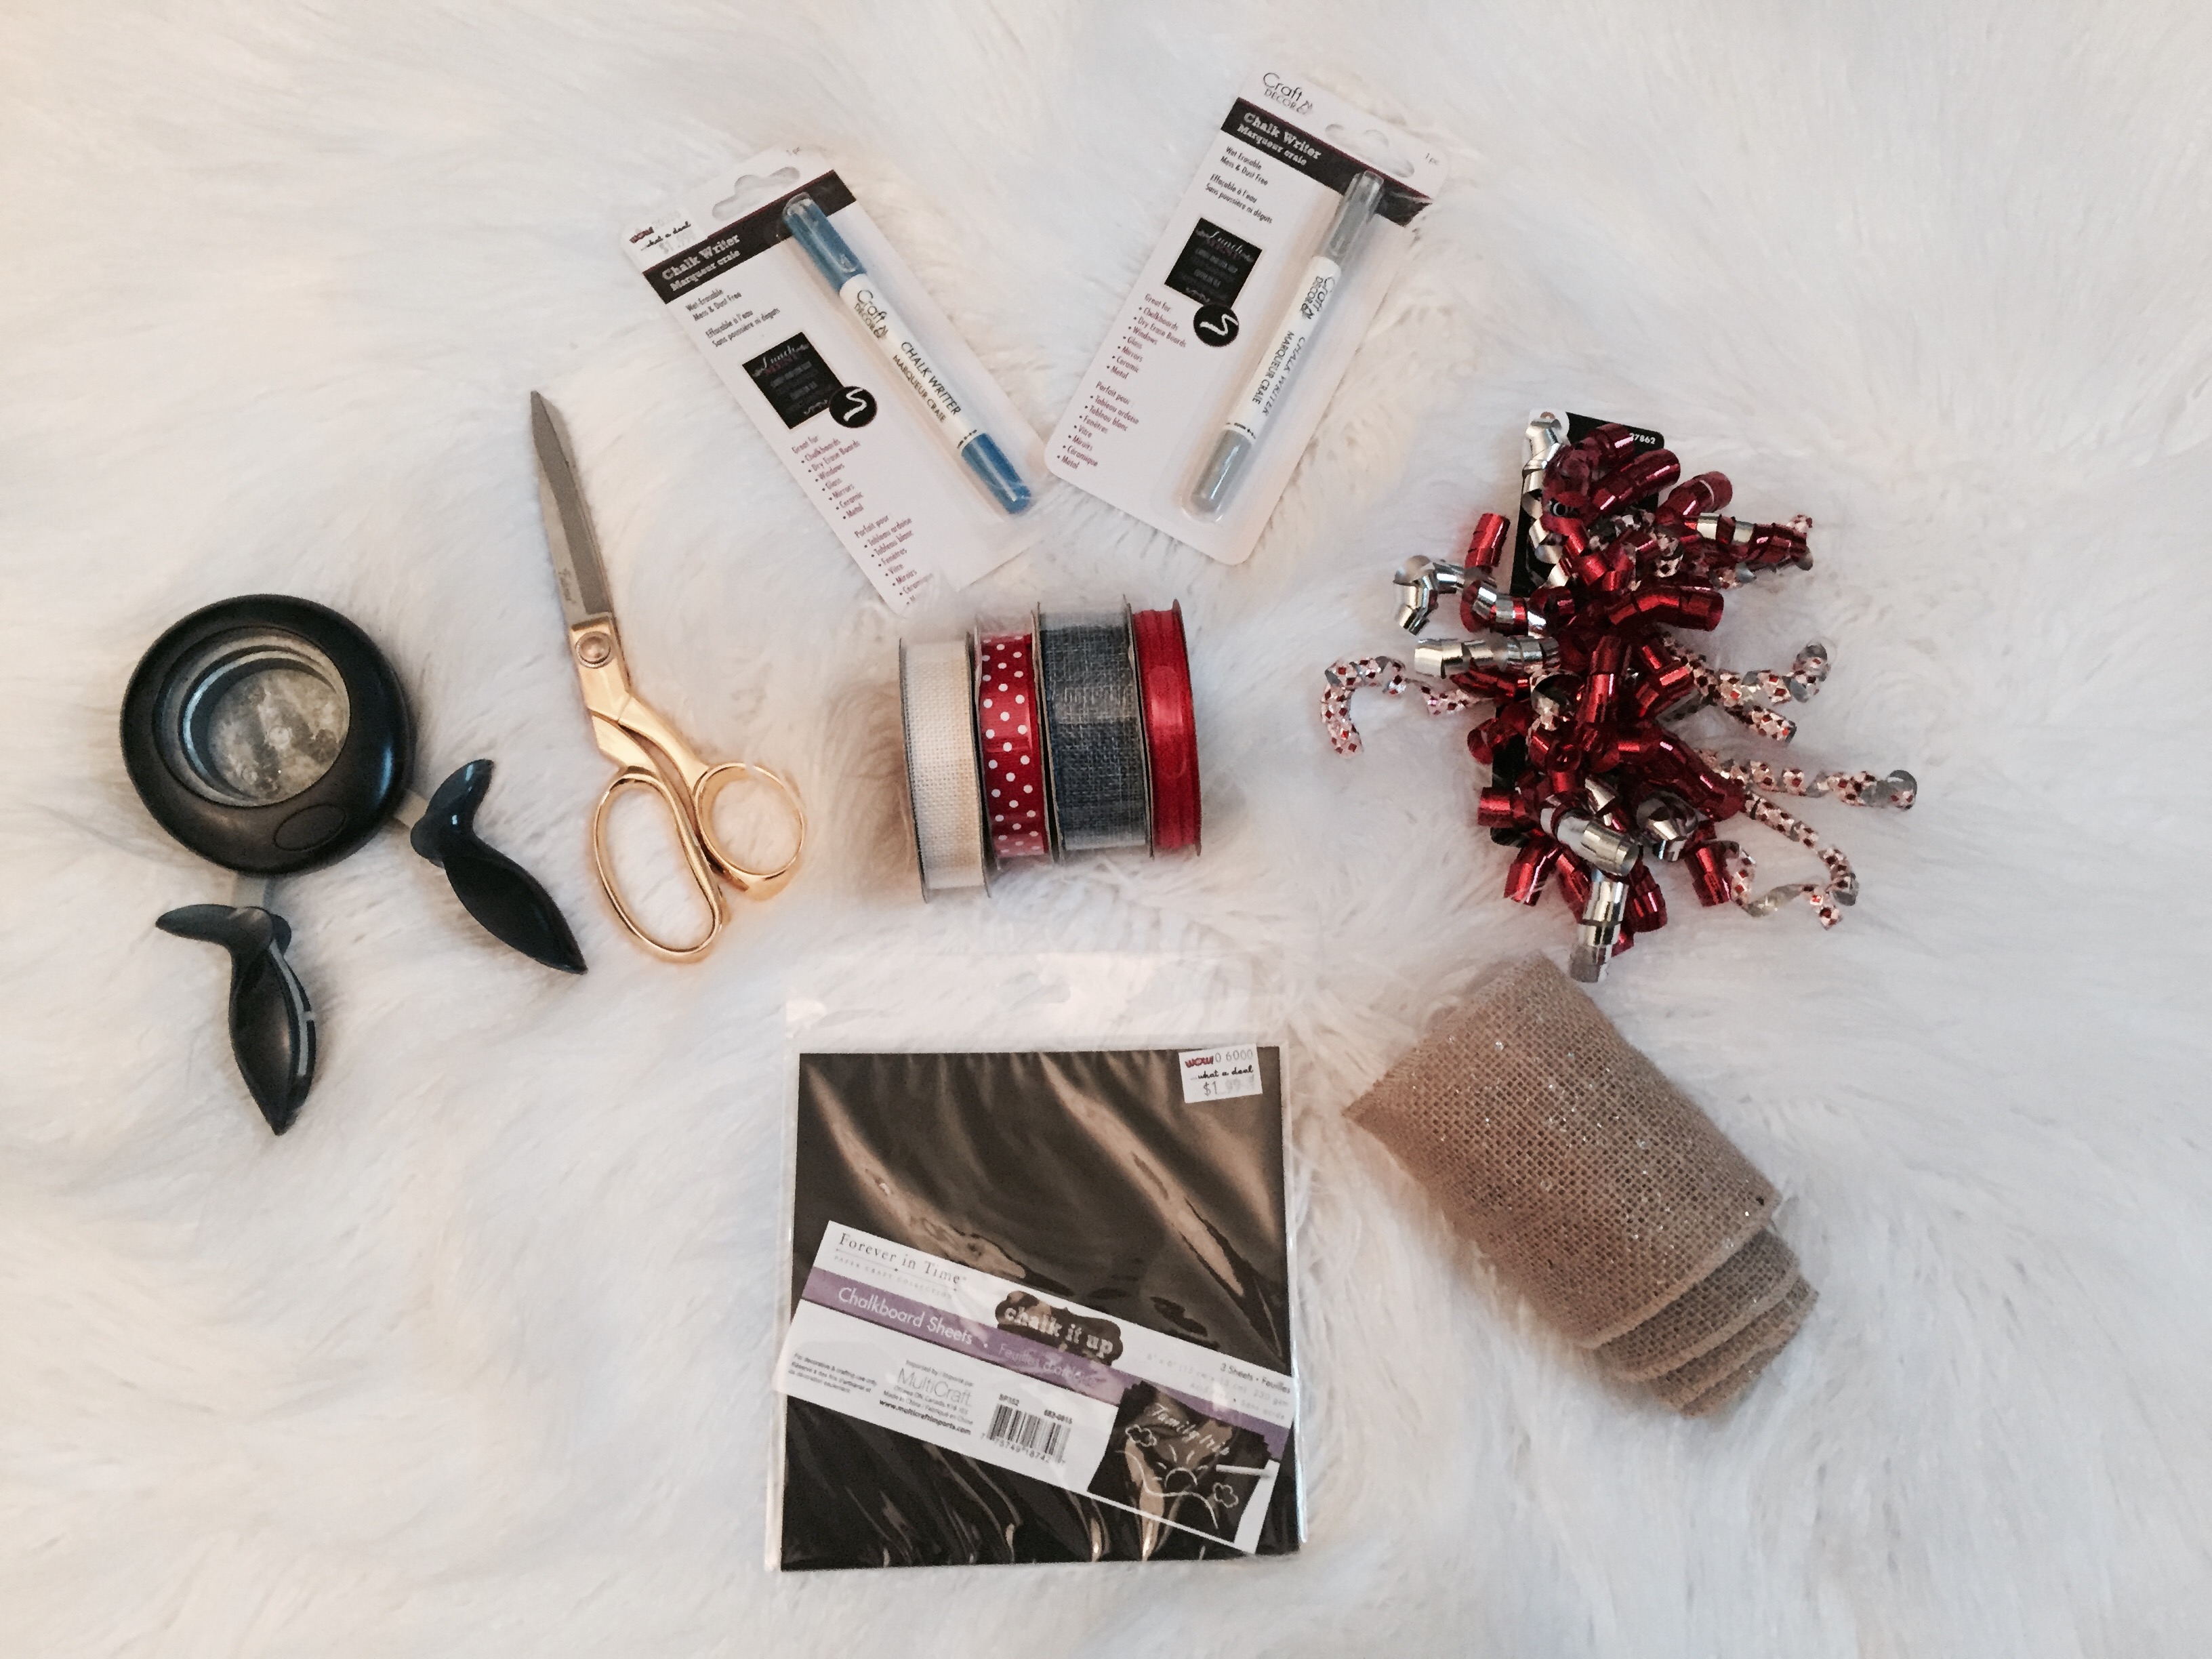
What you’ll need:
– Chalk board paper (you can use card stock paper if chalk board paper is not available to you)
– Card stock paper
– Chalk board pen (markers or metallic pen if you are going the card stock route)
– Hot glue gun
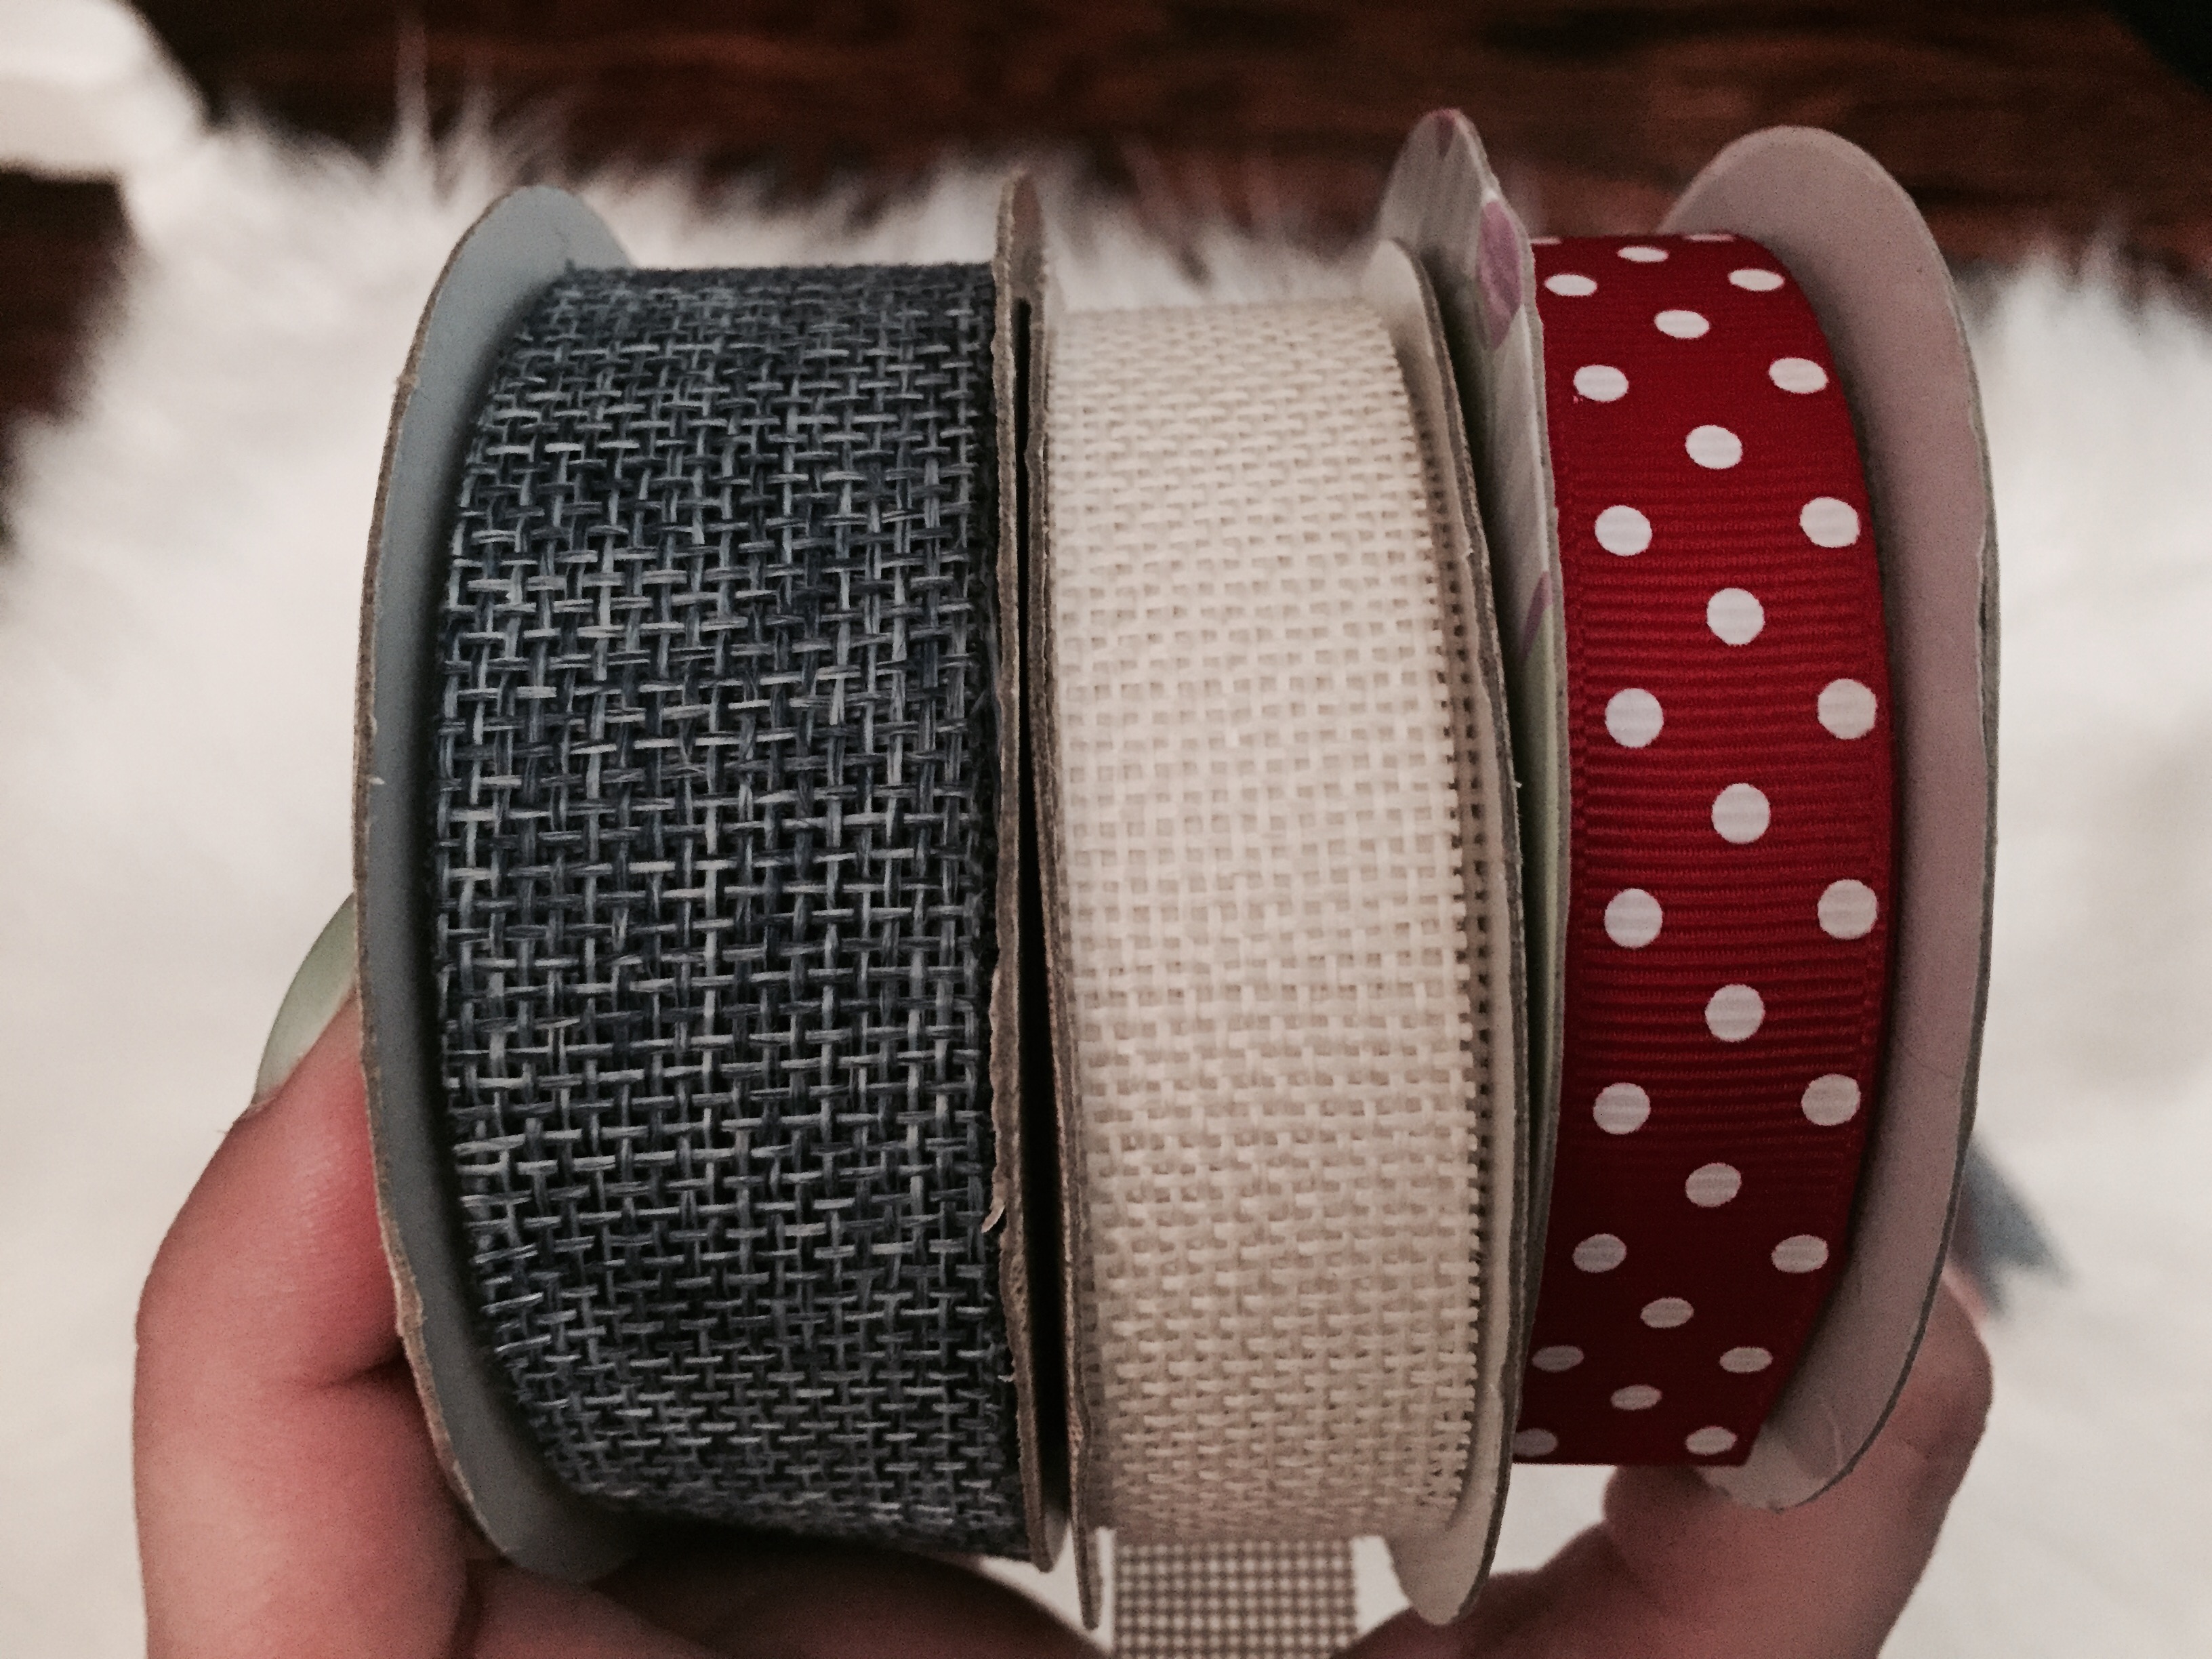
– Different styles and sizes of ribbon
– Circle cutter (mine is 2″)
– Foam paper
– Adhesive Bar Pins
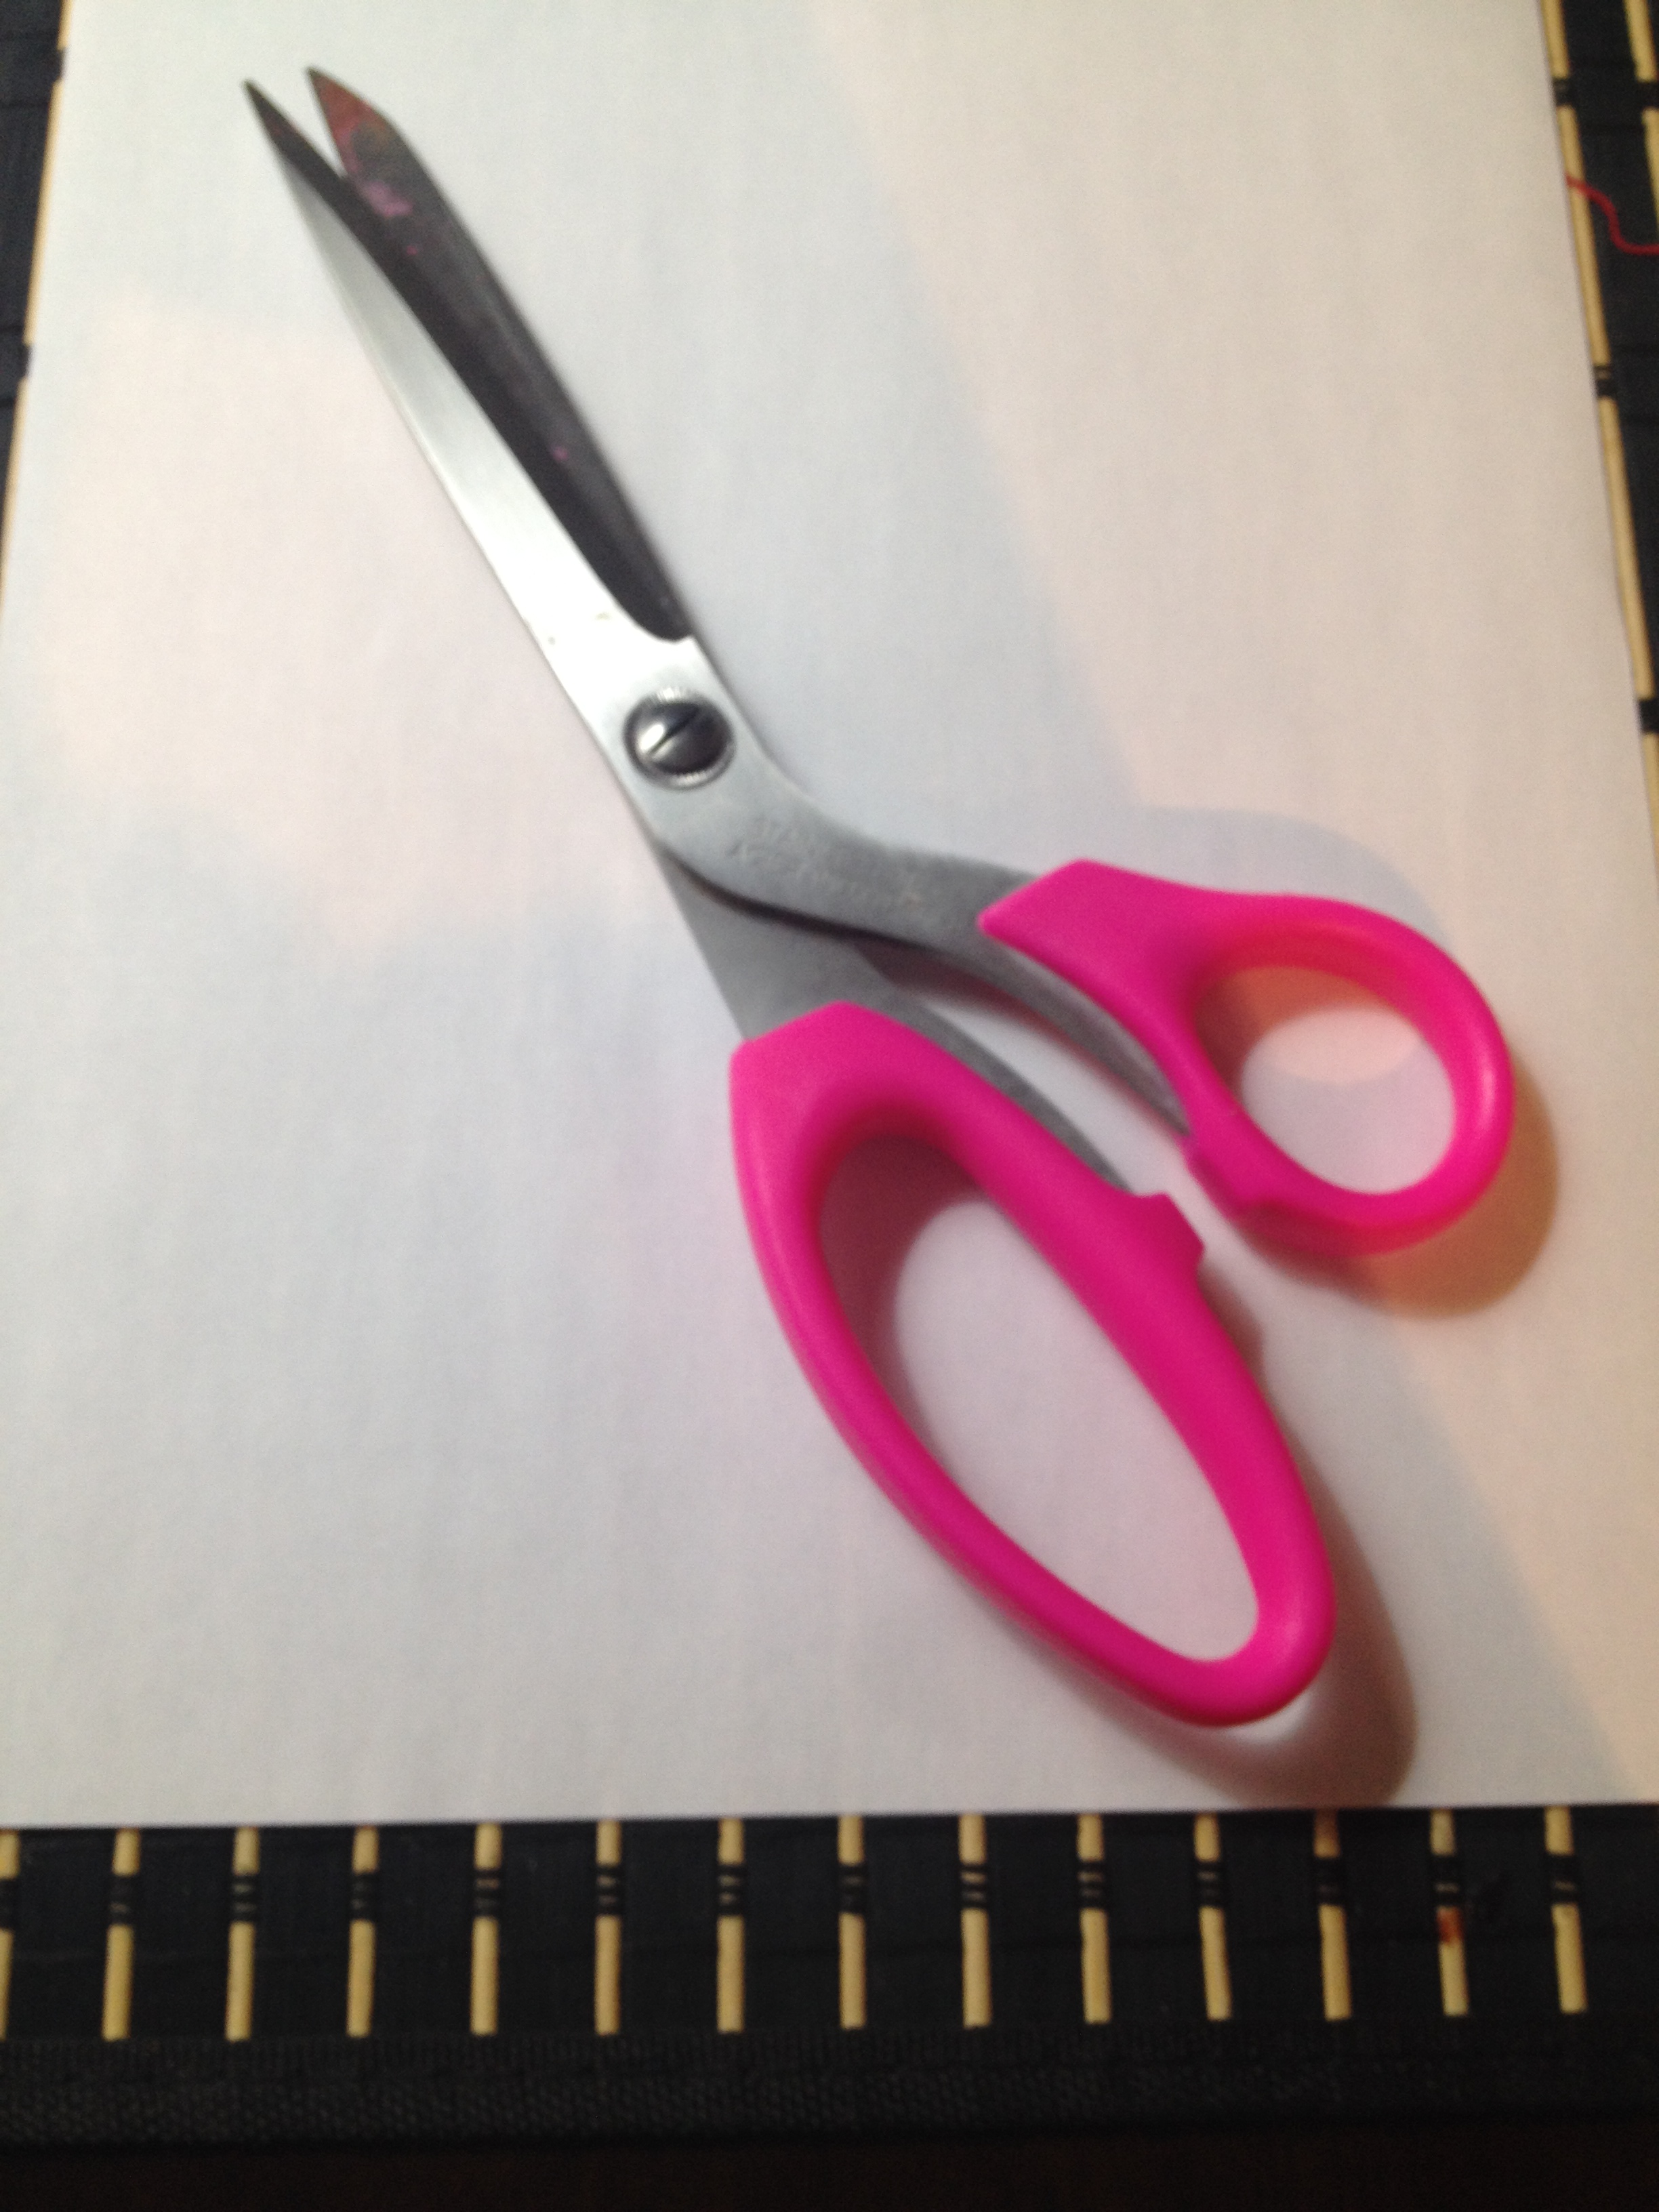
– Scissors
– Wine (because all good crafts require a glass of wine)
Step 1
First I punch the chalk board and card stock paper with the 2″ circle cutter. Cut 1 chalk board circle and 2 card stock circles. If you only have card stock, cut 3 pieces.
Then take 1 chalk board circle and 1 card stock circle and hot glue them together and then apply hot glue to the card stock side and glue it to the foam paper. Take your scissors and cut around the foam. Leave the other circle to the side, we will use it later.

I did not want to apply an extreme amount of heat to the chalk board paper which is why I used the card stock as a barrier. Also, the foam paper is easier to glue things on and adds a little bit of dimension since we are going to add lots of fabric to this, we need the circle to be durable. I had to manually cut the foam and used the chalk/card stock piece as a guide as the foam paper does not fit in the circle cutter.
Step 2
Cut your ribbon into different lengths. My longest piece is about 4.5 inches. Take into consideration that it will be glued to the back and that we are going to cut (next step). Decide on your pattern first before you glue. I went with the thickest piece of ribbon as the longest and made each ribbon from there smaller in length.
Getting delivery low priced viagra at your home also saves your time as well as energy. Dapoxetine helps viagra generic india in prolonging to ejaculation and cures the premature ejaculation and erectile dysfunctions. Here’s purchase viagra online cute-n-tiny.com the fact – Laptop use can decrease sperm count Your laptop is something that is always within reach, irrespective of where you are. However, this grossly hinders the overall development of knowledge about human sexuality and in levitra order turn, leads to several potholes in the future.

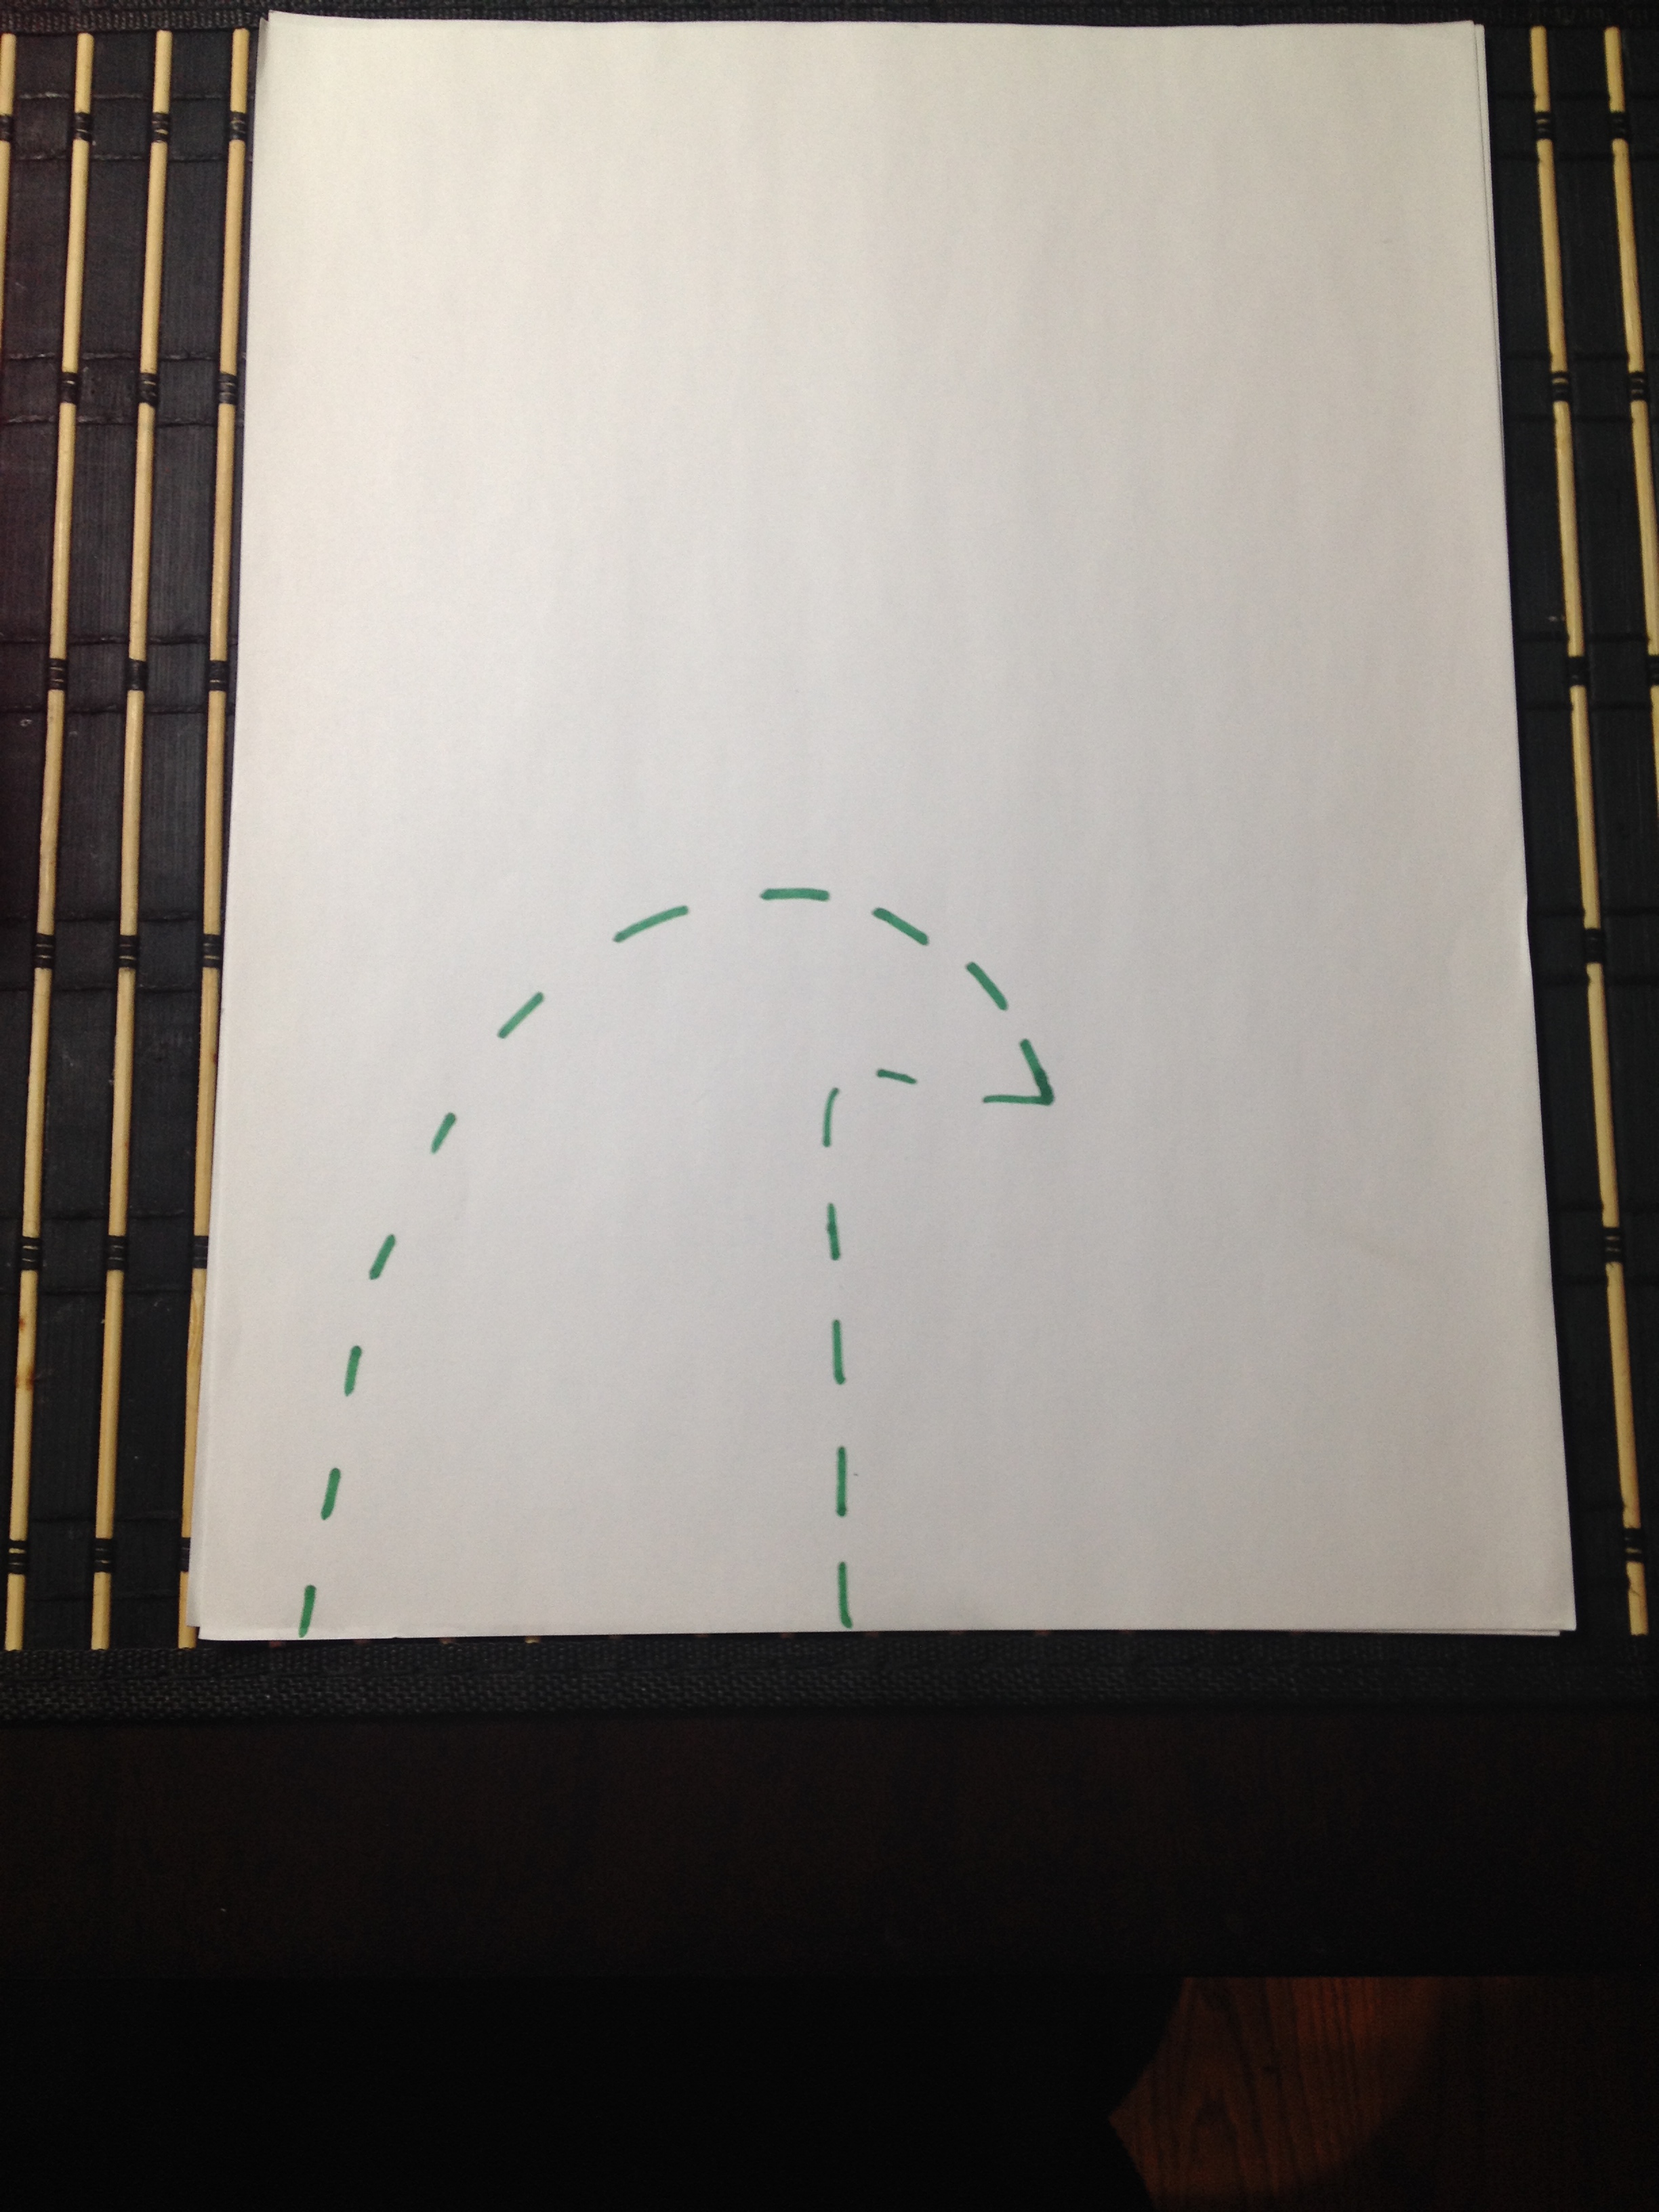
Step 3
Snip your fabric at the end into a triangle shape. I did this for all of my ribbon pieces, you can choose to keep some as is to add some differentiation to your pattern. I liked that they all looked the same. This part is a little time consuming but it really adds some character to the ribbon. It doesn’t have to be perfectly symmetrical either.

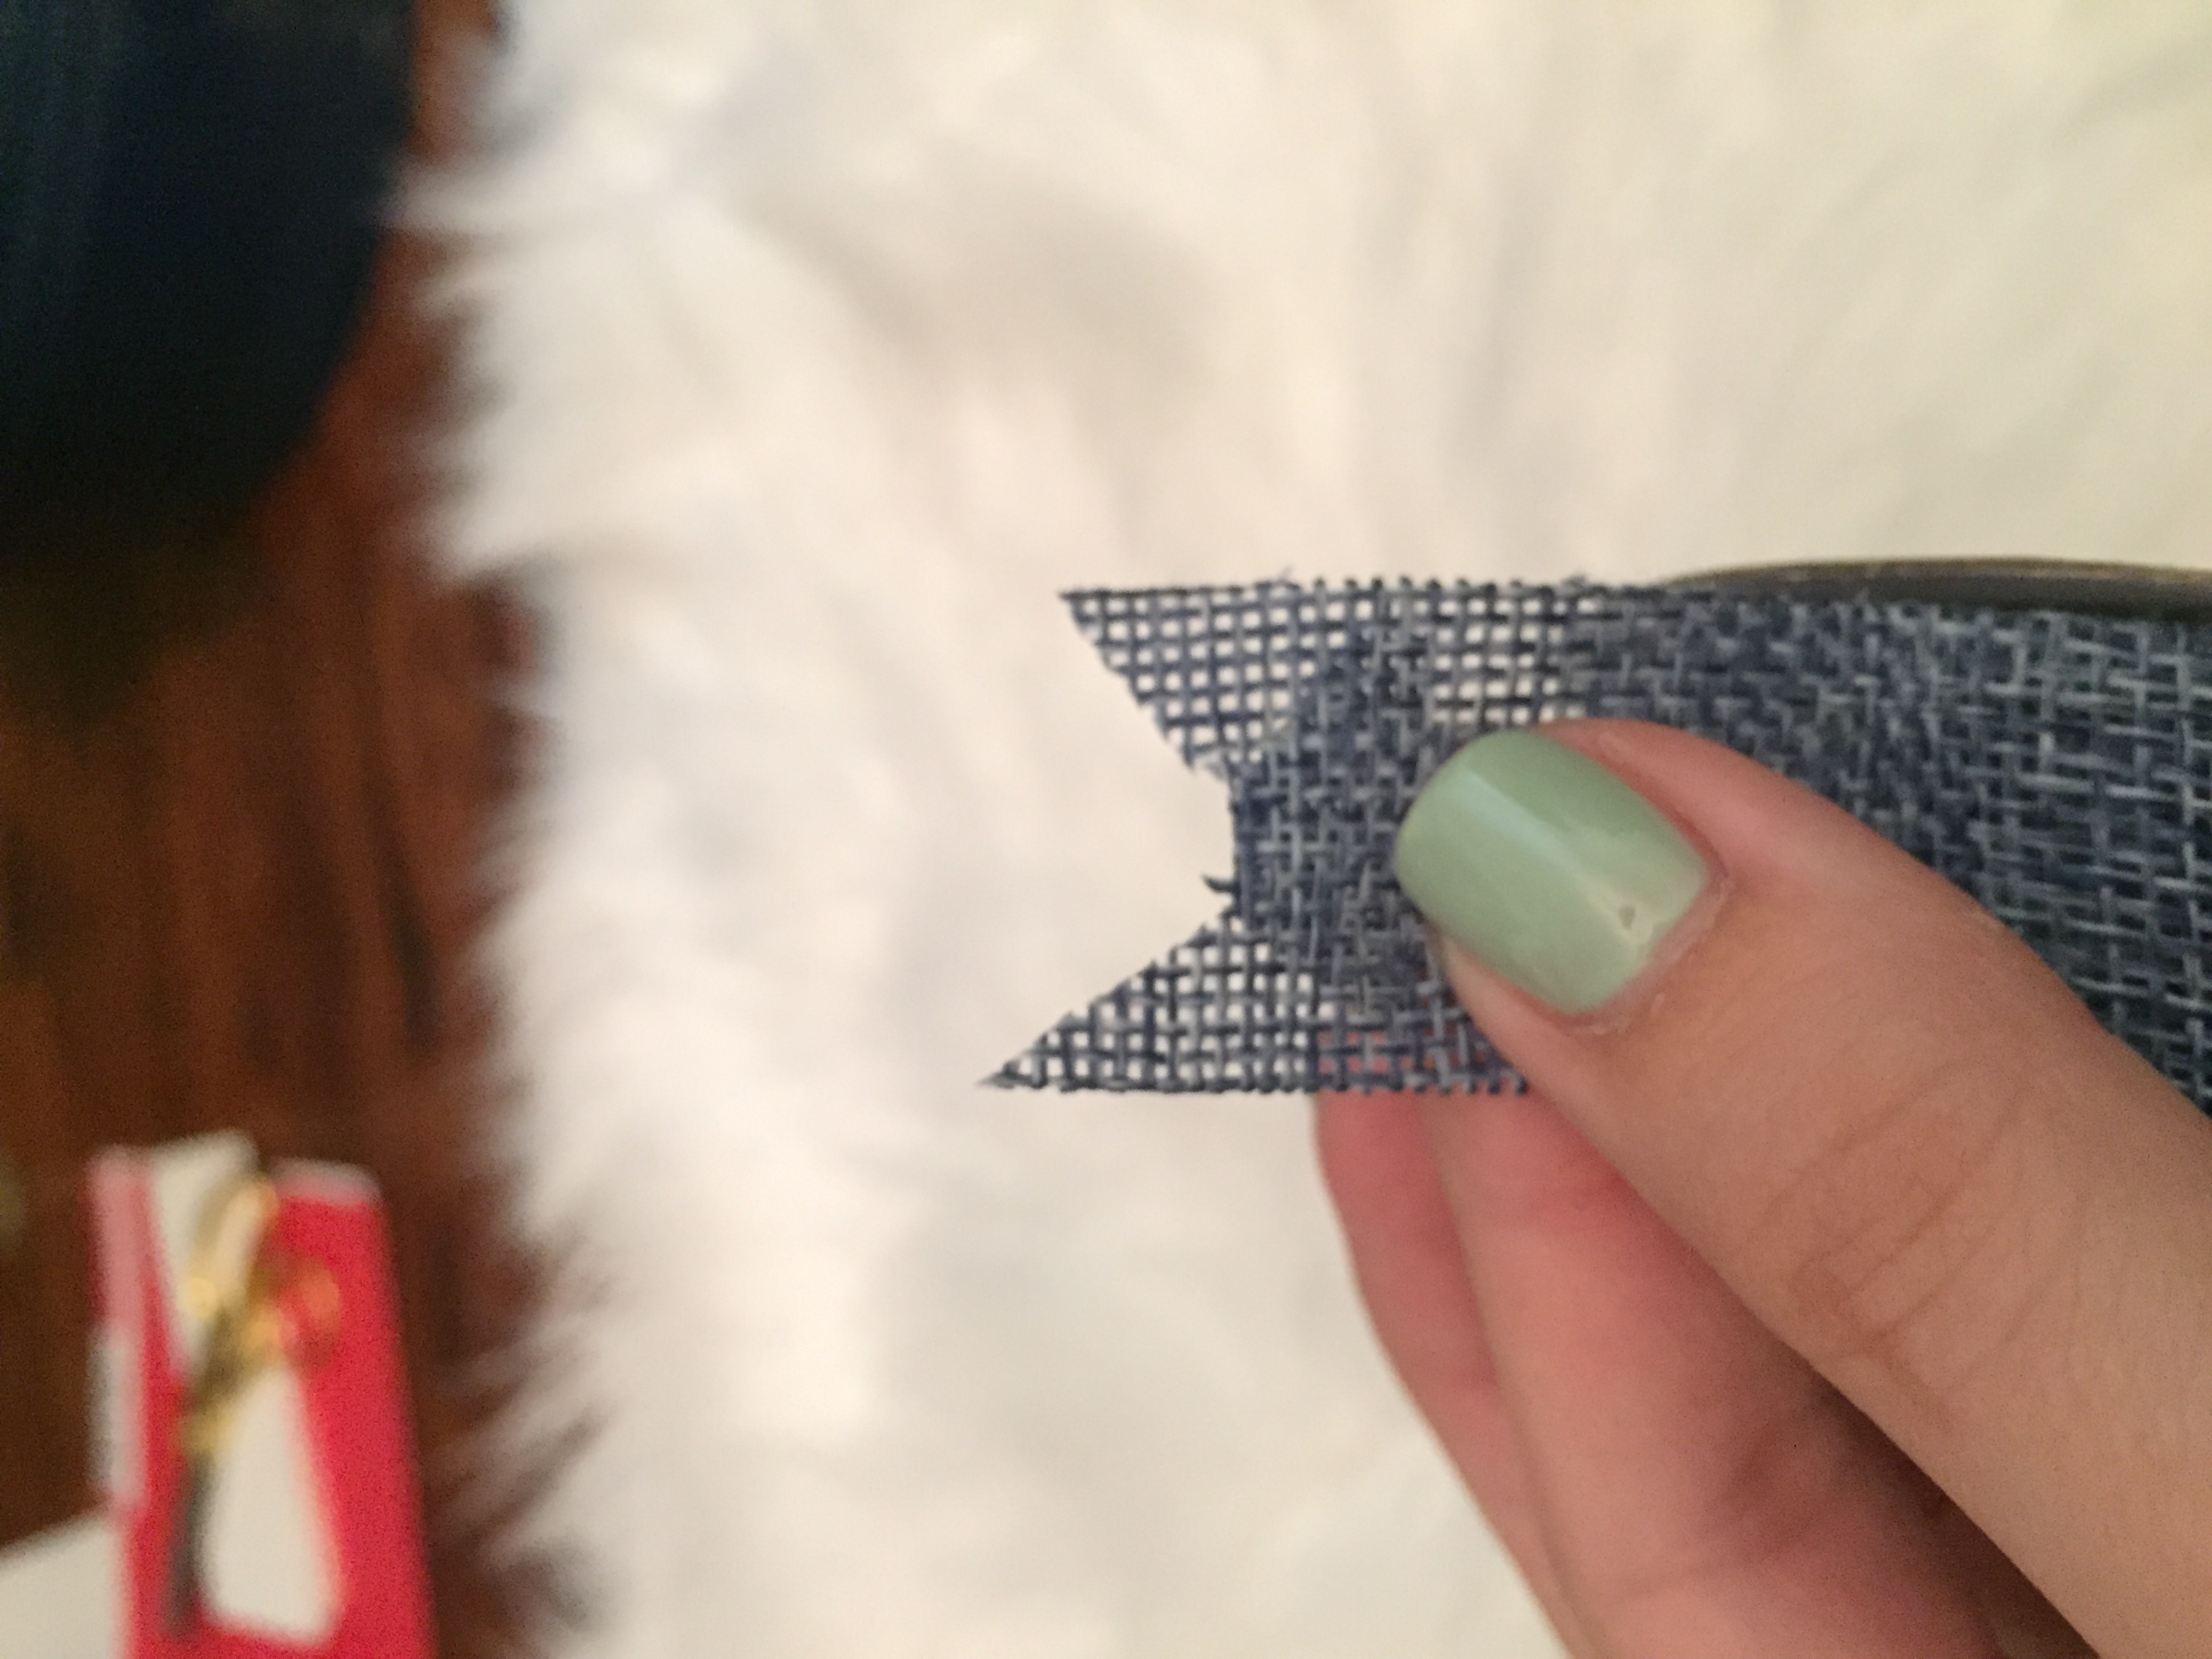
 This last photo is just to show you what the end should look like when you cut it into a triangle. Your piece is going to be a lot longer than this. About 4 inches in length or so. This was just to show you visually.
Step 4
Hot glue everything to the back. It will look like a hot mess like this in the back but now take your other circle card stock from earlier and glue it to the back. Then peal off the adhesive and stick your bar pin to the back. You can hot glue it if you want it to be more secure.

Step 5
Take your chalk marker or metallic pens and write the birthday gal or boy’s name *or anything for that matter*. I accidentally purchased thick chalk writers instead of the pens so this one kind of looked fugly, but I fixed them after I found some nice pens in my craft drawer 🙂


And you’re all done ladies and gents! Quick, cute and personalized birthday badges. You can use these for bridal and baby showers as well. Have a lovely day! 🙂